
The contextual Device Update menu is available only for Windows Praim devices and the possible options depend on the Windows version detected. The following images highlight this behaviour.
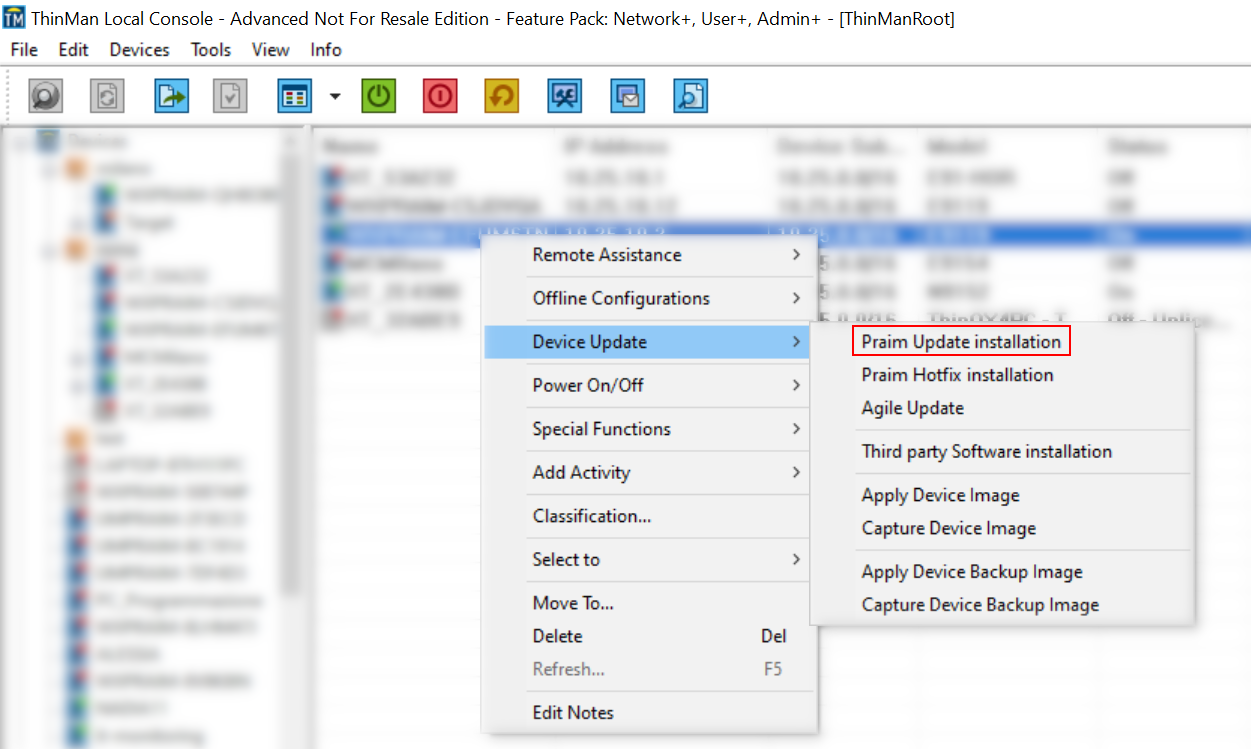
The above contextual Device Update menu concerns the Windows 10 IoT 2019/2021 version.
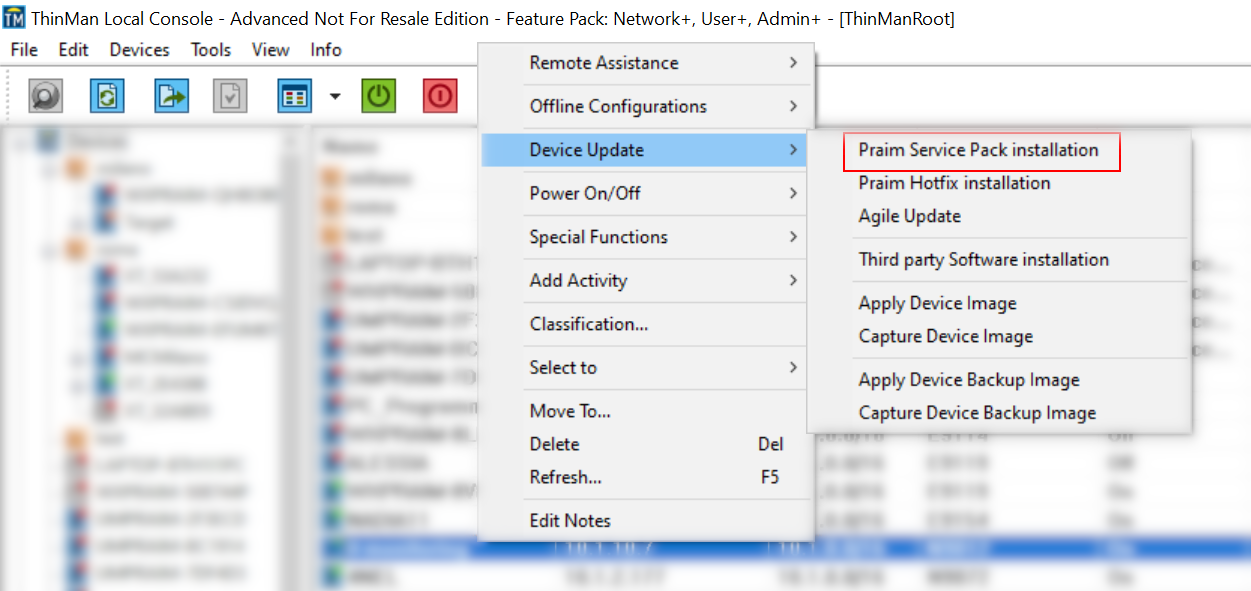
The above contextual Device Update menu is displayed when the selected device is based on Windows 10 IoT 2016, WES7 (version >= 4.0.0).
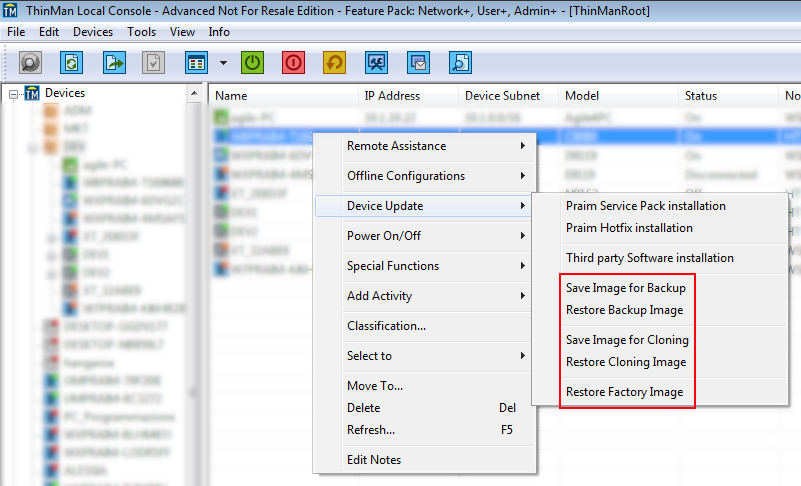
The above contextual Device Update menu is displayed when the selected device is based on: WES8; WES7 (version < 4.0.0); Windows XP Embedded. These are legacy Windows versions and these commands are retained for legacy support.
¶ Update Files
A device update for Windows based thin client can be done in different ways.
-
Praim Update allows updating:
- Drivers
- Registry keys
- Security for Windows.
-
Praim Service Pack allows updating:
- Drivers
- Registry keys
- Praim Agile.
-
Praim Hotfix allows updating:
- Security for Windows.
-
Agile Update allows updating:
- Praim Agile.
| O.S. | Praim Service Pack | Praim Hotfix | Praim Update | Agile Update |
|---|---|---|---|---|
| Windows 10 IoT 2019 (version >= 3.0.0) |
X | X | X | |
| Windows 10 IoT 2016 (version < 3.0.0) |
X | X | X | |
| WES 7 (version >= 4.0.0) | X | X | X | |
| WES 7 (version < 4.0.0) | X | X | ||
| WES 8 | X | X |
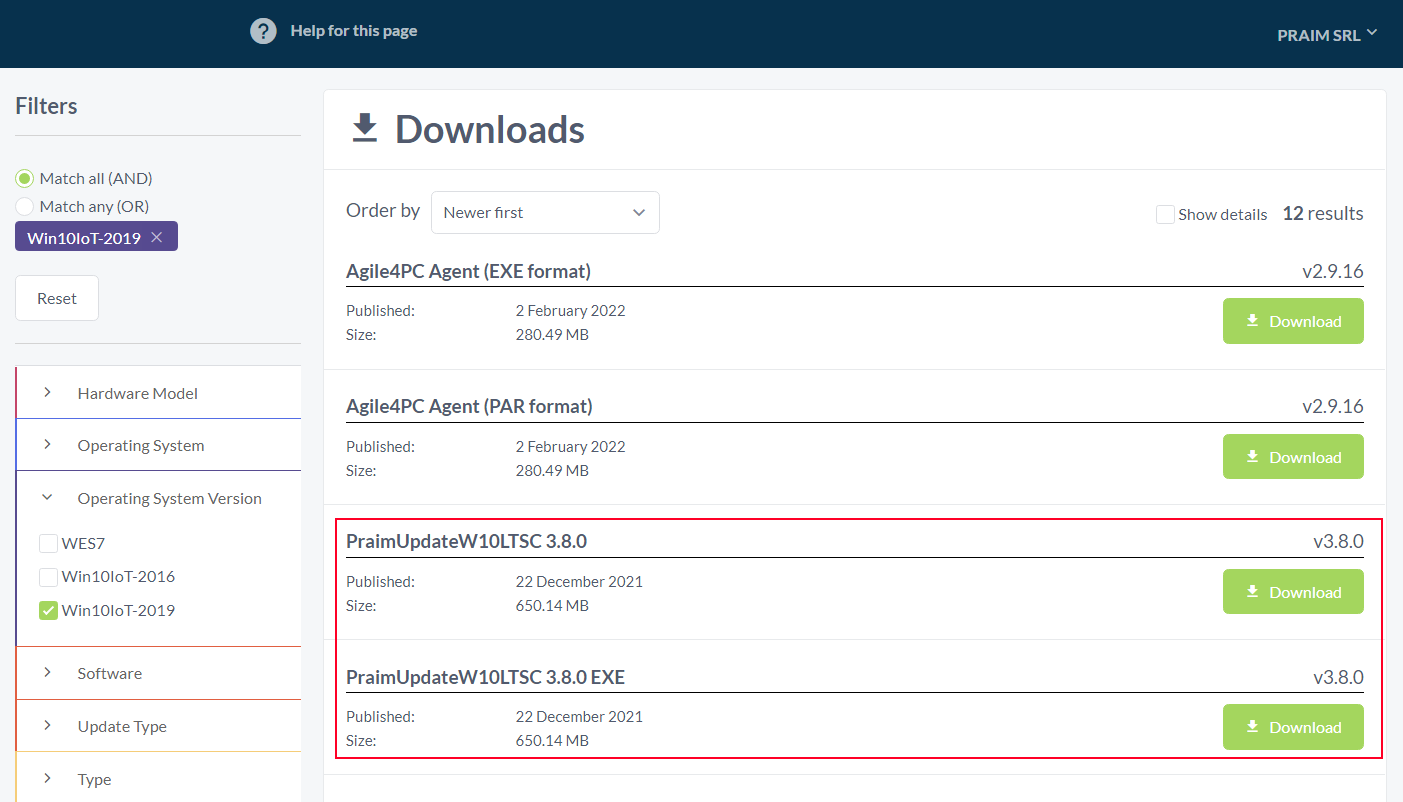
Format Files - Important!
On the download section of MyPraim you will find these files in 2 formats:
- .EXE files: to be used directly on a device.
- .PAR files: to be used from the ThinMan console.
Automatizing Update Process:
Use Scheduled Activities to execute an update at a specific datetime. Use Event Activities to execute an update when device startup happens.
¶ Praim Update, Praim Service Pack, Praim Hotfix Installation
The file(.PAR) has to be loaded into the ThinMan package repository (see Package Repository Menu).
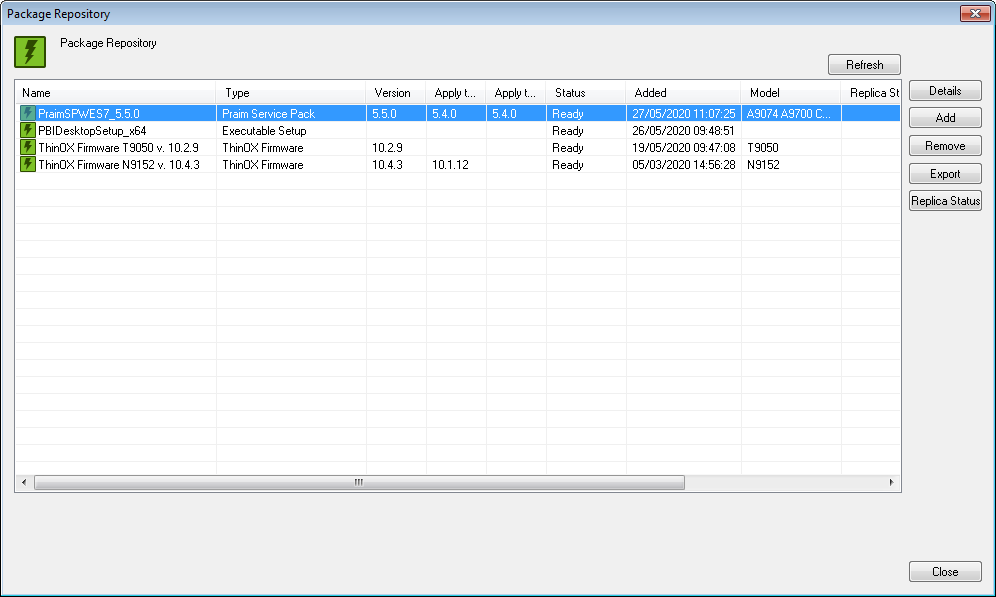
From the Package Repository, select the Praim-Update/Service-Pack/Hotfix to install and click "OK" to start the installation.
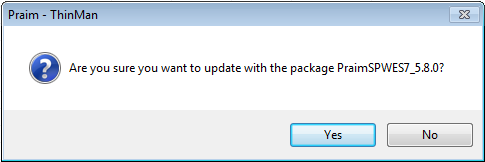
Press "Yes" to proceed.

After selecting the file to be installed, this will be transferred to the thin client, and then the installation procedure will start (the file is executed on the Thin Client).
Note for WES 8, WES7 (version < 4.0.0):
Be aware of the write filter type and status on the Windows device. Read the Agile manual under the "Write Filter" section for more information.
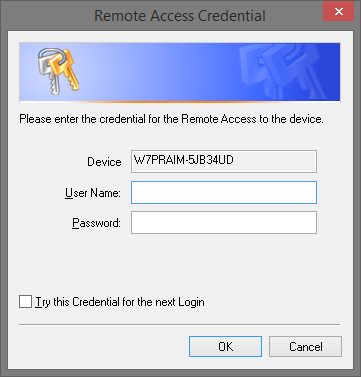
If the user and the password of an administrative account are not already stored in ThinMan, it is prompted on the ThinMan Console. You can store user and password using the Contextual Menu - Special Functions command.
¶ Agile Update
This command is used to upgrade only the Agile software.
The file(.PAR) has to be loaded into the ThinMan package repository (see Package Repository Menu).
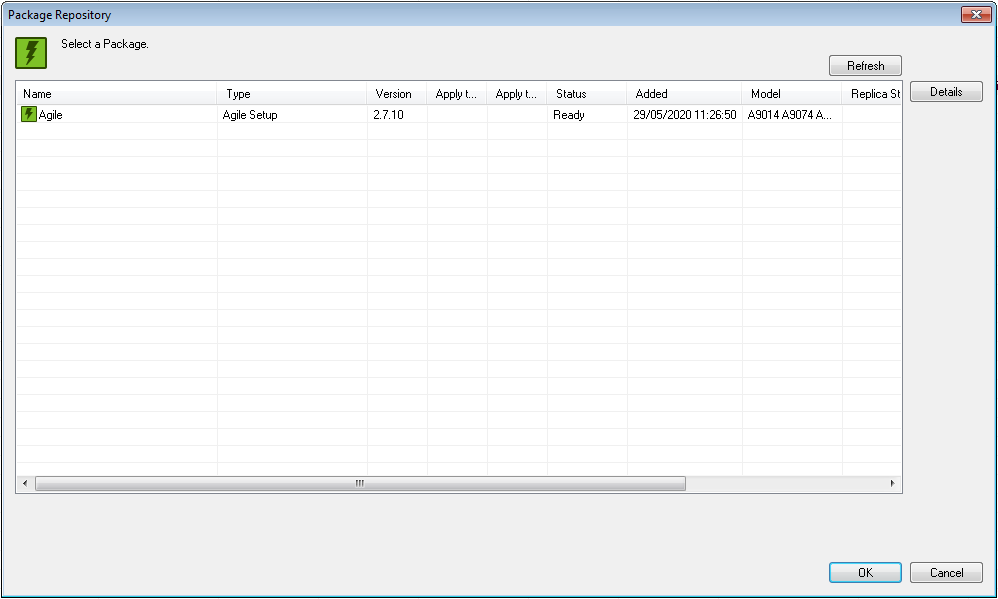
From the Package Repository, select the Agile setup file to install and click "OK" to confirm.
Click "Yes" to proceed.
A notification that the command is executed on the device is displayed.

The progress of the operation can be followed in the Task Window.
¶ Third-Party Software Installation
It is used to send generic installation files.
It supports the following types of file (also file extension): *.exe, *.msi, *.bat, *.ps1.
The file has to be preloaded into the package repository (see Package Repository Menu).
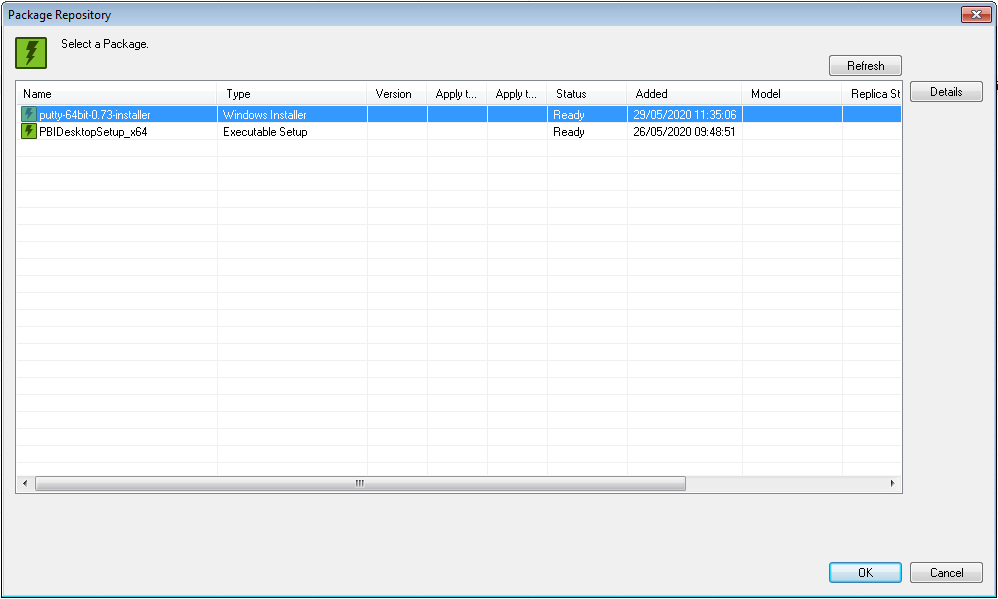
From the Package Repository, select the setup file to install and click "OK" to confirm.
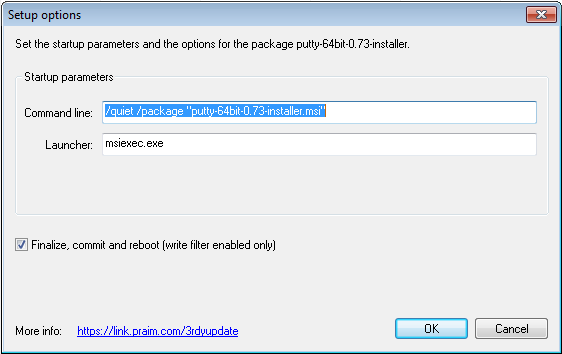
After selecting the file that has to be installed, a new dialog box allowing additional parameters to be inserted into the Package Repository (e.g. "/VERYSILENT" will execute the installation file with no user interaction) opens. Additional parameters that have to be used when the setup file is executed on the specific Thin Client can be entered. The default parameters for that package can be modified by checking the "Save as default" property (the property appears after the parameters are changed).
IMPORTANT WARNING: Third-Party Software Installation The installation of third-party software onto a device REQUIRES that the installation file must be executed unattended, without user interaction. Prepare all software to be installed without requesting any action from external users. When installing software prepared by other vendors, ensure that command line parameters allow executing the software silently and in unattended mode (typically parameters could be /SILENT /VERYSILENT /S and so on). Executing a file that requieres user interaction could result in an incomplete installation on the device or in a non-consistent status on the devices that may lead to subsequent problems on them.
The "Launcher" parameter is automatically configured if needed, leave blank in other cases (e.g., for "*.msi" packages it is initialised with "msiexec.exe" value).
Flag "Finalise setup, commit and reboot" to save the changes on the device permanently. This choice will reboot the device managing the write filter activation on the device.
Click "OK" to start the installation phase on the Thin Client.
In some cases, the execution of *.ps1 file is disabled on Windows devices. To enable it, refer to the specific device manual.
Be aware of the write filter on the Windows Thin Clients. Read the device manual under the "Write Filter" section for more information.
¶ Capture and Apply an Image
¶ Device Image and Device Backup Image
- a captured Device Image can be applied to many thin clients. When captured, the system will Sysprep (generalize) the Windows image OS. Subsequently, the image can be installed on multiple devices.
- a captured Device Backup Image can be only applied to the same device from where it was taken. This type of image is not valid to clone or to duplicate a master image to many devices. It is only a "backup" of the device.
¶ Capture and Apply commands
Capture and Apply commands allow obtaining an entire image from a device (the Master device) and to restore/clone this image to other devices (the Target devices).
The commands available under the menu Device Update are:
- Capture Device Image
- Capture Device Backup Image: follows the same procedure as in Capture Device Image, but in this case it is a backup image.
- Apply Device Image.
- Apply Device Backup Image: follows the same procedure as in Apply Device Image, but in this case it is a backup image.
Since it has been explained the difference between Device Image and Device Backup Image, only Apply Device Image and Capture Device Image features will be discussed. Apply Device Backup Image and Capture Device Backup Image features operate in the same way correspondingly.
Prerequisites Before using these commands, the environment must be prepared with the boot images that will be used to fulfill the operation. Use Device Images Manager Menu to load or upload the boot images and to create the needed shared directory.
¶ Capture Device Image
This command allows reading the entire image of a Master device and to store it in the Package Repository. This image could be used afterwards to replicate the Master device onto many Target devices.
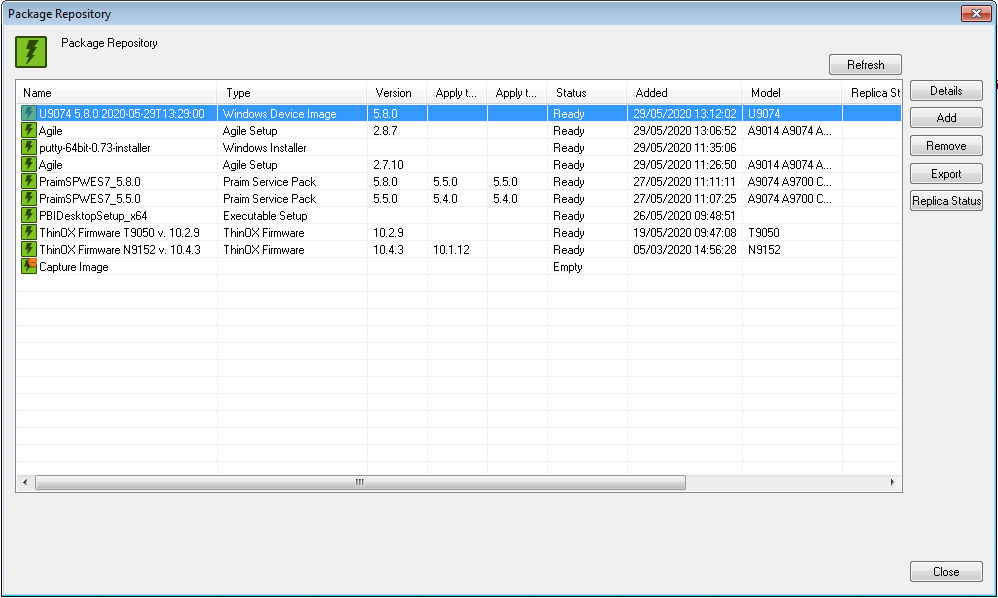
The captured image will be available in the Package Repository.

Click on "Yes" to start the capturing phase.
Important Note The Capture Image procedure takes several minutes.
When the operation starts, the status and the rate of completion related to the Capture Image command can be viewed in the Task window of the Console. The Task window will reflect the progress of the operation.

During the operation, the device is locked, and a status bar indicates the operations progress. Do not power off the device during this operation. The Thin Client will reboot several times to finish the process.
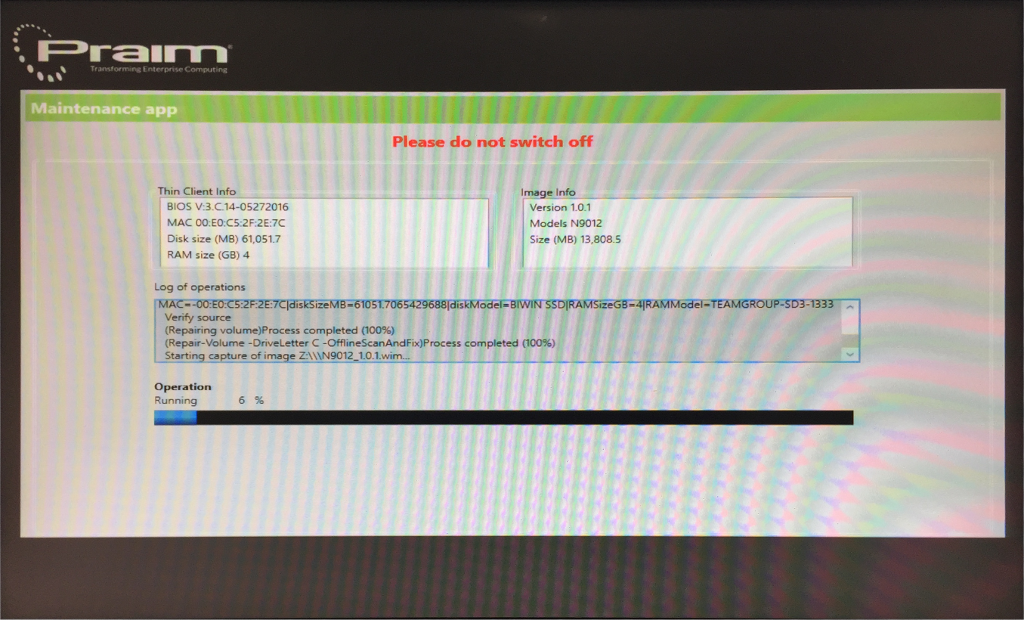
Once the operation is completed, a new entry in the Package Repository will exist. This image can be used (obtained by the Master device) to replicate it to many Target devices with the "Apply Device Image" command (see below).
¶ Apply Device Image
This command allows writing a firmware image to one or many target devices. Use either the image file obtained by the Capture Device Image or the factory image file available on MyPraim).
This operation can be executed simultaneously using the multiple device selection in the Console.
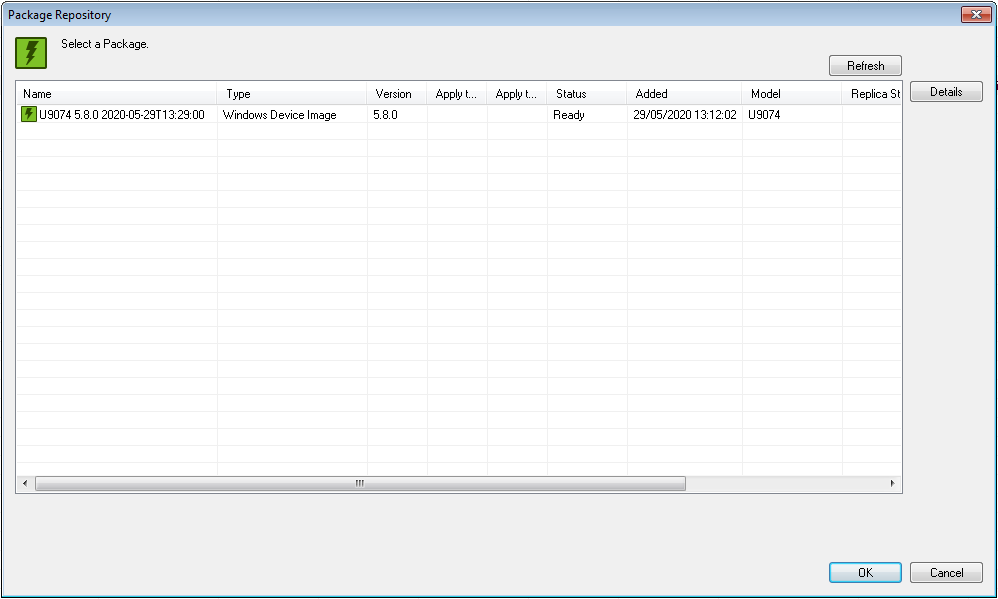
Once the command is launched, select from the Package Repository the firmware image file that has to be applied.
Add a new image file (e.g. factory image file downloaded from MyPraim) by clicking on "Add" (see more information on Package Repository Menu link).
Select the file and click OK.
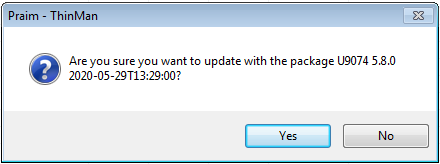
Click Yes to confirm the operation. Clicking on NO will abort the operation.
Important Note The Apply Image procedure takes several minutes.
When the operation starts, the status and the rate of completion related to the Capture Image command can be viewed in the Task window of the Console.

The Task window will reflect the progress of the operation.
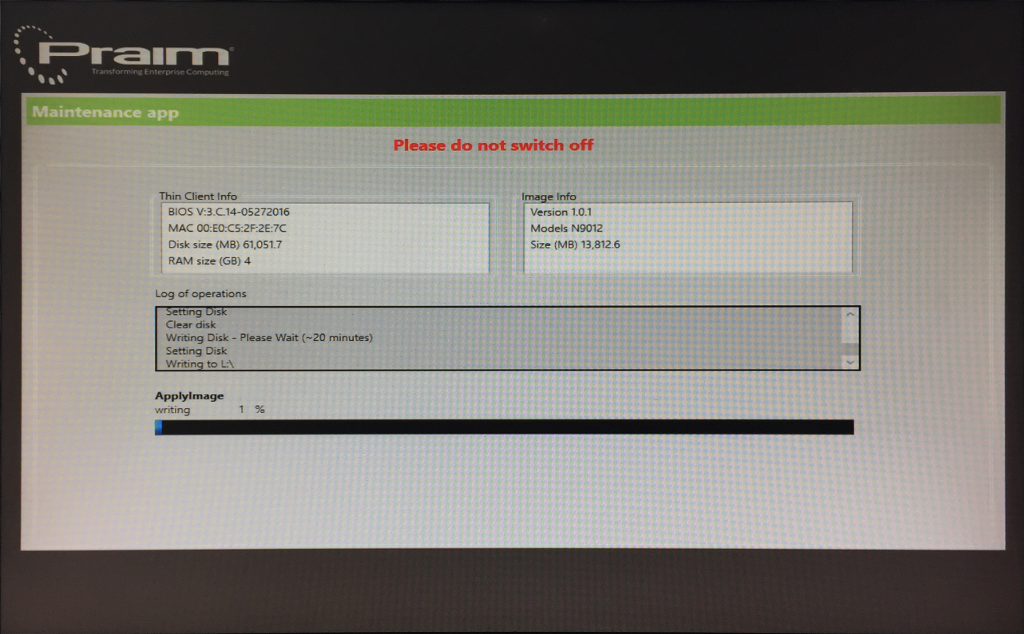
During the operation, the device is locked, and a status bar indicates the operations progress. Do not power off the device during this operation. The Thin Client will reboot several times to finish the process.
IP Address(static) and Hostname
These 2 parameters cannot be replicated when applying a device image to prevent network problems.
¶ Device Update Menu for Less Recent Windows Versions
Device Update Menu entries for device image managing features related to less recent Windows versions are described thoroughly in the page Contextual Menu - Device Update Particular Features For Less Recent Windows Versions