
Version: 2.9.2
¶ Getting Started
This page provides information to get started with the Praim Windows 10 IoT thin client. It describes basic thin client features and gives you instructions to setup the thin client environment.
Win10IoT vs. Windows 10
The Praim Windows 10 IoT thin client are comparable, in terms of functionalities and configuration, to a normal computer running a Microsoft Windows 10 operating system. Most of the operations that perform on a personal computer can be also performed on a thin client with Praim Windows 10 IoT operating system.
Write Filter
Please notice that every configuration/modification on the thin client is not saved permanently on its Disk On Module (DOM).Changes will be lost when the thin client reboots due to its Write Filter. To save changes permanently on the Praim thin client please read Using the Write Filter on Agile Configurator). Basically, you have to disable the write filter (this operation requests a device reboot) prior to any intervention on the thin client. When the write filter is disabled you can change the device configuration or install new software. After the changes are made enable the write filter again to protect the disk on module from unwanted writings (this operation requests a device reboot.
Connection with ThinMan
If you are using the ThinMan Server to manage the devices be sure to let the devices pointing to the ThinMan. Read more at Configuring the ThinMan Settings on Agile Configurator
¶ Default Users
Praim thin client is initially configured with two users in the Windows Embedded O.S.:
- Admin: user with password Admin and account type set to Administrator,
- User: user with password User and account type set to User; this account is set in auto-login mode without the need to enter the password.
When the Praim Windows 10 IoT thin client starts it will login automatically with User user; remember that this user do not have administrative rights.

You can quickly change the settings for the users or create new users using the User Accounts icon inside the Control Panel window.
Pay attention to write filter
Remind that to save changes to the disk you have to disable the write filter (see more information on Using the Write Filter on Agile Configurator).
Remember that any operation executed on the device when the write filter is enabled is not saved on the disk on module (DoM) of the device.
¶ Default Network Configuration
The network configuration is initially set in this way:
- IP Address is obtained via DHCP
- DNS Server is obtained via DHCP
- IPv4 enabled
- IPv6 enabled
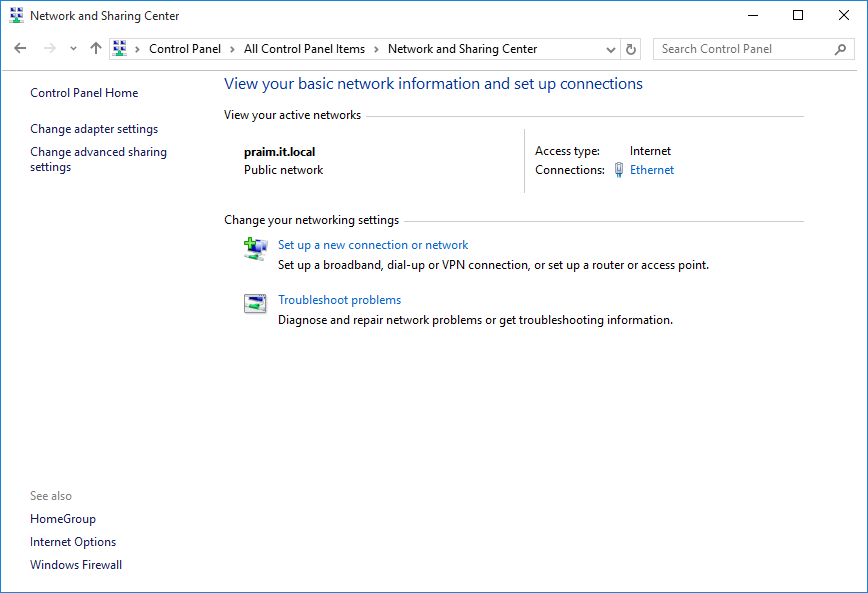
You can change this basic configuration by accessing the Network and Sharing Center into the Control Panel window.
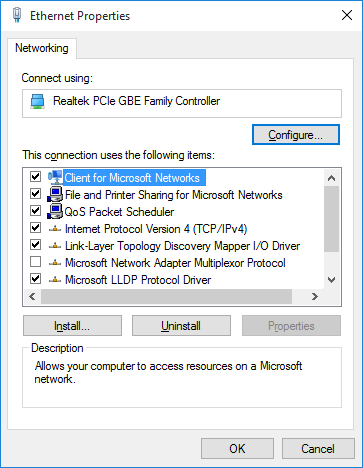
List of services enabled in the Ethernet Connection by default.
You may be requested to identify the Network Location where the thin client has been deployed and powered on. Just select the network location as on a normal Windows PC.
The initial Network Location is set to Public, to change it to Private read How to change Network Location in Windows 10 IoT.
Pay attention to write filter
Remind that to save changes to the disk you have to disable the write filter (see more information on Using the Write Filter on Agile Configurator).
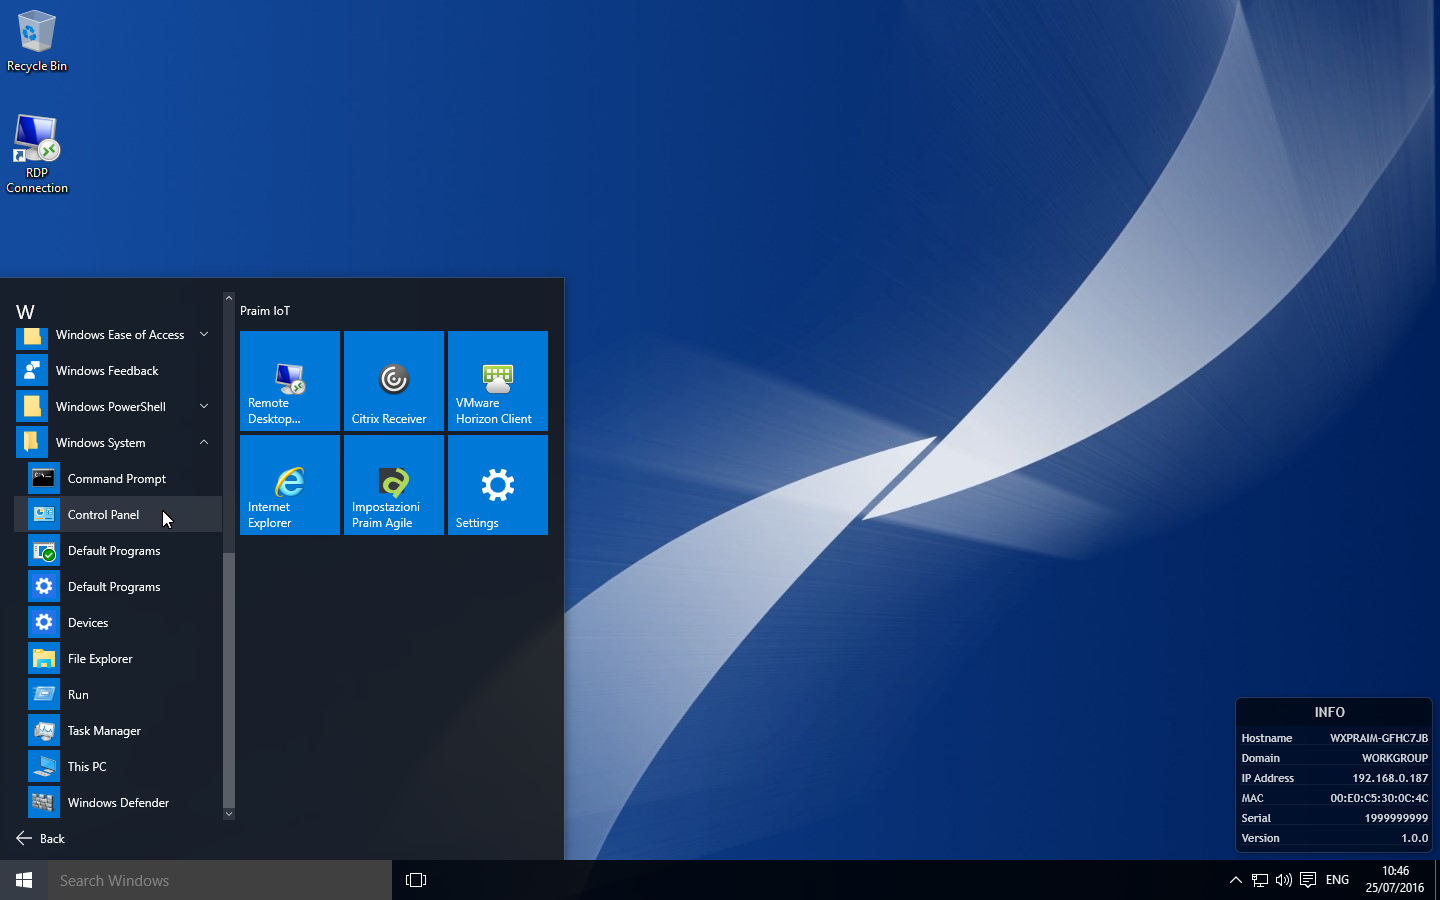
¶ Installed Software and Connection Clients
On the Praim thin client the most important connection clients are already installed.
RDP Client, Citrix Receiver and VMware View Client are at user disposal
They had to be configured in order to allow a connection to the specific farm.
Connection clients can be also uninstalled, like any other applications, clicking on the Programs and Features icon in the Control Panel window.
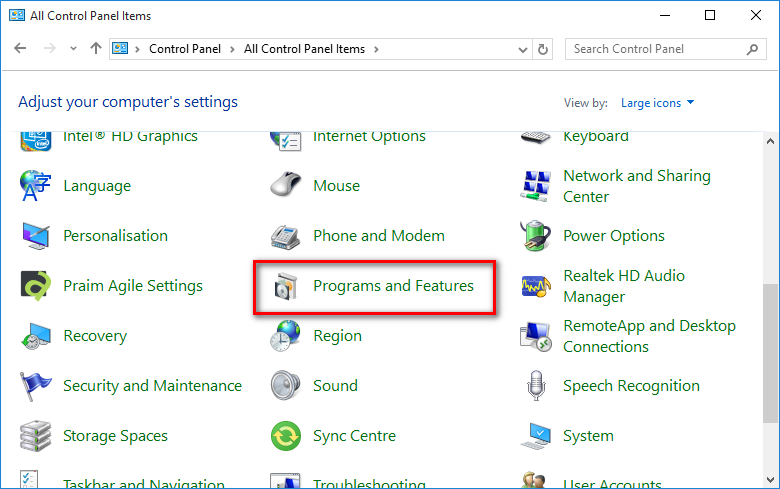
A list of installed software in a Praim Thin Client will be shown (see image below).

Depending on the free space on the DOM you may also install new software like in a normal PC. Launch the installation file and follow the instructions.
Some software are needed in order the device functions properly, you should eventually delete and modify only connection clients.
Pay attention to write filter
Remind that to save changes to the disk you have to disable the write filter before installing software on the device (see more information on Using the Write Filter on Agile Configurator).
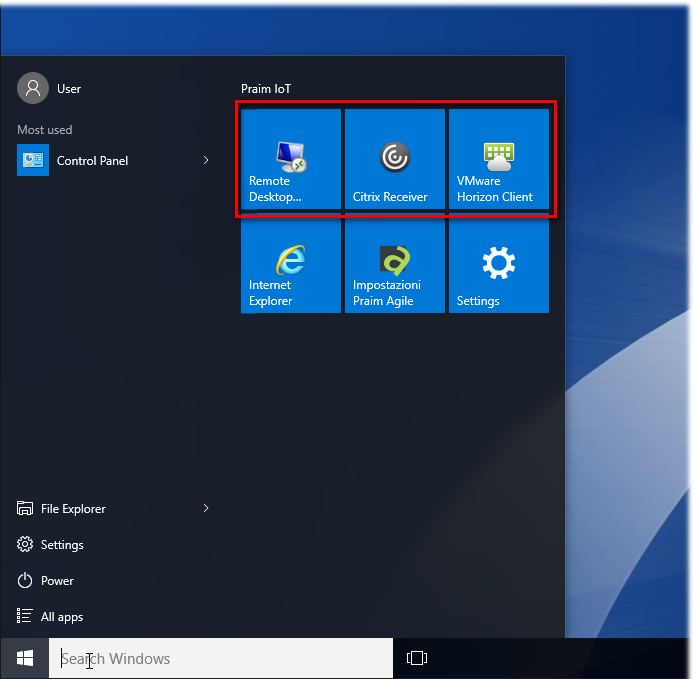
¶ How to Log Off, Shut Down and Restart
Use the Power menu to shut down, restart, or place the thin client in sleeping mode. Or use the User menu to log off and to change the user.

All the options are available by clicking menu "Start" -> "Power" or "Start" -> Username (typically would be Admin or User).
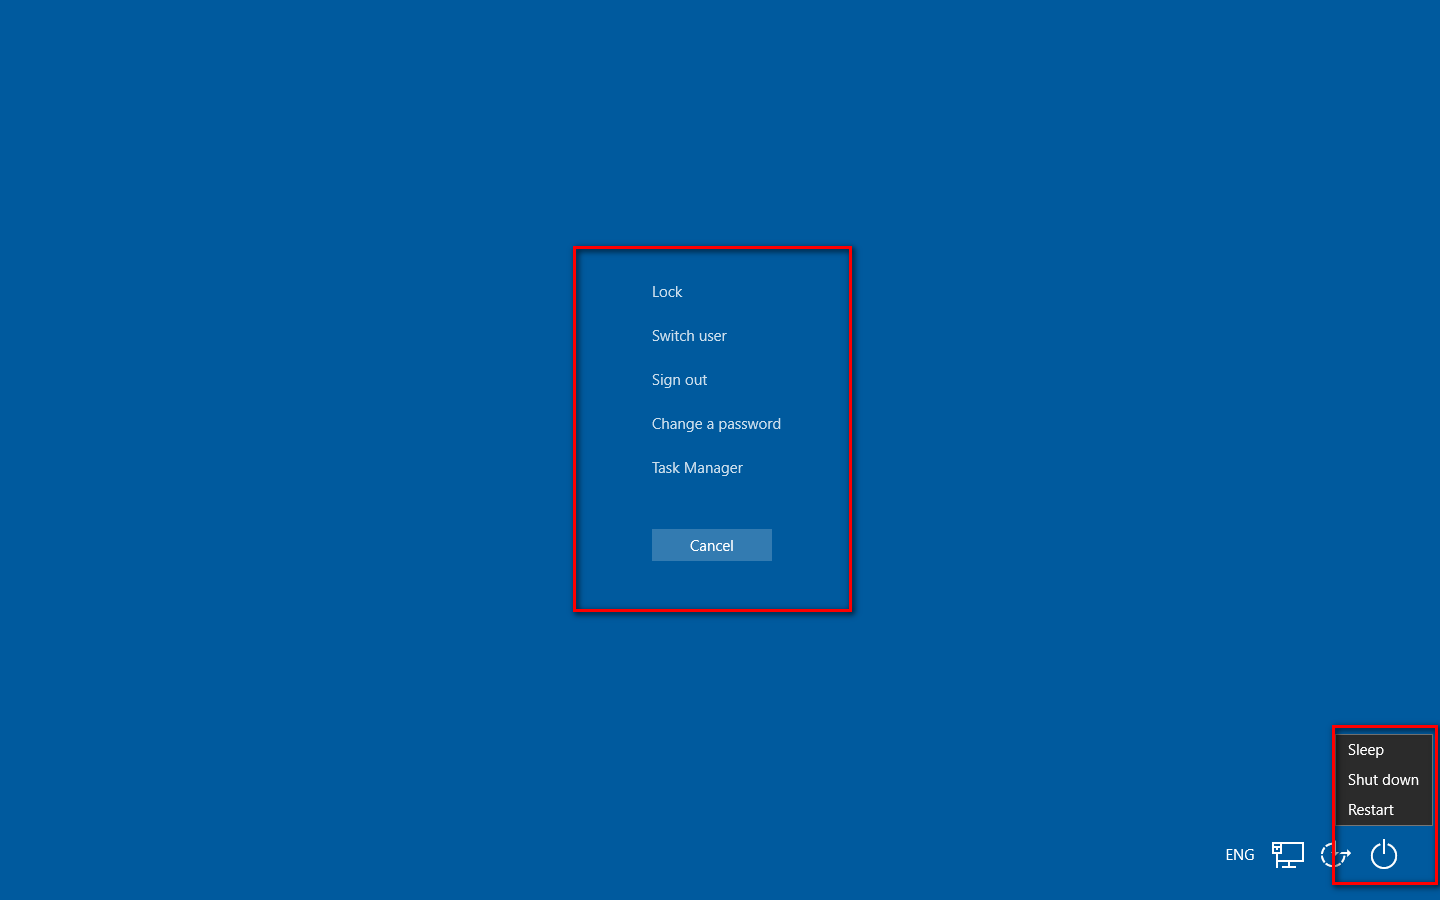
All the operations can be also invoked on the thin client using the Windows Security window (it can be open by using CTRL+ALT+DEL hotkey combination).
¶ More about Windows 10 IoT 2016 LTSB Thin Client
How-To
Check also the How-To section.
FAQ
Check also the Frequency Asked Questions section.