LDAP Server Configuration enables ThinMan to use LDAP Server as authentication server.
Why configuring an LDAP Server?
Configure an LDAP Server whether you want to use:
- The ThinMan Login and Smart Identity, remember in this case you will need the ThinMan Advanced License with Feature Pack USER+.
- The ThinMan Access Control, remember in this case, you will need the ThinMan Advanced License with Feature Pack ADMIN+.
LDAP Server can be managed by clicking on LDAP Server tab from the General Option Settings window.
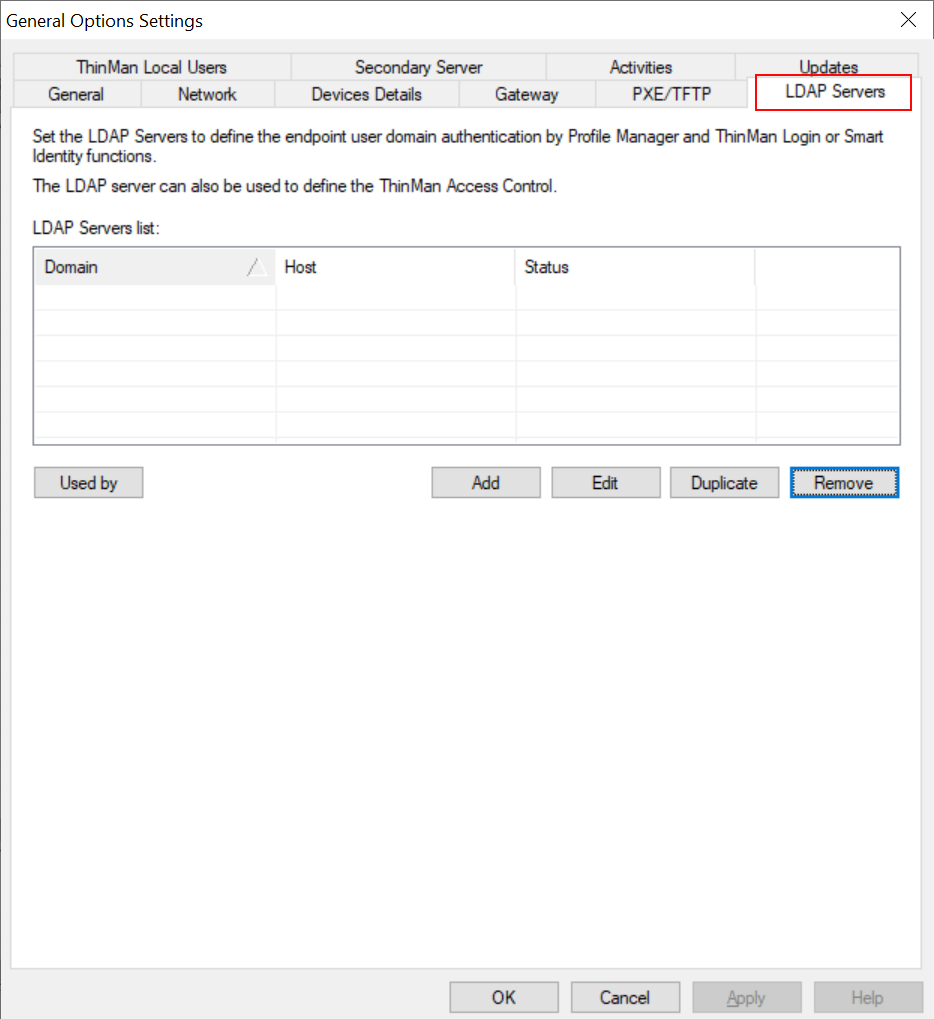
¶ Add
Click on Add to add a new LDAP server
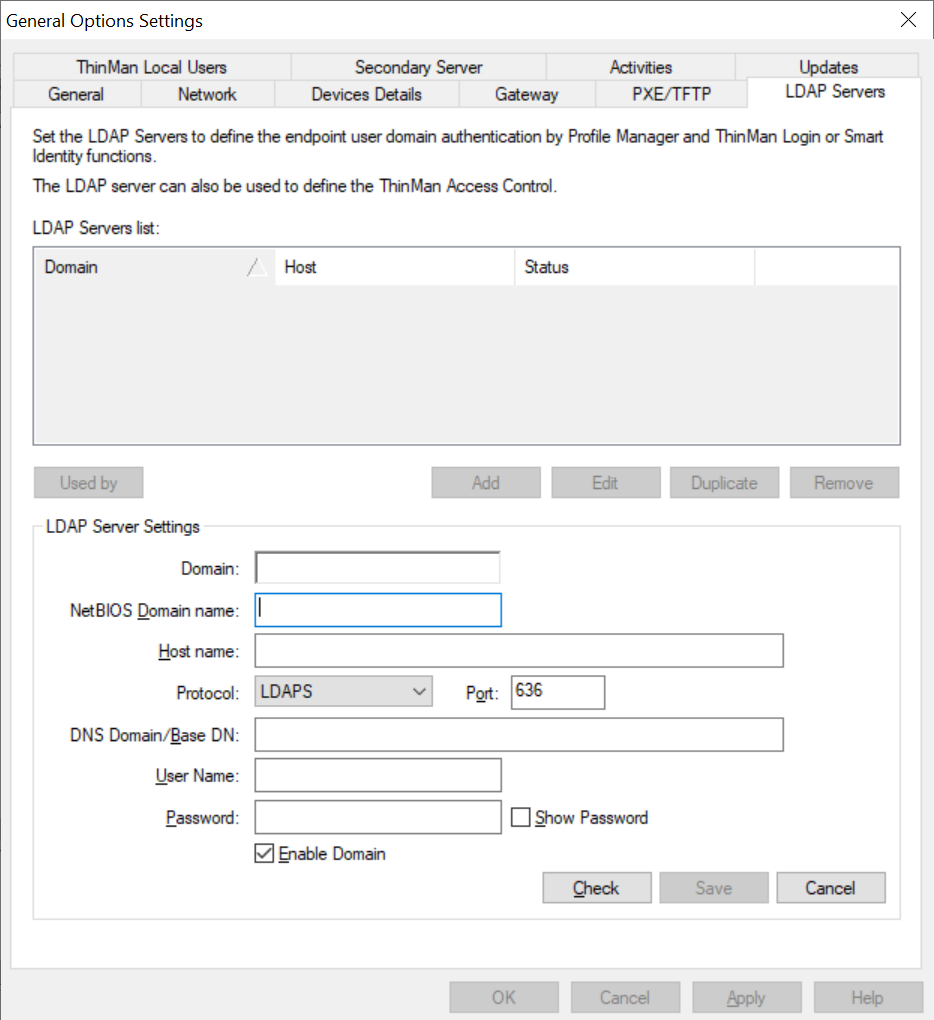
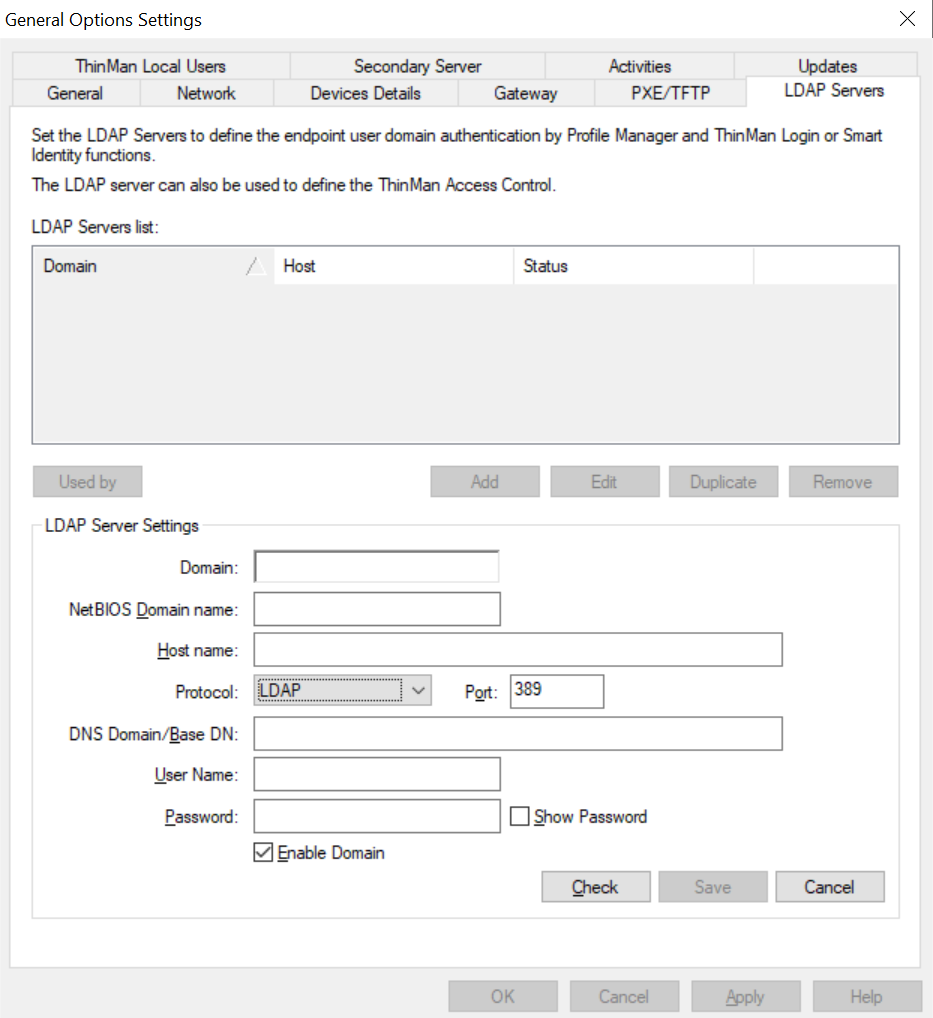
By default, it will ask you to add an LDAP server with LDAPS protocol. In case you want to use the LDAPS protocol, remember to add the certificate. Otherwise, you can change the protocol to LDAP, as seen below.
Insert the following values to complete the configuration:
- Domain: enter the domain name (e.g: domain)
- Net Bios Domain name
- Host Name: type the hostname (FQDN) of the LDAP Server (Active Directory Server).
- Port: it is the port used to communicate with LDAP Server (for Active Directory set it to 389).
- DNS Domain/Base DN: enter the DNS Domain (e.g: domain.net.local) or the DN base string (e.g: OU=headoffice,DC=domain,DC=net,DC=local). With this last modality we can filter on Organization Unit or on subtree in the AD tree.
- User Name and Password: provide username and password of a user allowed to read Active Directory tree.
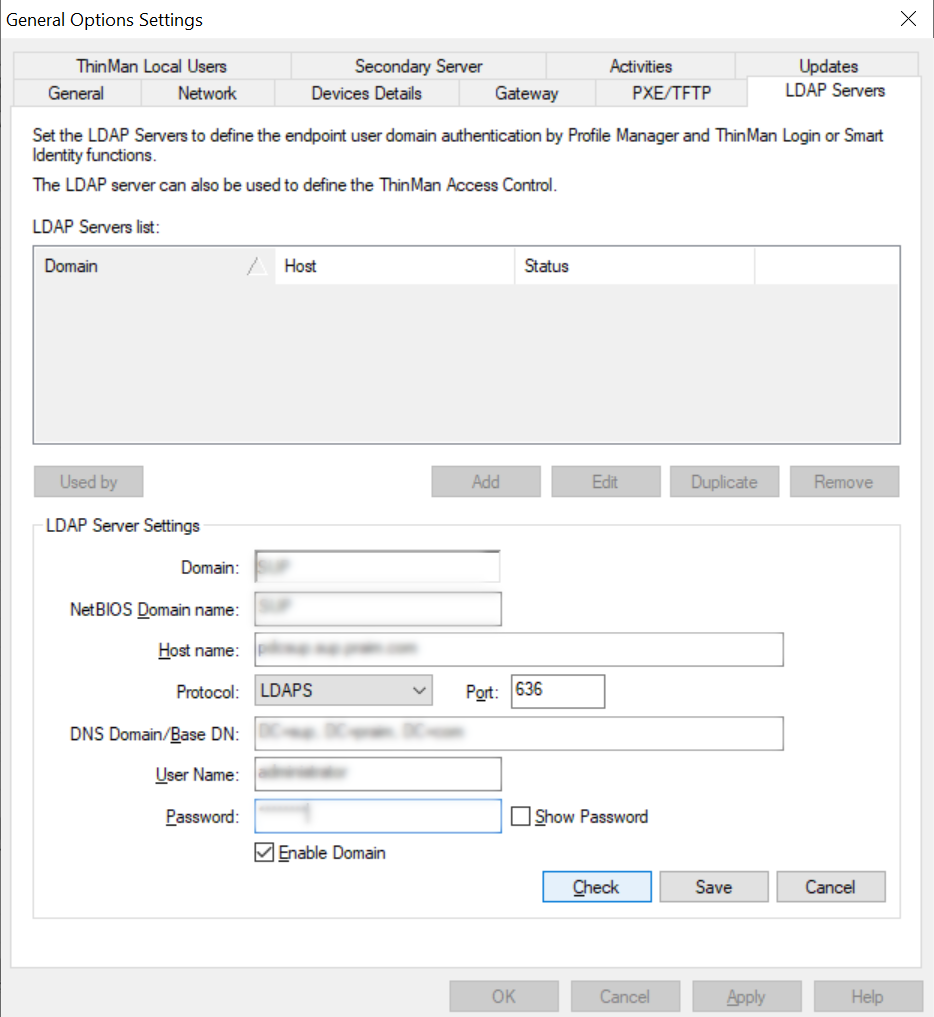
You may click on Check to test the configuration parameters.
Press the Save button to add the LDAP server to the LDAP server list.
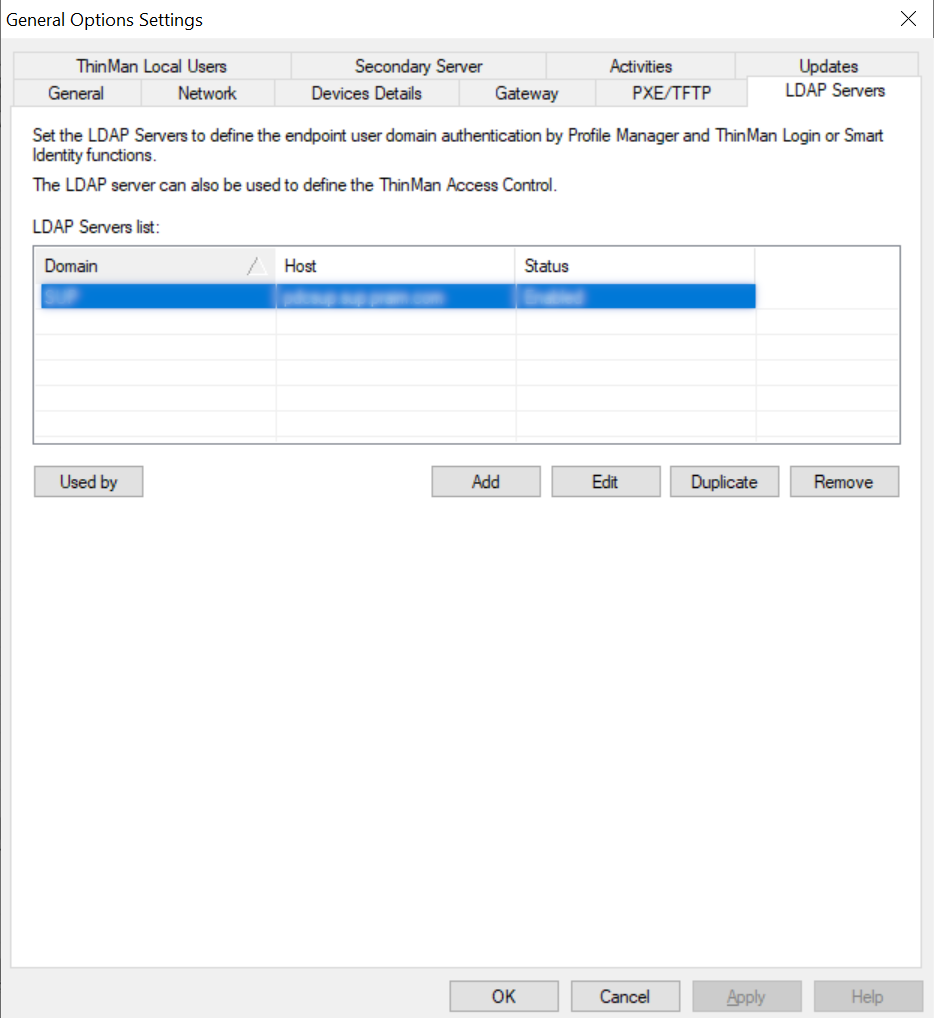
You can add other LDAP servers by pressing on Add and repeating the previously explained steps.
¶ Edit
Select the LDAP server you want to edit and press the button Edit.
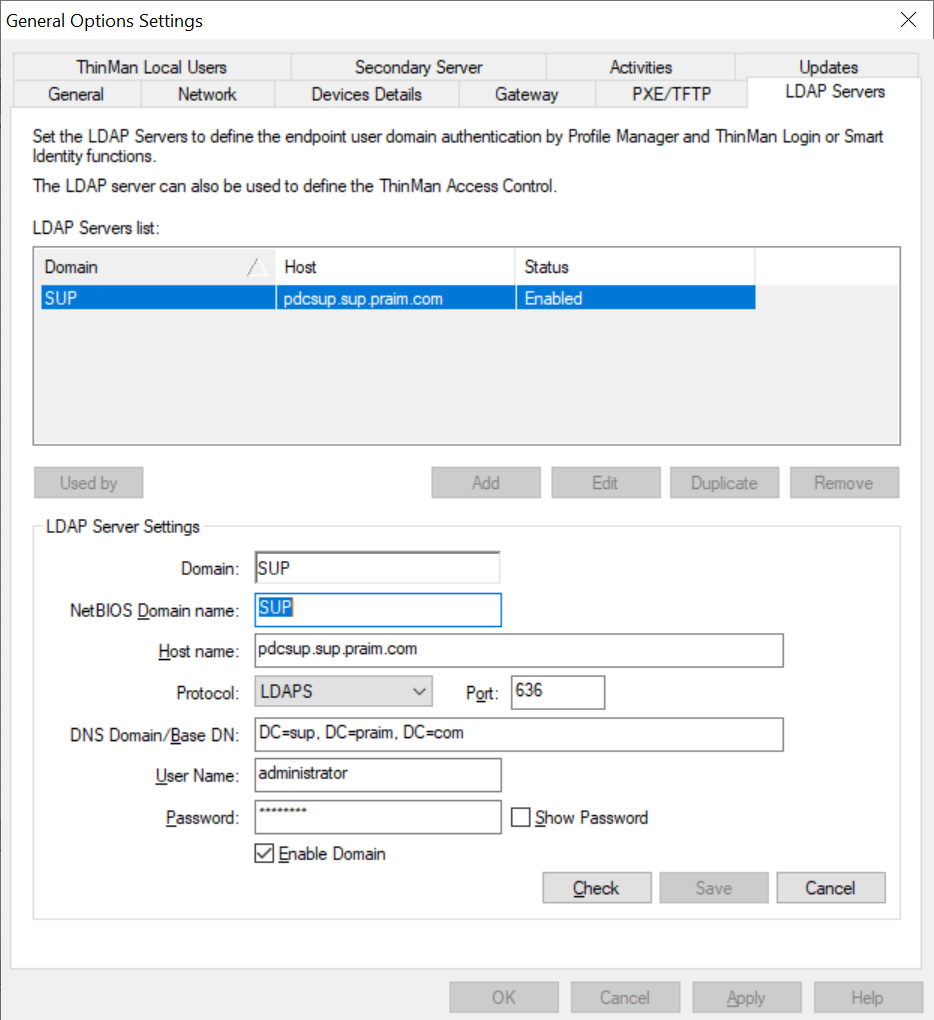
Input LDAP Server ONLY in FQDN Format
Pay attention to input the LDAP Server (Active Directory Server) host name ONLY in FQDN format (Fully Qualified Domain Name) as in the picture above. Conversely, if you input the LDAP server reference as IP address, it won't ever be possible change user passwords when they expire by LDAP Server. This is a Microsoft LDAP mandatory requirement and constraint.
¶ Used by
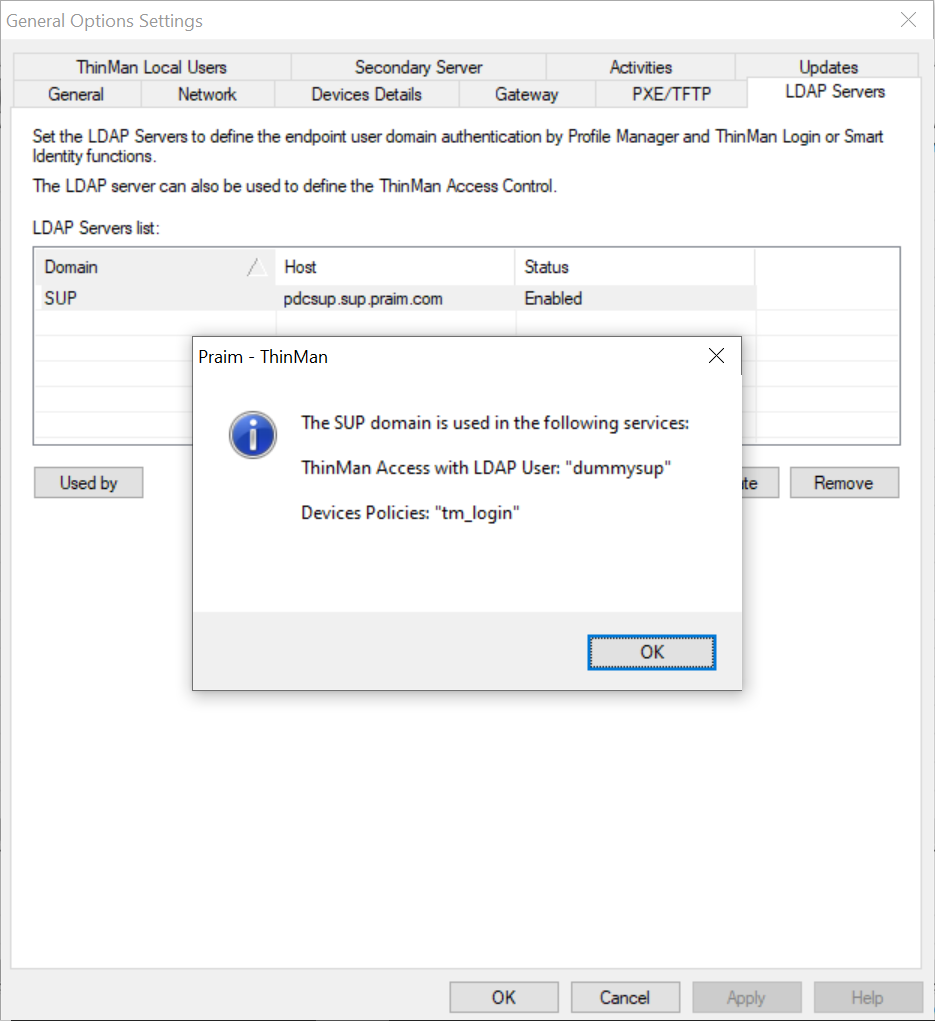
To know in which ThinMan functionalities an LDAP server is used, clic on it and press the button Used by. See example below.
¶ Duplicate and Remove
These options are particularly useful when you want to modify the NetBIOS Domain Name of an LDAP configuration, the only parameter you cannot modify with the Edit button.
Starting from version 8.7.0, ThinMan has consolidated the management of LDAP servers. In particular, the NetBIOS Name parameter must not contain the dot character. For more information, refer to the page How to solve LDAP NetBios Name Problem.
¶ Duplicate
Select the LDAP server configuration and click on the button Duplicate.

A pop-up window will appear warning that the LDAP server will be duplicated with another name that you will need to indicate. It also informs that all links to objects where the server is used will also be copied (e.g. a ThinMan Login policy).
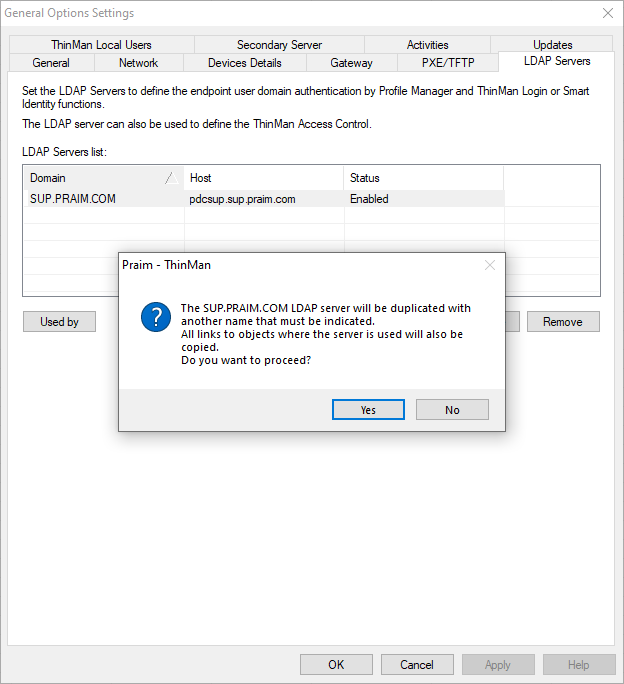
Click on Yes to proceed.
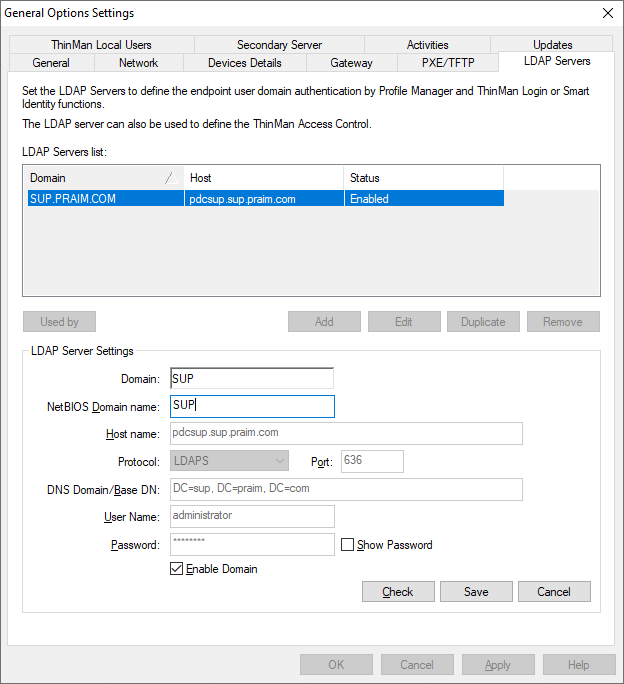
Write another NetBIOS Domain name and click on Save.

Finally, click on OK to close this window.
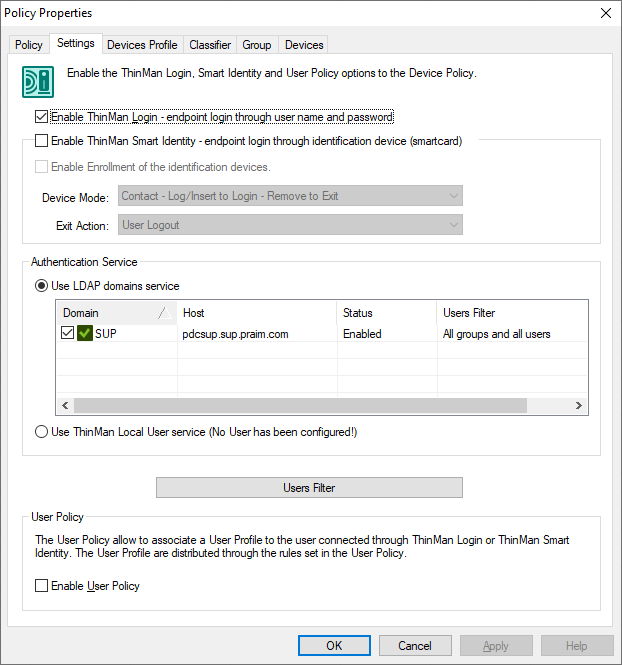
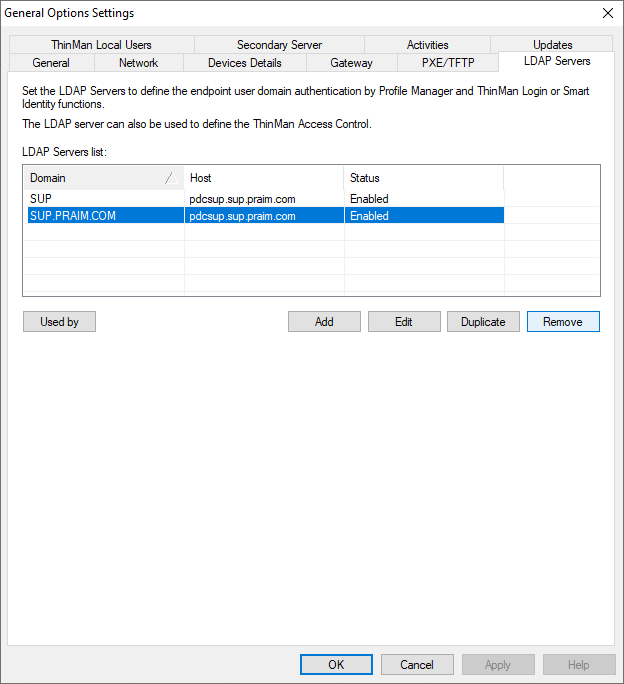
Let's suppose the prior LDAP server (on the previous example: SUP.PRAIM.COM) is used on a ThinMan Login policy. If you open the properties of that policy, you will see that the duplication of the LDAP server (on the previous example: SUP) has been added automatically to the policy.

¶ Remove
Select the LDAP server configuration and click on the button Remove.
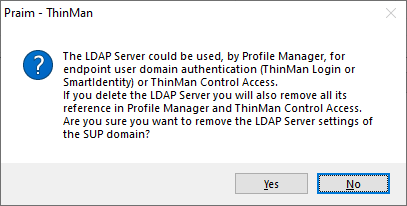
Before removing an LDAP server configuration, be sure it is not used by:
- A Device Policy that enables the ThinMan Login or the Smart Identity feature.
- A User Policy
- On the ThinMan Access Control Otherwise, all links related to the LDAP server will be automatically removed.
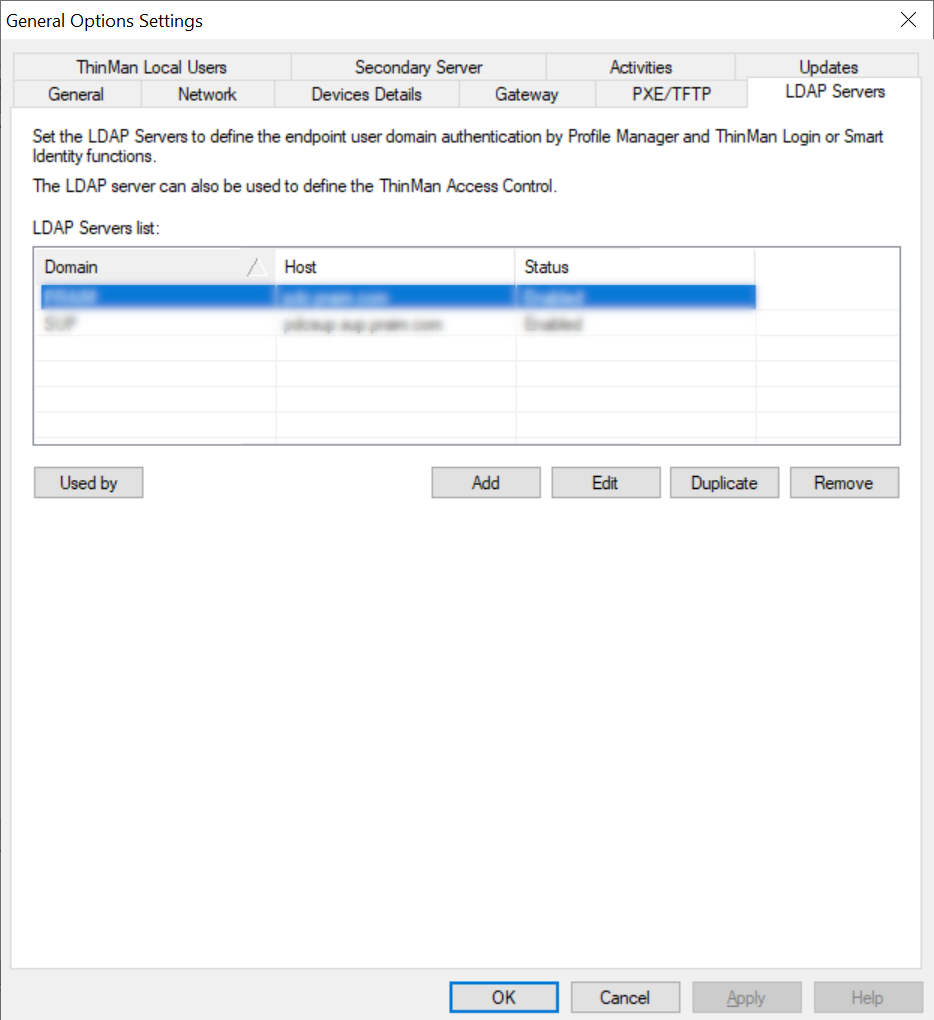
E.g. suppose there is a ThinMan Login policy that uses 2 LDAP servers.
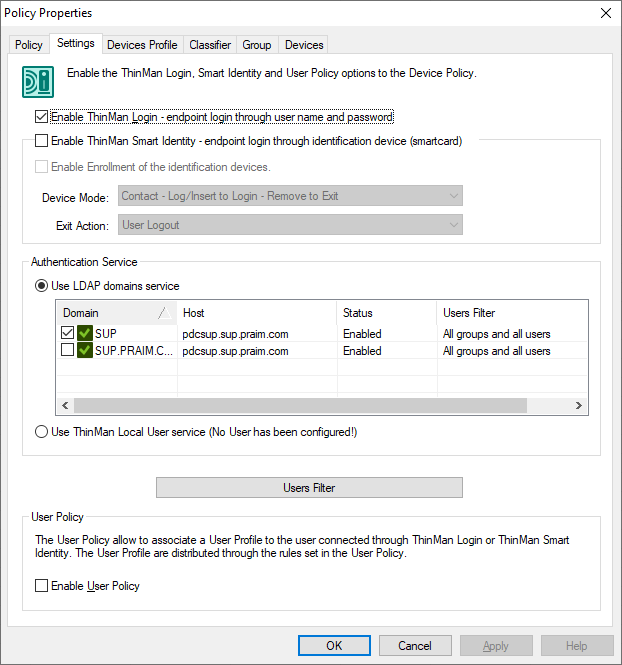
After removing the SUP.PRAIM.COM LDAP server, the ThinMan Login policy will only use the SUP LDAP server.