All the configuration information is asked during the installation phase after you run the .exe installer file.
You do not need to change the ThinMan Gateway configuration parameters if the ThinMan Gateway is visible on the ThinMan Server and the thin clients are working correctly. But, if needed, you can do it by accessing its configuration interface using a web browser. On the device where the ThinMan Gateway software is installed, you can point a web browser towards this addresses:
https://localhost or http://localhost:20080
From a remote device/PC you can also open the link
https://<ThinManGateway_hostname_or_ip> or http://<ThinManGateway_hostname_or_ip>:20080
where <ThinManGateway_hostname_or_ip> is a placeholder for the current IP Address or FQDN name of the server where the ThinMan Gateway is installed.
Standard ThinMan Gateway Configuration Interface Adresses
The URLs listed above are valid if during the installation phase the HTTP and HTTPS ports were not changed.
To access the ThinMan Gateway configuration page you have to insert the password inserted during the installation phase (read Installing and removing ThinMan Gateway Software G1000W).
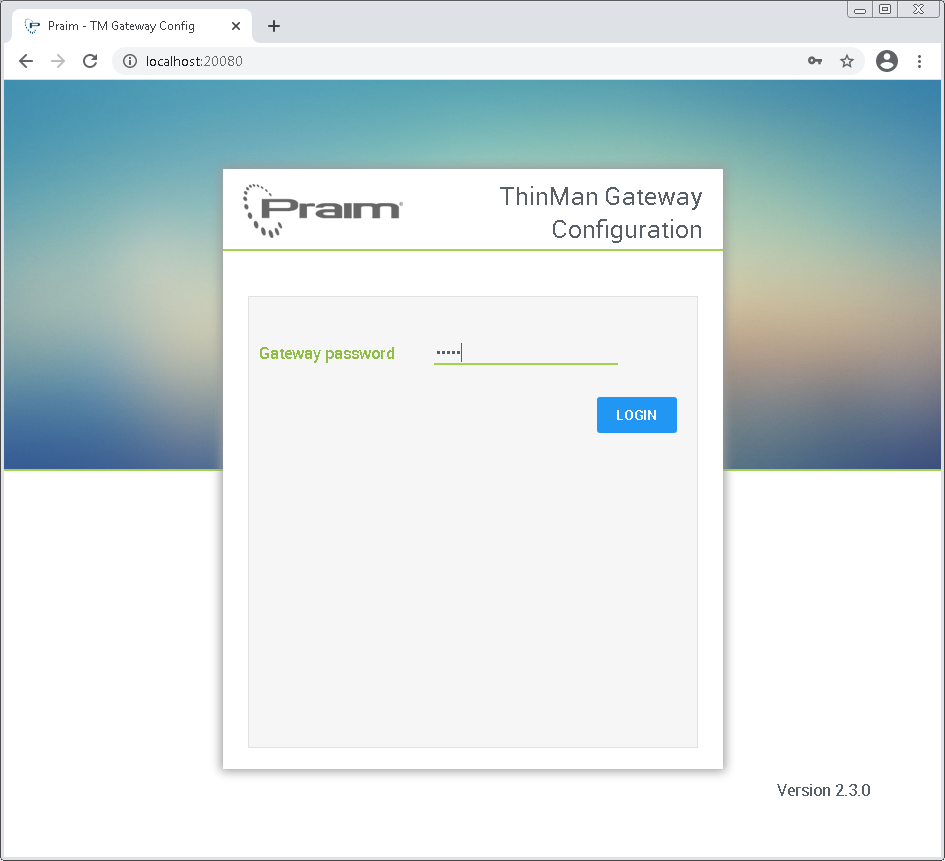
Insert the password and click on Login to access the configuration page.
¶ Configuration
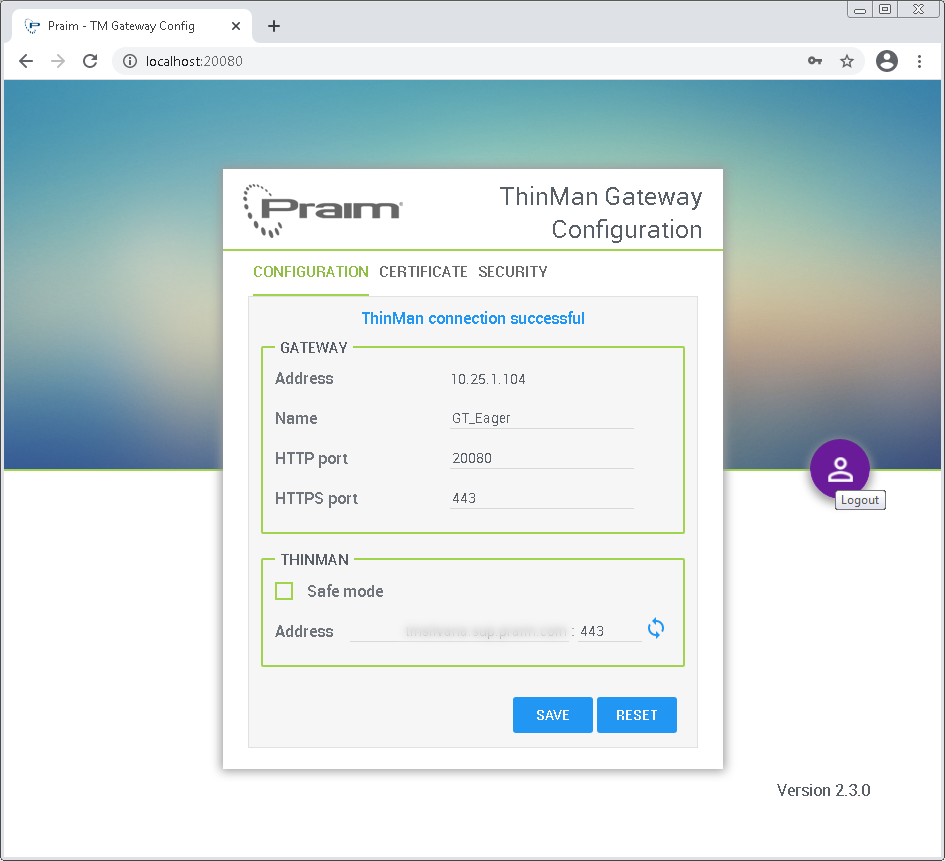
On the Configuration tab you can change the previously inserted configuration parameters:
- Name: is the name of the ThinMan Gateway that will be visualized in the ThinMan Console. Do not confuse it with the hostname of the server where the ThinMan Gateway was installed. (see Manage the ThinMan Gateway from the ThinMan Console);
- HTTP Port: is the port used to access the Gateway configuration web page through the HTTP protocol or used by the thin clients to download the packages during the upgrade;
- HTTPS Port: is the port used to access the Gateway configuration web page through the HTTPS protocol or used by the thin clients to communicate with the ThinMan Gateway;
- ThinMan Address: is the address of the ThinMan Server (can be an IP Address, hostname or FQDN name). If the ThinMan Server is not using the standard port (443) you have to change the specific parameter.

If the Safe mode is checked, the connection with the ThinMan Server is a Safe connection. This mode needs the ThinMan Address field be in FQDN format. The ThinMan server certificate will always be validated (read below the Certificate section)
The Gateway Address is a read only parameter and displays the current IP address of the server where the ThinMan Gateway Windows application G1000W is actually running. In order to change it you need change the NIC server IP address in Windows operating system network settings.
To change HTTP or HTTPS connection port to ThinMan Gateway or the referring ThinMan Server port the ThinMan Gateway will contact on, you can either type straight the field or click on upward/downward arrow beside it.
Port Default Values
Praim suggests leaving the HTTP and HTTPS ports to their default values unless there is a conflict with other services already active on the system.A change in this values means that in some cases these port values need to be configured elsewhere. E.g. a change in the HTTPS port requires that the port has to be configured accordingly on all thin clients referring this specific ThinMan Gateway in order they will be able to contact the ThinMan Gateway successfully.
After setting the ThinMan Address, you can click the double blue circular arrows icon to check the ThinMan Server connection.

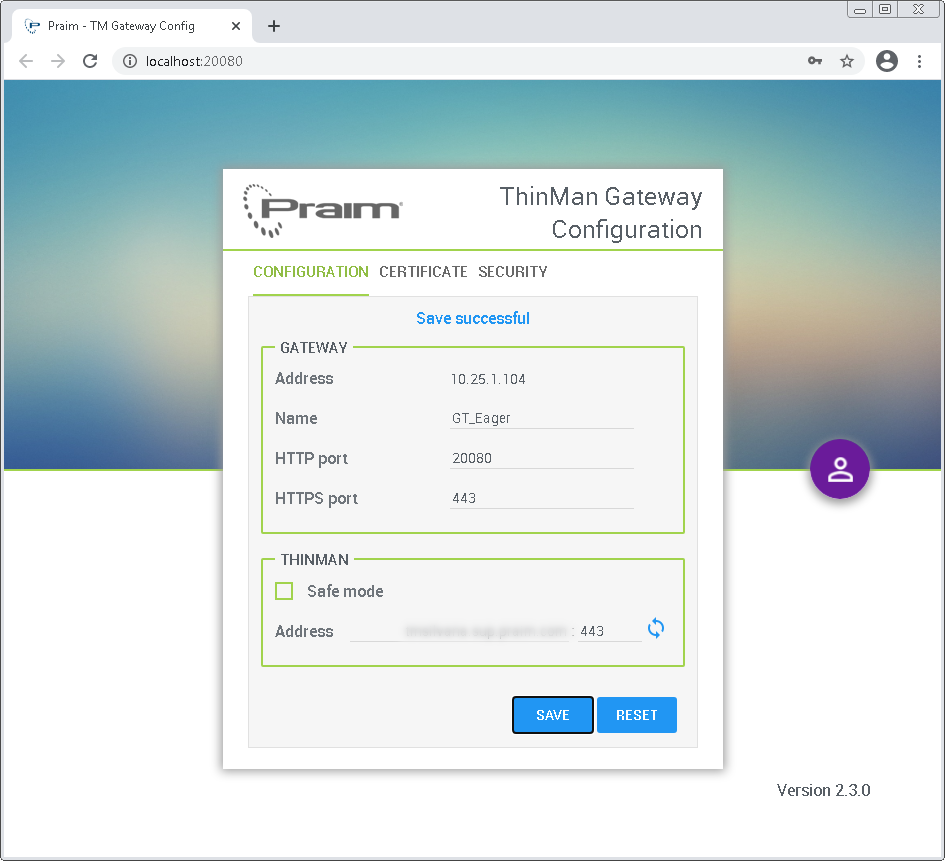
To confirm all changes you have done, click on the SAVE button.
The RESET button does not reset the ThinMan Gateway configuration to the default values, it only restores the last stored parameters discarding all unsaved modification.
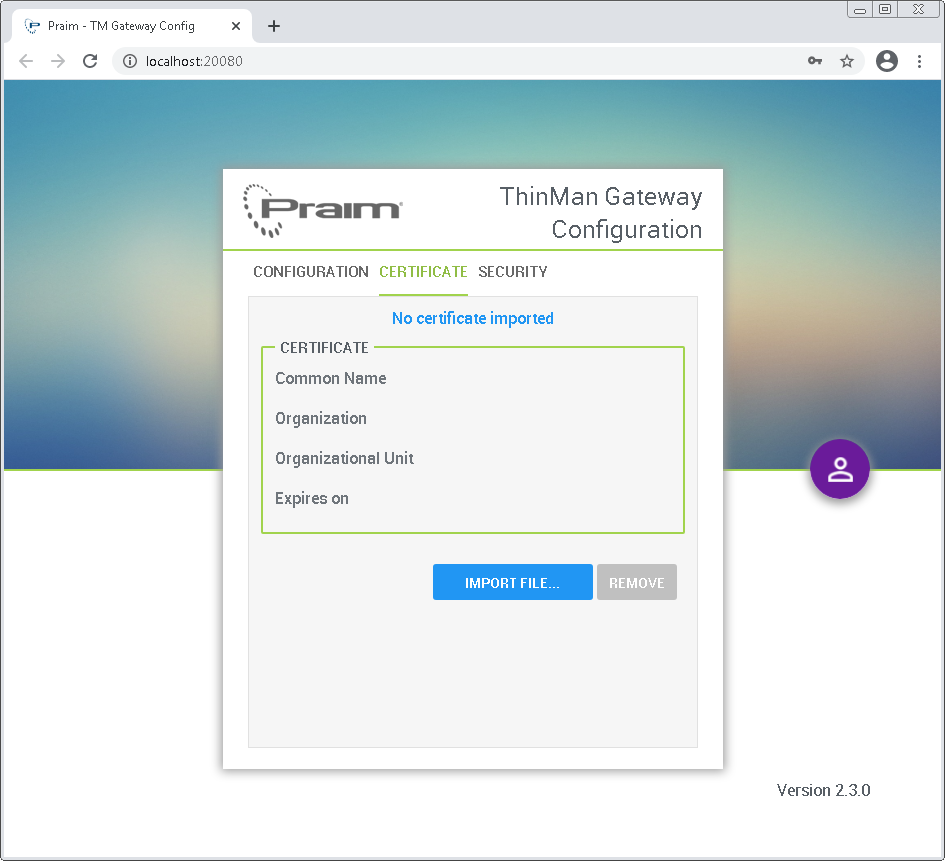
¶ Certificate
If it has been installed a CA certificate on the ThinMan server, add the CA certificate here.
¶ Security
On the Security tab you can change the protection password inserting the new password and re-typing it to confirm. Click on the Change Password button to save it.

You can Logout from the application using the purple icon on the right of the page.