The ThinMan Gateway appliances come in two different formats: G1000A (hardware appliance) and G1000V (virtual appliance). Both are based on ThinOX O.S.
Once they are placed and connected to the network, you can configure them in two different ways:
- A manual method where you set the parameter through the web interface and the control panel
- An automatic way where you will provide the settings through the network.
The most important configuration parameter is the address of the ThinMan Server to which the ThinMan Gateway have to refer to. The ThinMan Gateway needs this address to connect the ThinMan Server and start communicating with it.
Another important configuration is the network configuration of the appliance (hardware or virtual).
Default Password
The default password for the web configuration page of the ThinMan Gateway is praim (you can change it, see below).You can use a browser and open the URL
http://<ThinManGateway_hostname_or_ip>:20080where <ThinManGateway_hostname_or_ip> is the placeholder for ThinMan Gateway name or IP address.
¶ Appliance Network Configuration
As mentioned before the Gateway Appliance products are based on ThinOX.
The ThinMan Gateway is configured to obtain an IP Address using the DHCP server of the network to which it is connected.
If you want to provide a static IP Address to the ThinMan Gateway device you can do this in two different ways:
- using a DHCP reservation (suggested way to provide the IP Address)
- setting the IP Address manually
To manually change the network settings for the Gateway you have to connect it to a monitor and access the configuration panel as explained in the ThinOX - Settings panel link. Then you have to access the ThinOX - Wired Interface configuration panel.
¶ ThinMan Server Address Manual Configuration on ThinMan Gateway
This configuration could be used if you do not have many ThinMan Gateways to manage.
Access the ThinMan Gateway web configuration page using a browser pointing the URL "http://<IP_Address_or_FQDN_ThinMan_Gateway>:20080".
In case you are accessing the desktop of the ThinMan Gateway there is an icon that opens the URL using the localhost address: "http://localhost:20080"
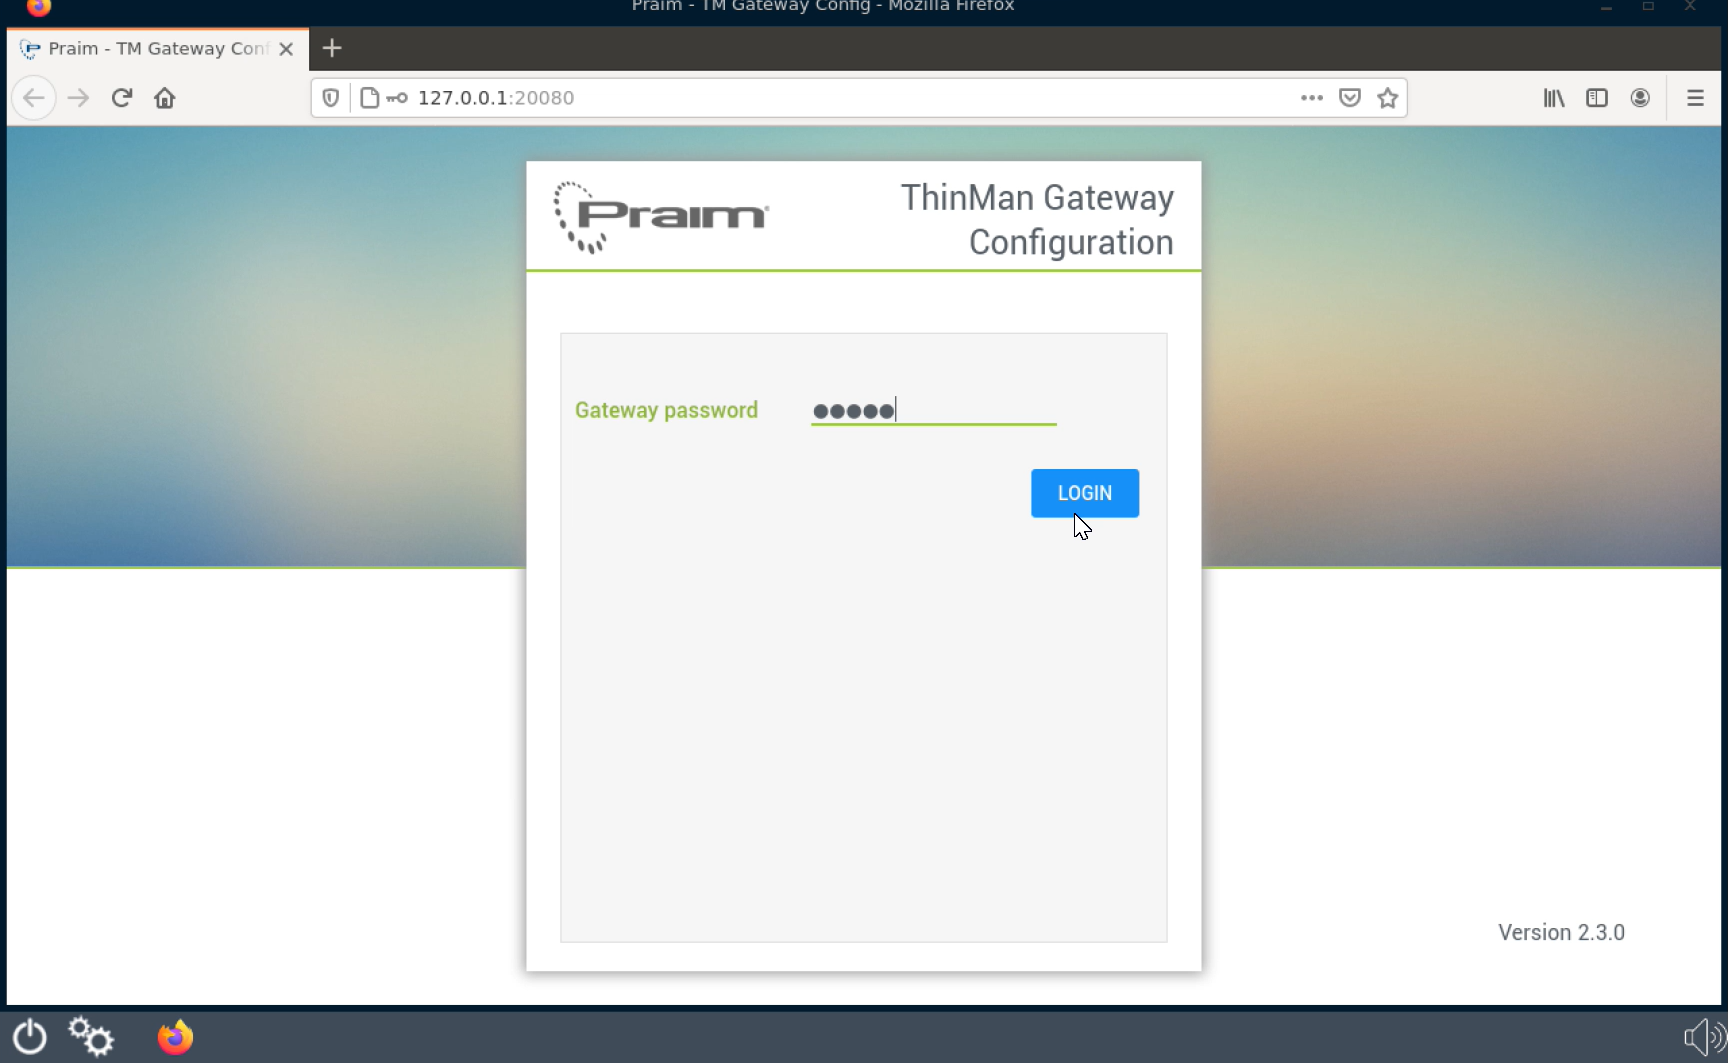
To access the ThinMan Gateway configuration page, you have to insert the password (see note above Default Password) about ThinMan Gateway default password).
Insert the password and click on Login to access the ThinMan Gateway configuration page.
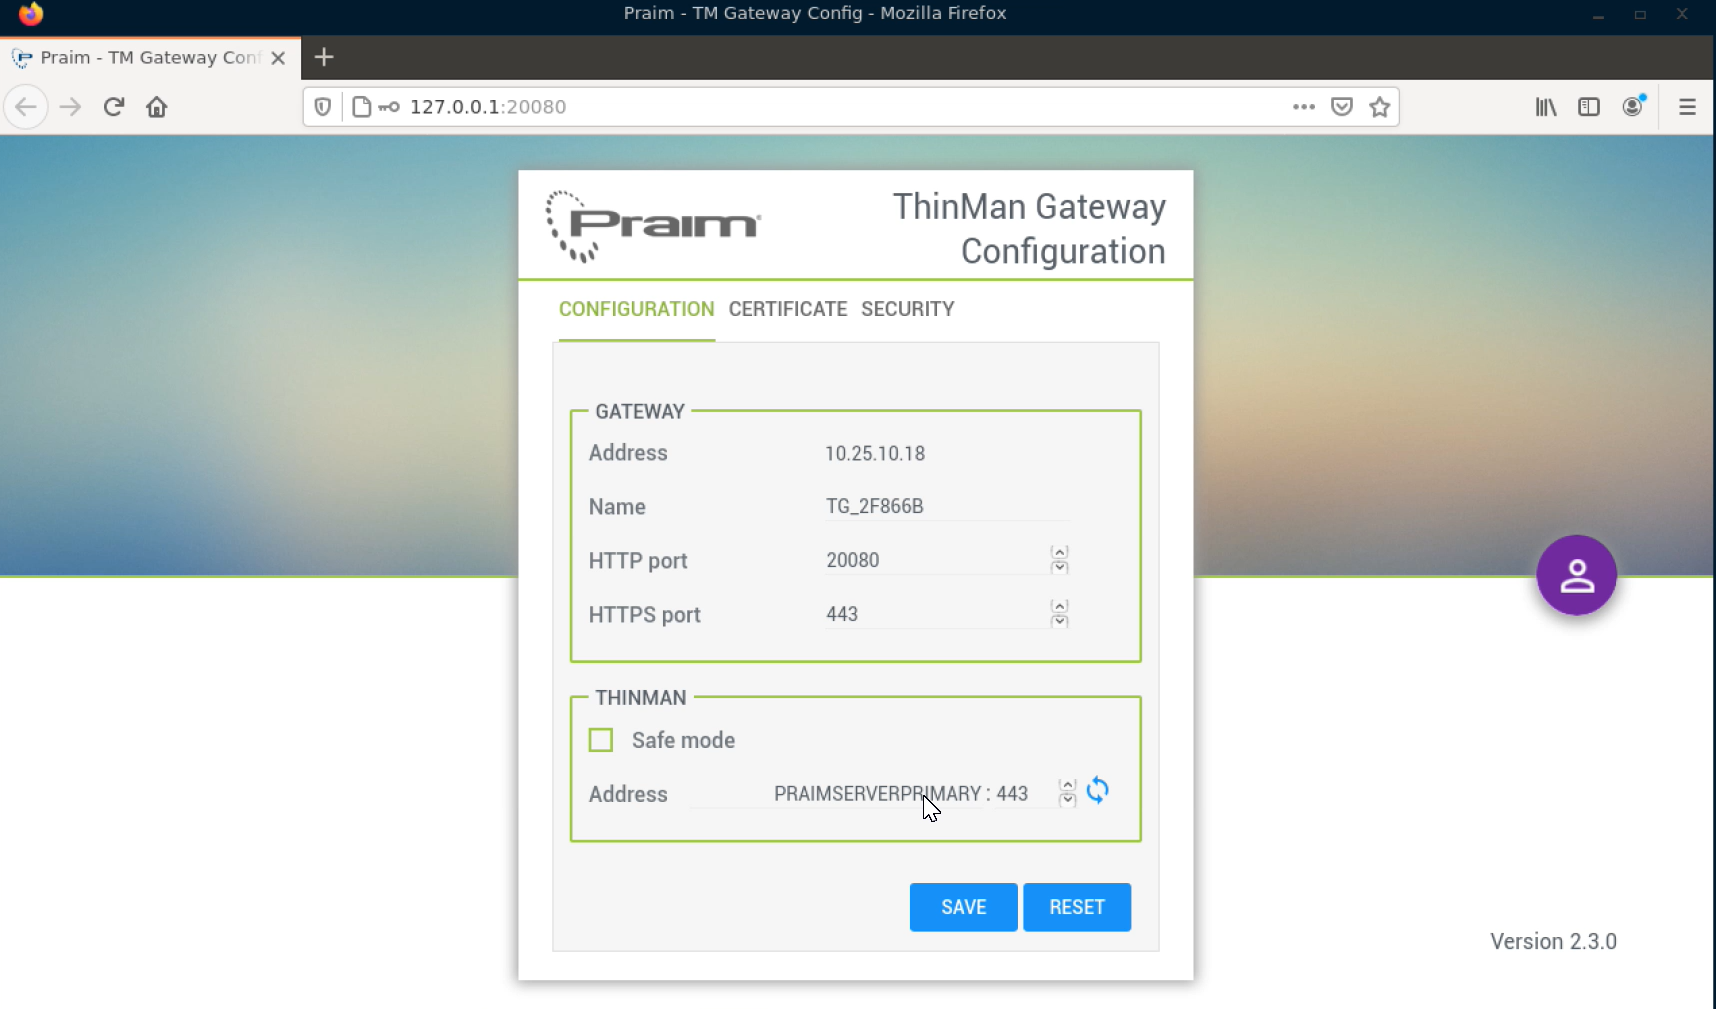
From this page, you can enter the ThinMan Address in the available field (it can be an IP Address or an FQDN name). If the ThinMan Server is not using the standard port (443), you have to change the specific port parameter too.
After setting the ThinMan Address, you can click the double blue circular arrows icon to check the ThinMan Server connection.
Click on Save to keep the changes.
¶ Automatic Configuration of the ThinMan Server address
There are two different ways to let the appliance aware about the ThinMan Server address:
- using DHCP option 164
- resolving the PRAIMSERVERPRIMARY FQDN on the DNS server
Using one of these options is the best and recommended way to set the ThinMan Server address on a ThinMan Gateway.
With this approach there is no need to configure manually each ThinMan Gateway in your network.
DHCP 164 option availability
The DHCP option 164 is available only on ThinMan Gateway Appliance G1000A and G1000V.
DHCP option 164 overwrites any manual network setting
Note that if you are using the DHCP Option 164 to provide the ThinMan Gateway with the ThinMan Address, this will overwrite any other value set manually by the ThinMan Gateway web configuration page.When the DHCP Option 164 is not provided anymore, remember that the last DHCP option 164 value will be present as ThinMan address in the ThinMan Gateway and will have to be changed manually through the ThinMan Gateway web configuration page.
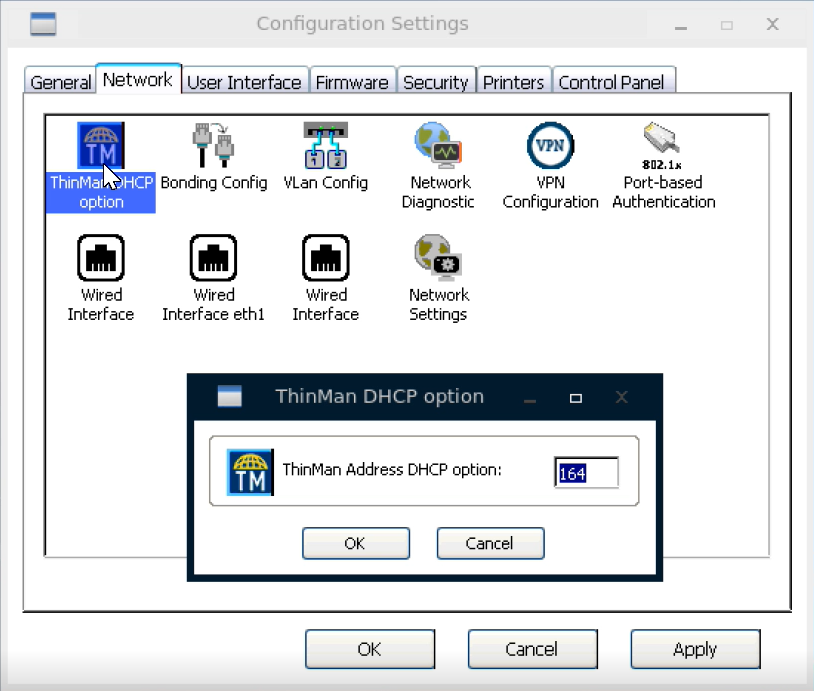
You can change the DHCP Option value accessing the Configuration Settings panel. In the Network tab, double click the "ThinMan Repeater" icon. You can eventually delete this parameter so the ThinMan Gateway will not use any DHCP Option.
¶ Other configuration parameters
¶ Configuration tab
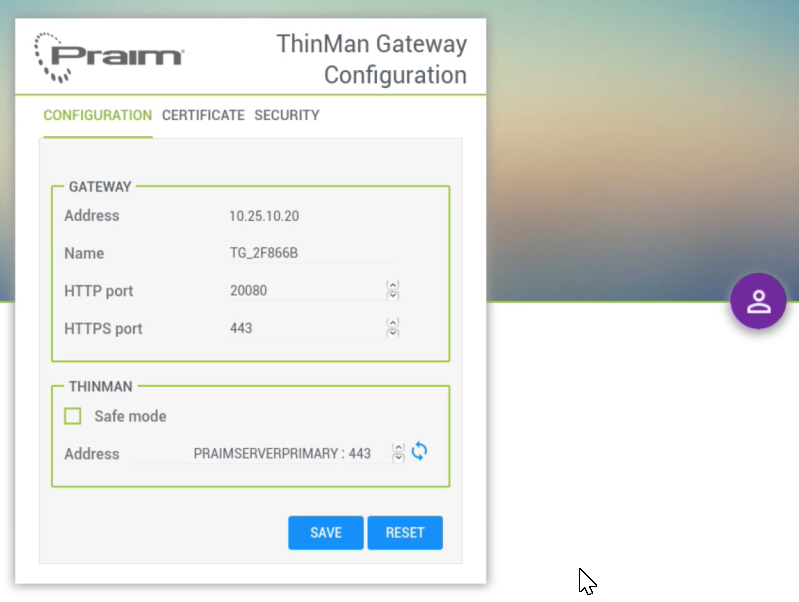
In this tab you can change the configuration parameters:
- On the Gateway group:
- Gateway Address: is a read only parameter and it displays the current address of the server (IP Address) where the ThinMan Gateway Windows application G1000W is actually running. In order to change it you need change the NIC server IP address in Windows operating system network settings.
- Name: name of the ThinMan Gateway that will be visualized in the ThinMan Console window (see Manage the ThinMan Gateway from the ThinMan Console).
- HTTP Port: port used to access the configuration page through the HTTP protocol or used by the thin clients to download the packages during the upgrade.
- HTTPS Port: port used to access the configuration page through the HTTPS protocol or used by the thin clients to communicate with the ThinMan Gateway.
- On ThinMan
- Address: the address of the ThinMan Server (IP Address or FQDN name). If the ThinMan Server is not using the standard port (443), you have to change the specific parameter too.
Port Default Values
Praim suggests to not change the HTTP and HTTPS ports default values. A change in these values implies that these ports' values need to be configured elsewhere. E.g. a change in the HTTPS port means that the port has to be configured accordingly in all thin clients referring this specific ThinMan Gateway in order to be able to contact the ThinMan Gateway successfully.
After setting the ThinMan Address, you can click the double blue circular arrows icon to check the ThinMan Server connection.
To change HTTP or HTTPS connection port, you can either type straight the field or click on upward/downward arrows.
To confirm all the changes click on SAVE.
If you want to restore the last stored values click on RESET.
RESET Button...
The RESET button does not reset the ThinMan Gateway configuration to the default values, it only restores the last stored parameters, it discards all unsaved changes.
¶ Certificate
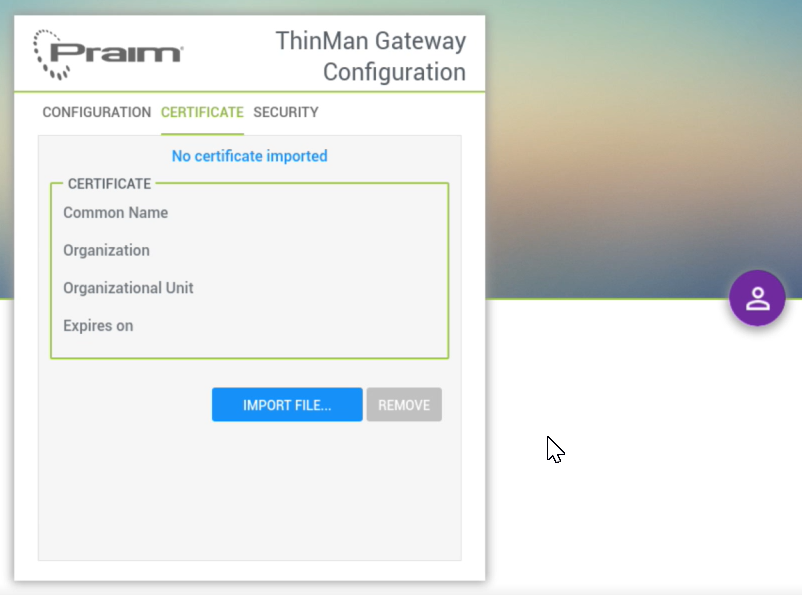
If it has been installed a CA certificate on the ThinMan server, add the CA certificate here.
¶ Security tab

In this tab you can change the protection password by inserting the new password and re-typing it to confirm. Click on Change Password to save it.
¶ ThinMan Gateway Configuration Interface Logout
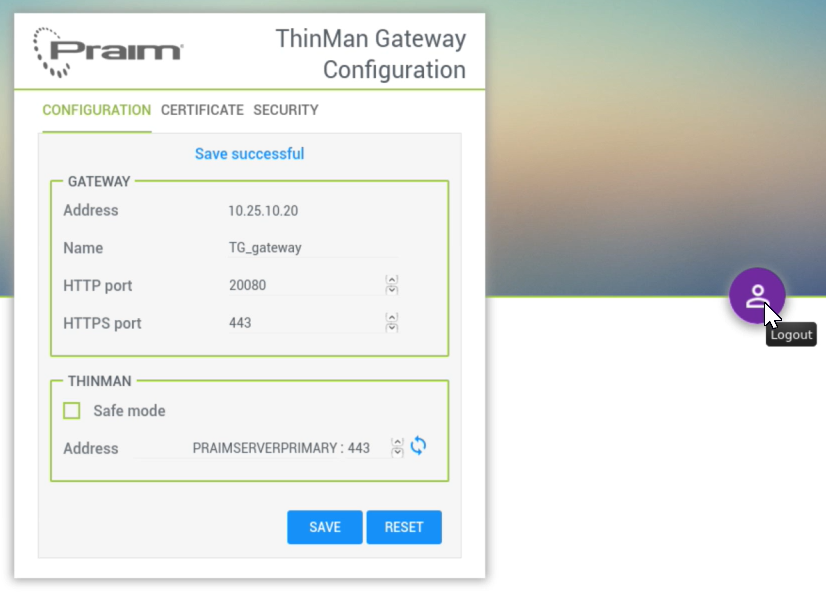
You can Logout from the application by clicking on the purple logout icon.