¶ Introduction
This guide explains how to make and apply device specific configurations for Agile based end points with ThinMan.
¶ Pre-Installation Requirements
It is assumed that ThinMan is installed and the necessary network configurations to automate the connection between Agile endpoint and ThinMan server are made. Please refer to Configuring Praim Devices to Contact ThinMan Guide if this has not already been established.
¶ Applicable Versions
- ThinMan 7.x.x
- ThinMan 8.x.x
- W10 IoT LTSB 2016 2.x.x
- W10 IoT LTSC 2019 3.x.x
- Agile 2.x.x.
¶ Configuration Procedure
Check that the device is connected to ThinMan. Then, either remotely connect to the device (right click on the device, select Remote Assistance -> Full Control) or work from the endpoint (open the Agile configurator).
Admin Password:
Remember that the Admin account default password is Admin.
The Agile configurator will open.
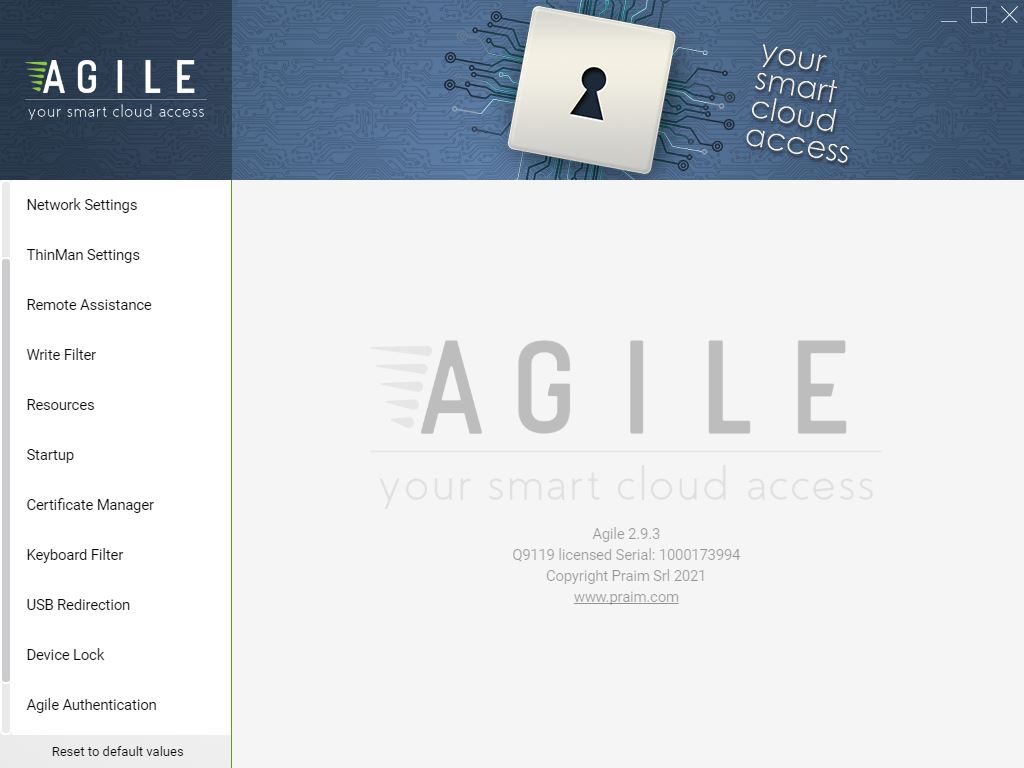
Configure the device to your specification.
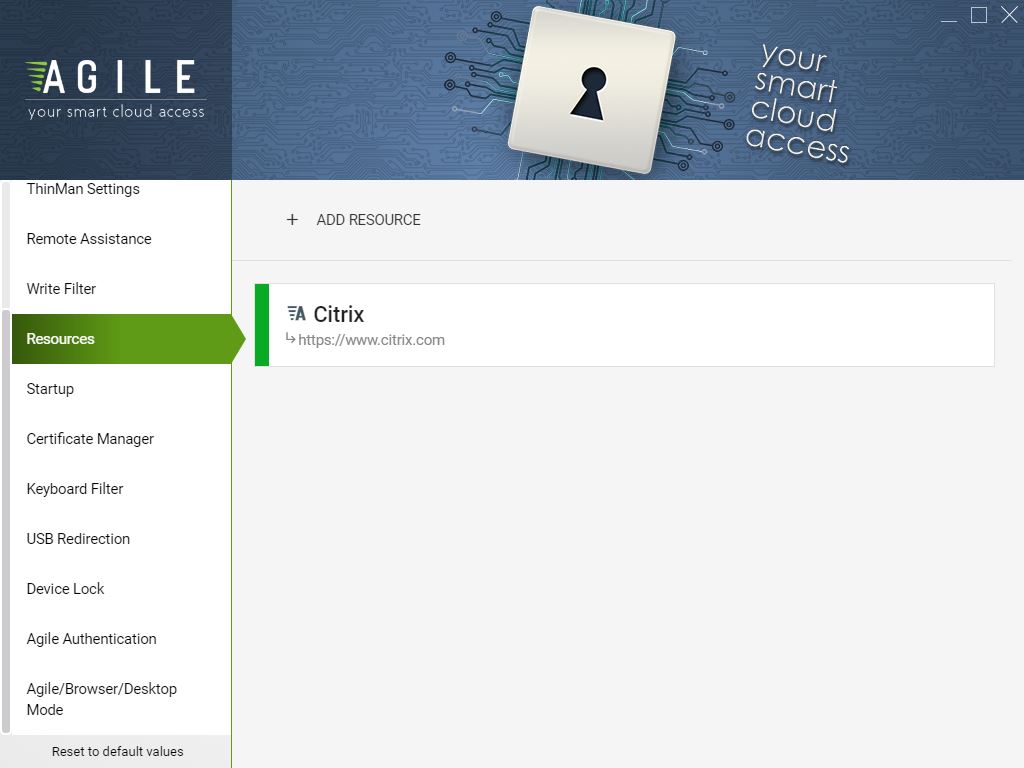
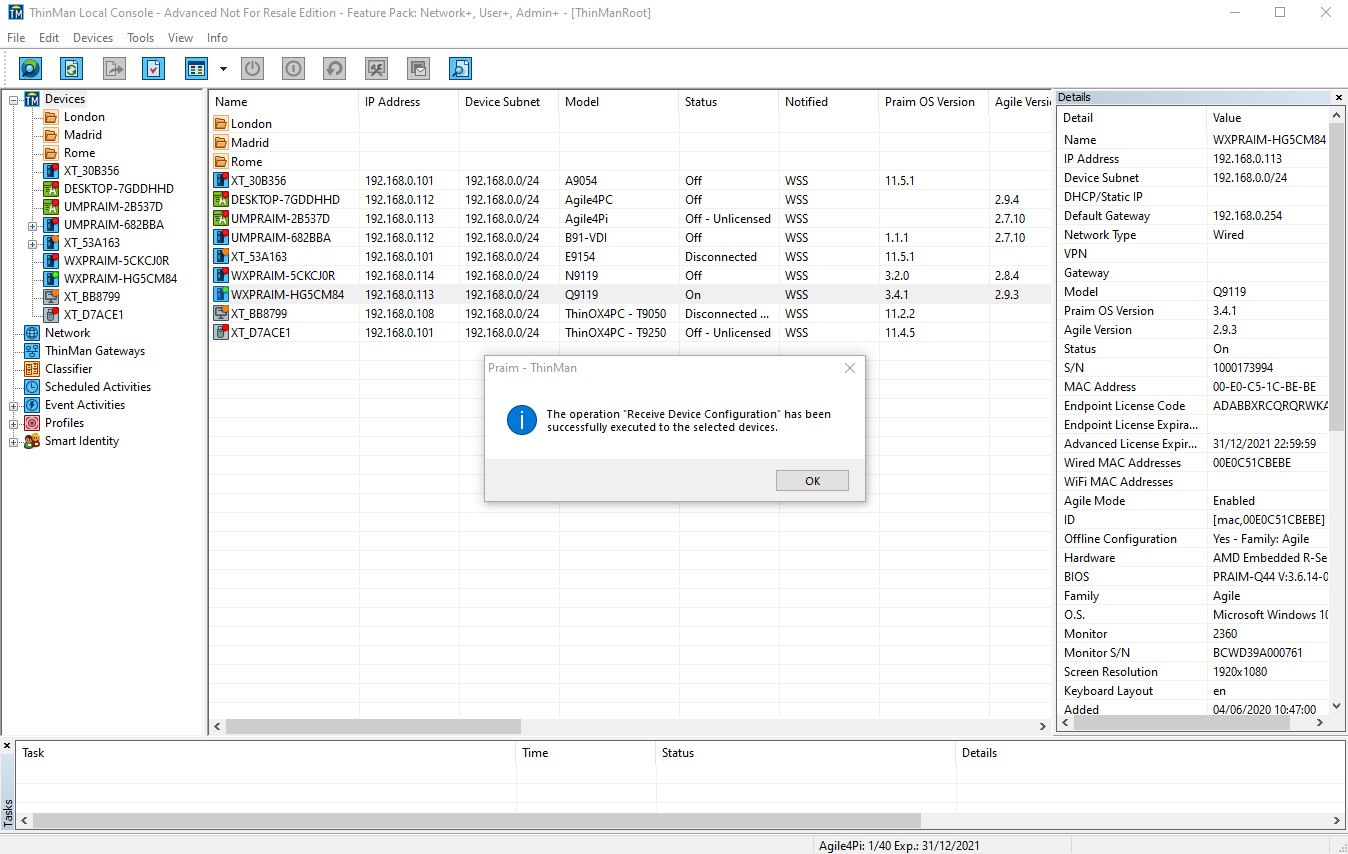
Once the configuration is tested and ready, open ThinMan and highlight the device, right click Offline Configurations -> Receive from Device.
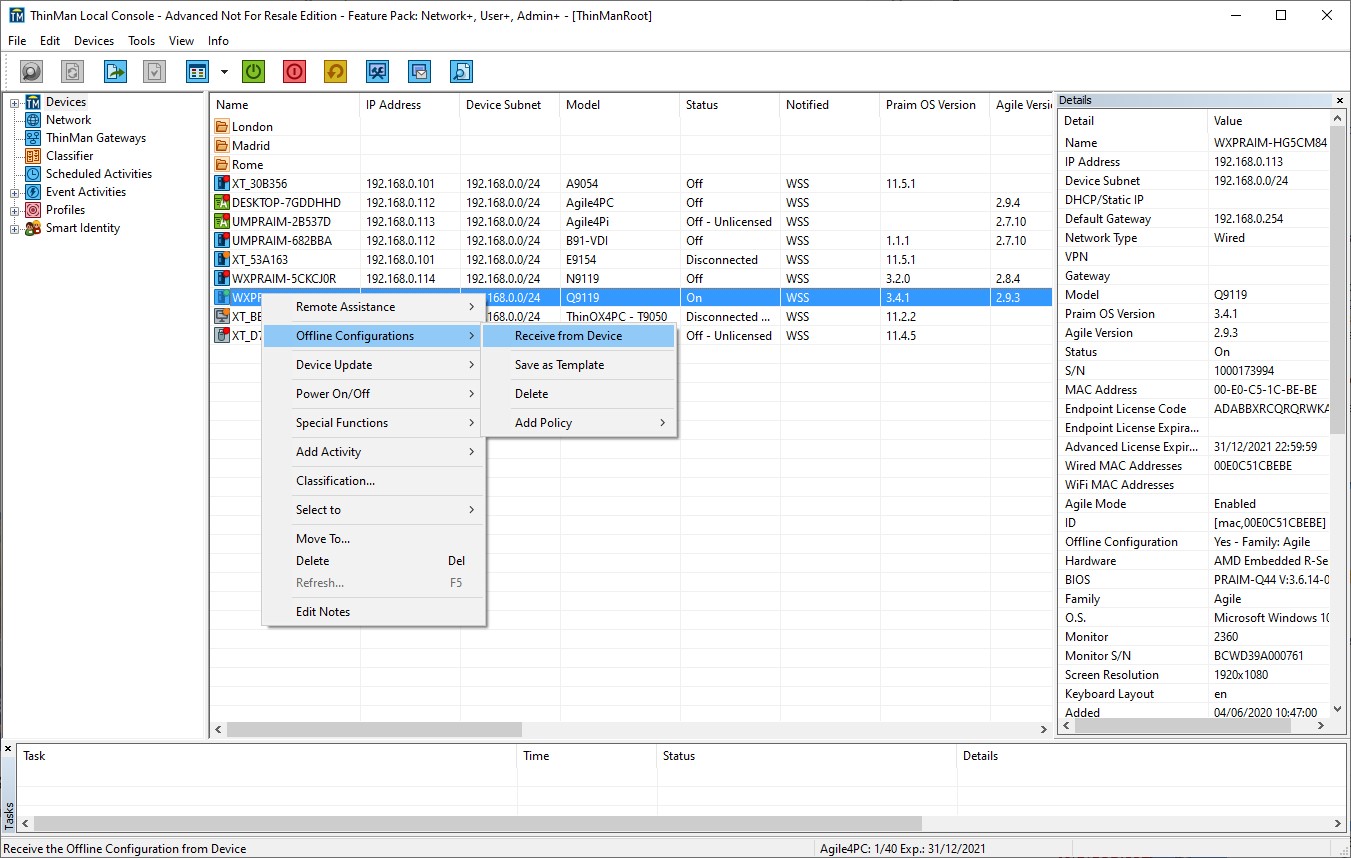
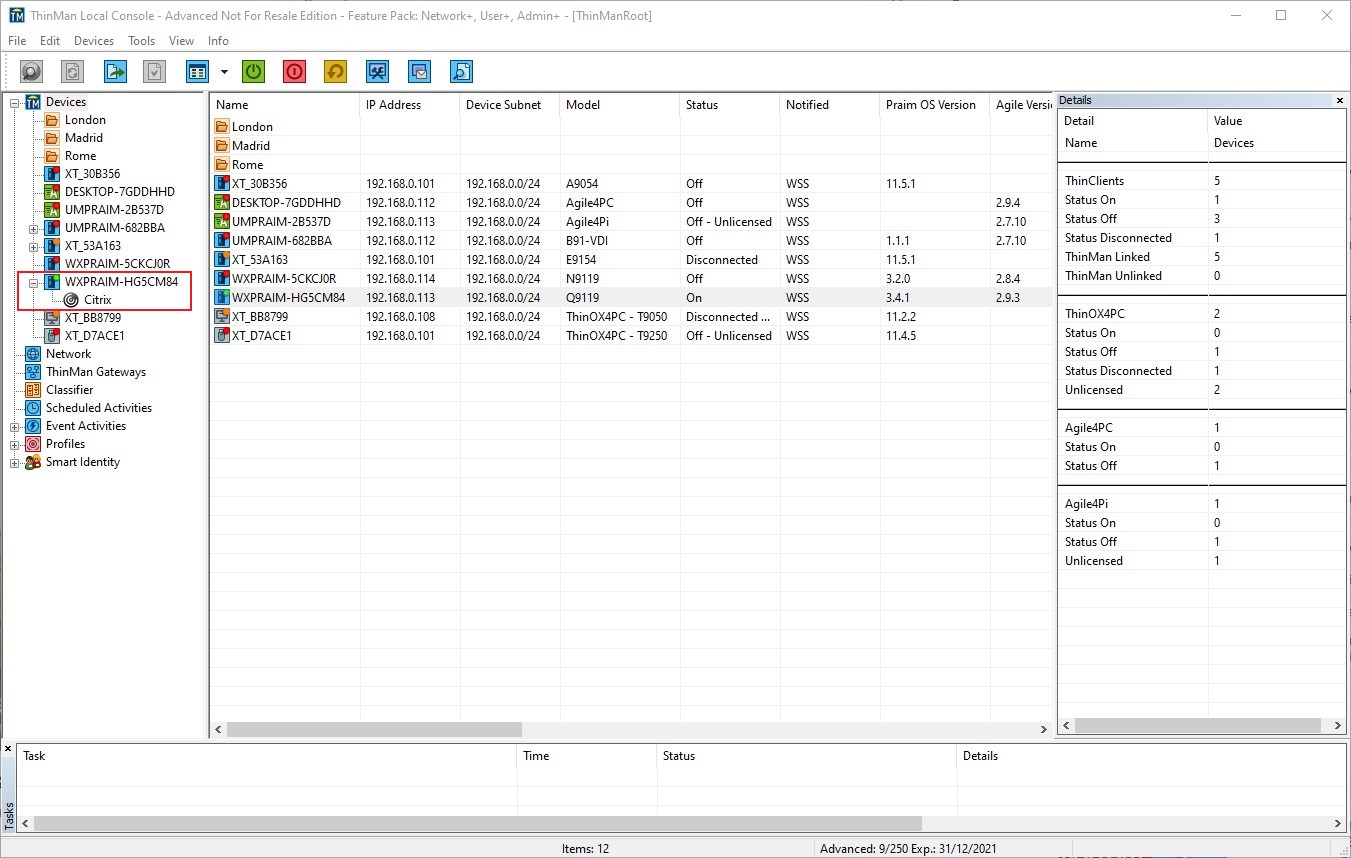
The listed device in the Devices column will now have a + besides its name. Selecting the + sign will open the configured resources.
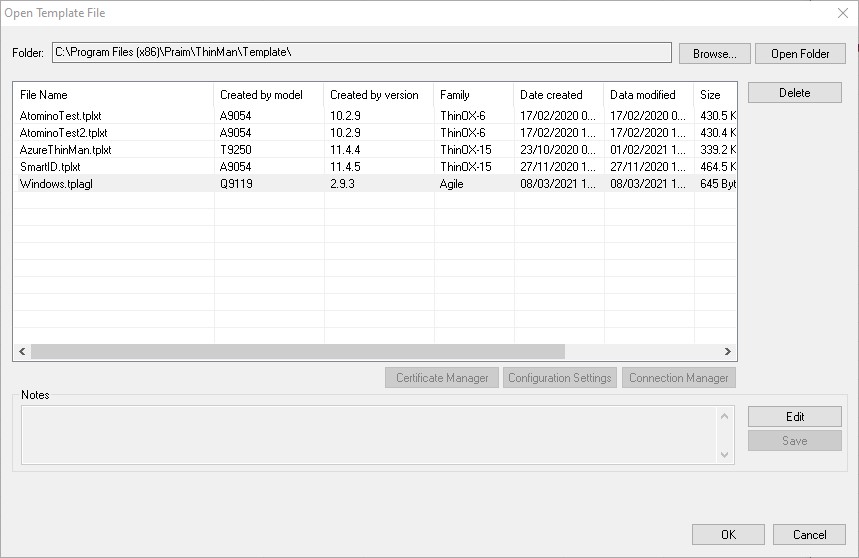
Right click the device again, and select Offline Configurations -> Save as Template.
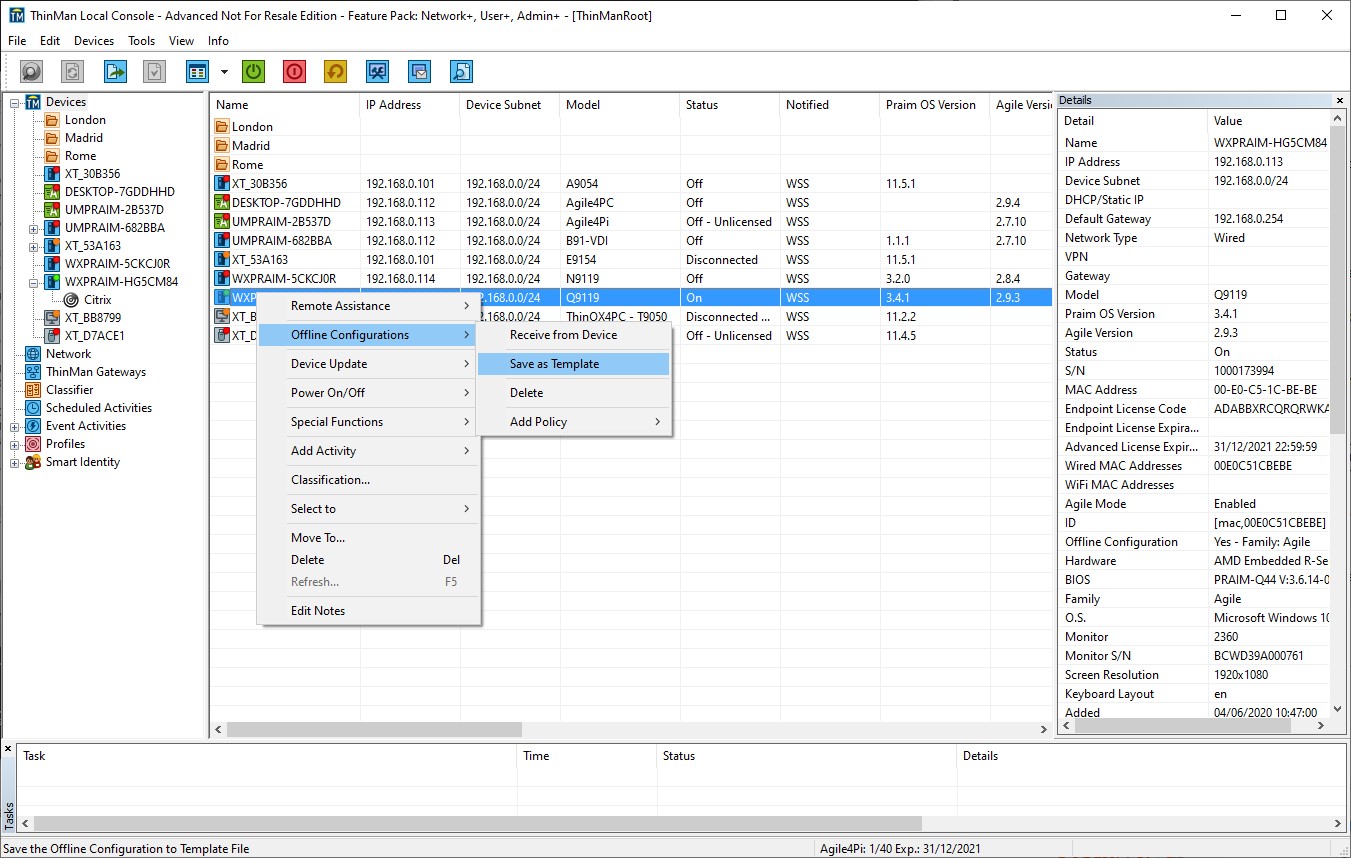
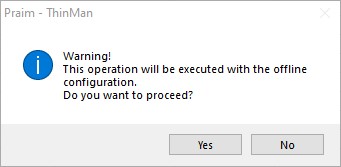
A warning message will open to remind that this is an offline configuration, select Yes to proceed.
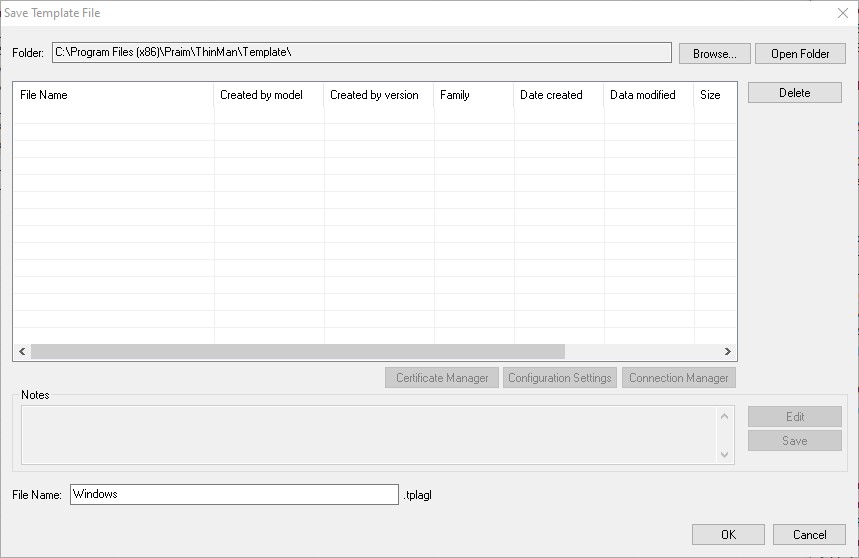
The Save Template window will open. Add a file name and select OK.
¶ Template Deployment
To apply the saved configuration to other Agile devices, the saved template can be deployed through ThinMan Profiles and Policies.
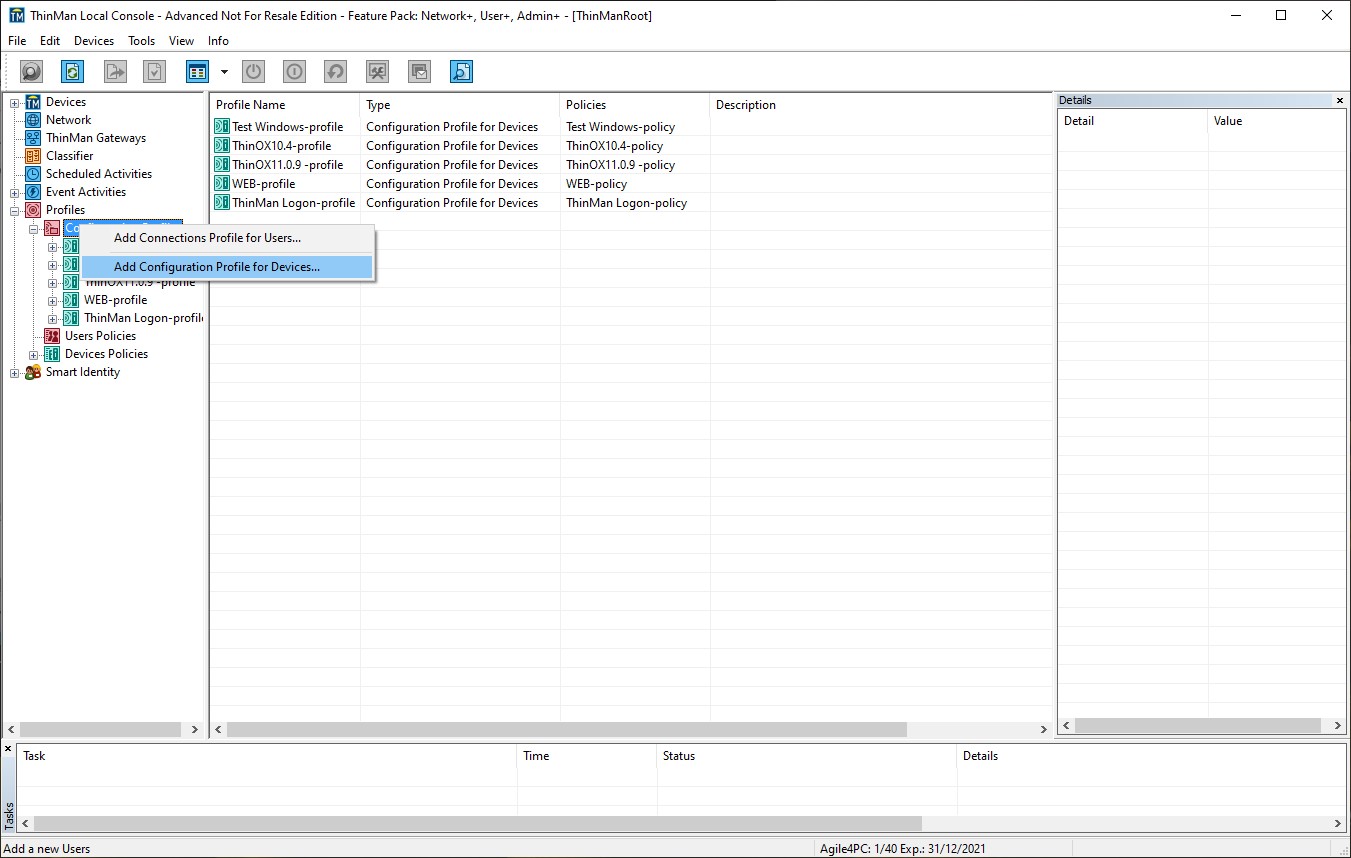
Open Profiles and Right Click on Configuration Profiles.
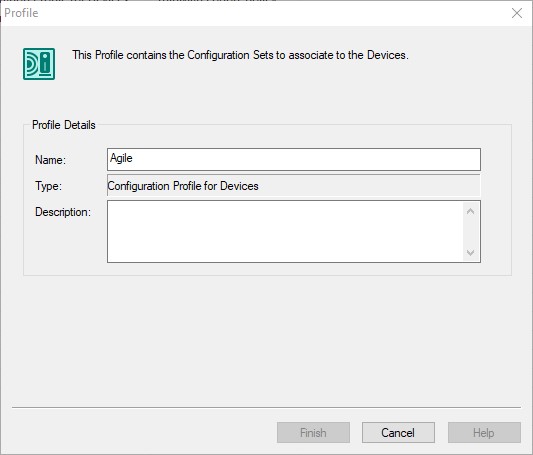
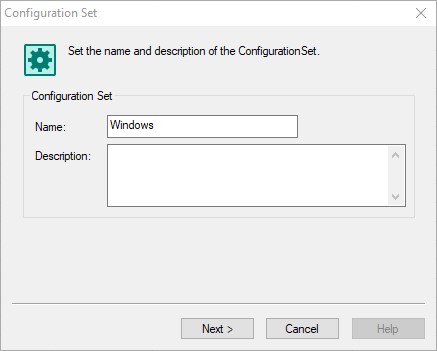
Enter a name for the Profile.
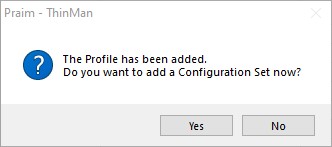
Select Yes to associate a configuration set to the Profile.
Select the Template to be associated to the Profile.
Enter a name for the configuration set. It is possible to have multiple configuration sets associated to a Profile and this name distinguishes each of them. For more information on this read the Configuration Profile for Devices.
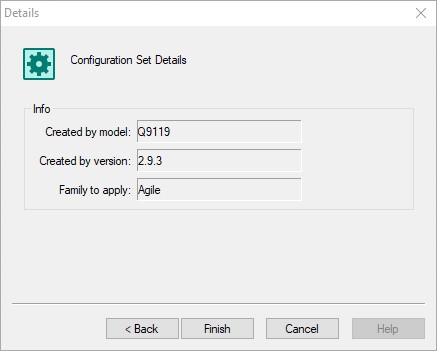
The details of the configurations set are shown next. This is to ensure that the correct configuration set is being used. The data from the template will be copied into the Configuration Set and is not linked data, so if the original template file is deleted or modified, this will not effect the contents of the created configuration set.
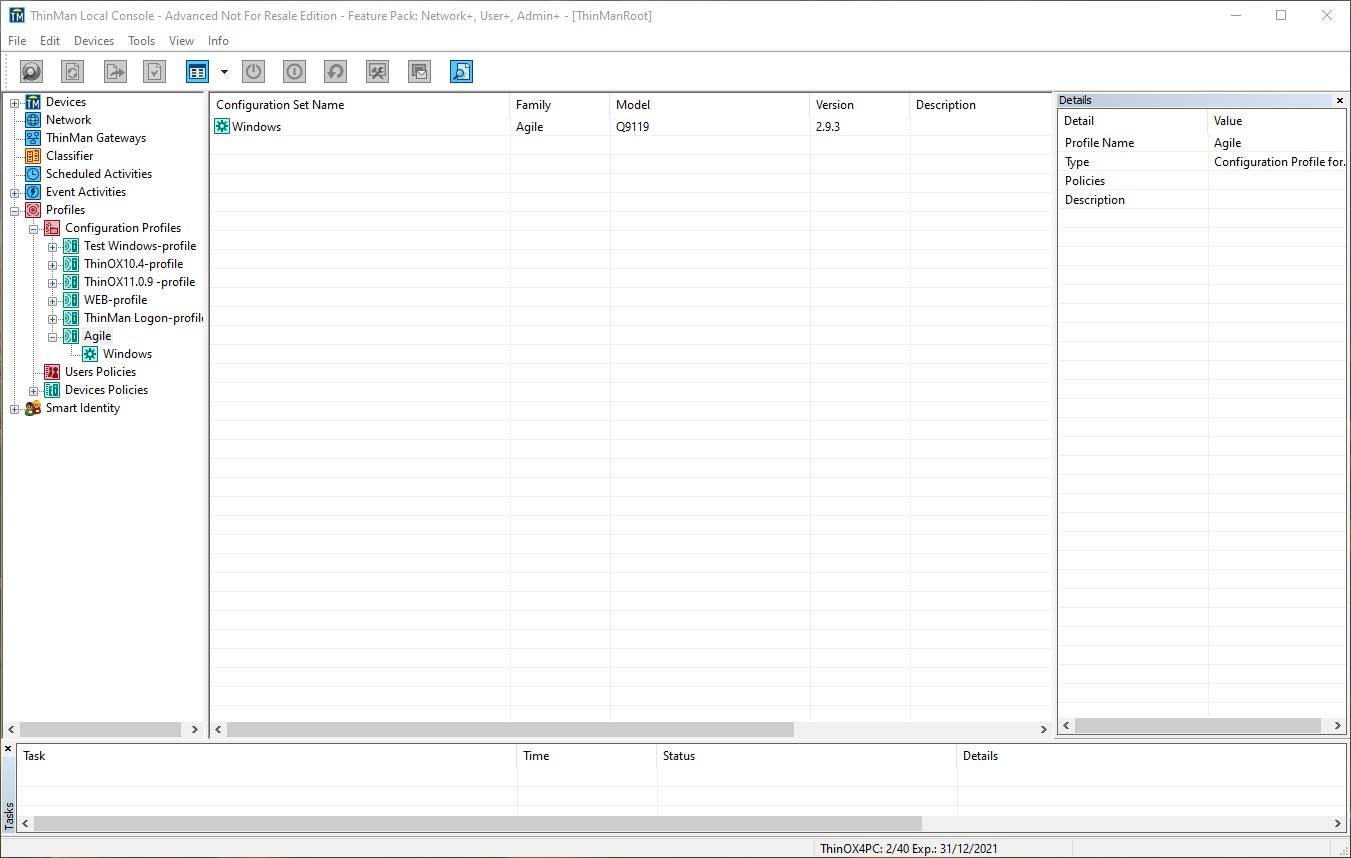
The Profile is now created.
The Profile can now be deployed. This is achieved through the Devices Policies. Right click this option and select Add Policy.
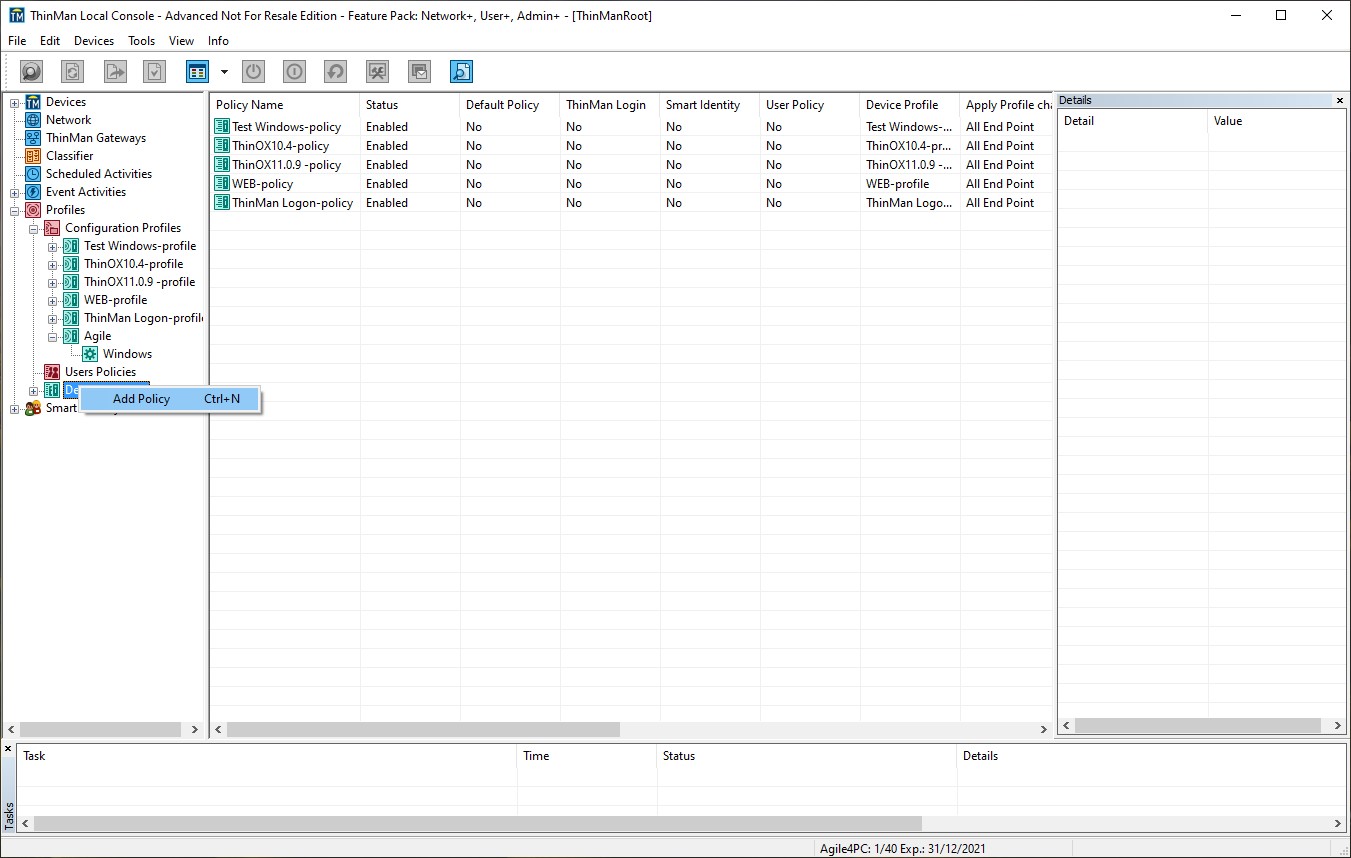
Enter a name for the Policy and check that the status is Enabled.

The next Windows is relevant for ThinMan Login and ThinMan Smart Identity. Next to continue.
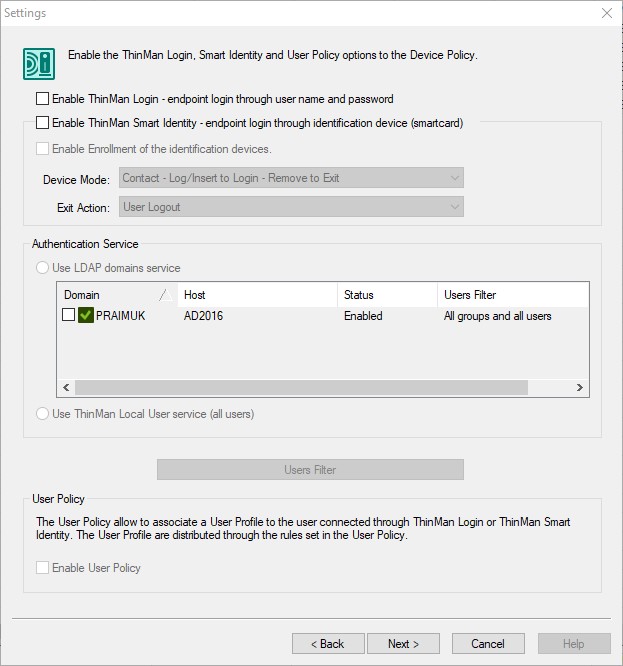
On the Devices Profile tab, select the Devices Profile check box and the profile from the drop-down menu.

For now, leave the other settings at default. For more information read the Devices Policy chapter. Click Next to continue.
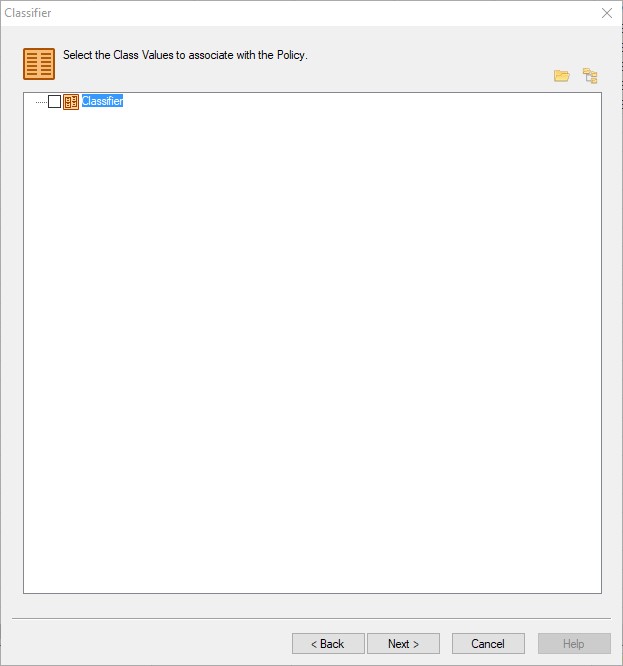
The Classifier window will open, click Next.
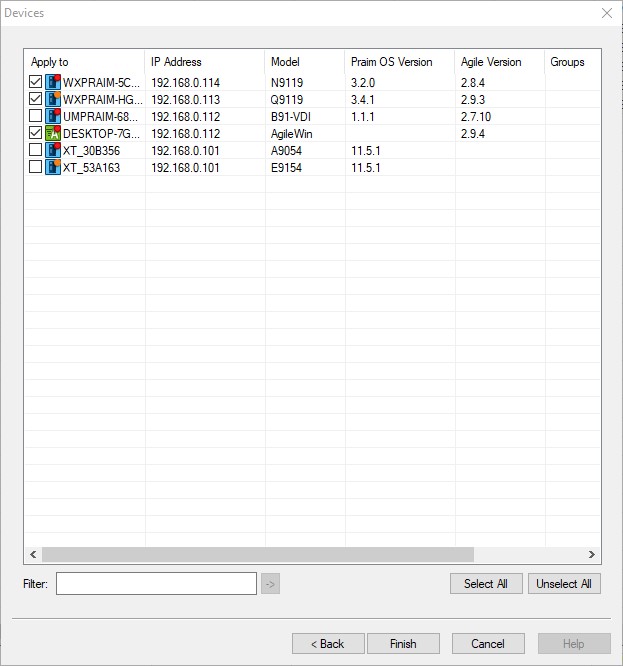
The Groups Windows will open. Select the appropriate Groups or select Next to choose specific devices.
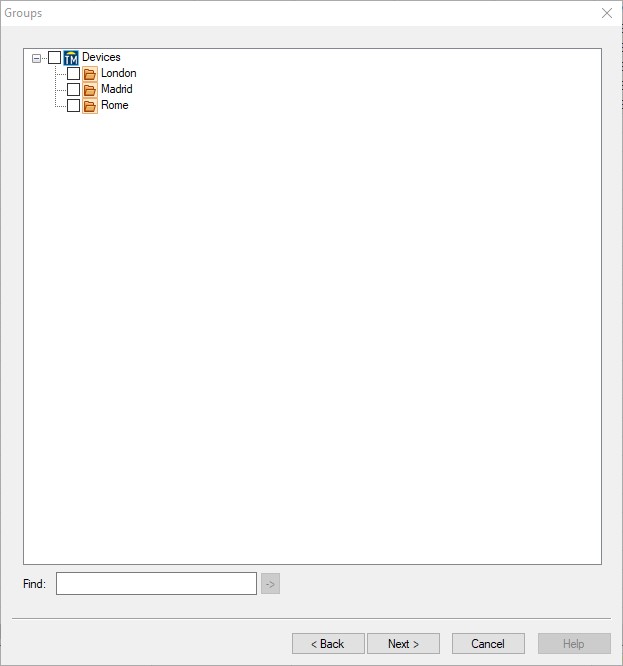
Select specific devices and the select Finish.
The Policy is now created. Selecting the Policy will now list the devices associated to it.
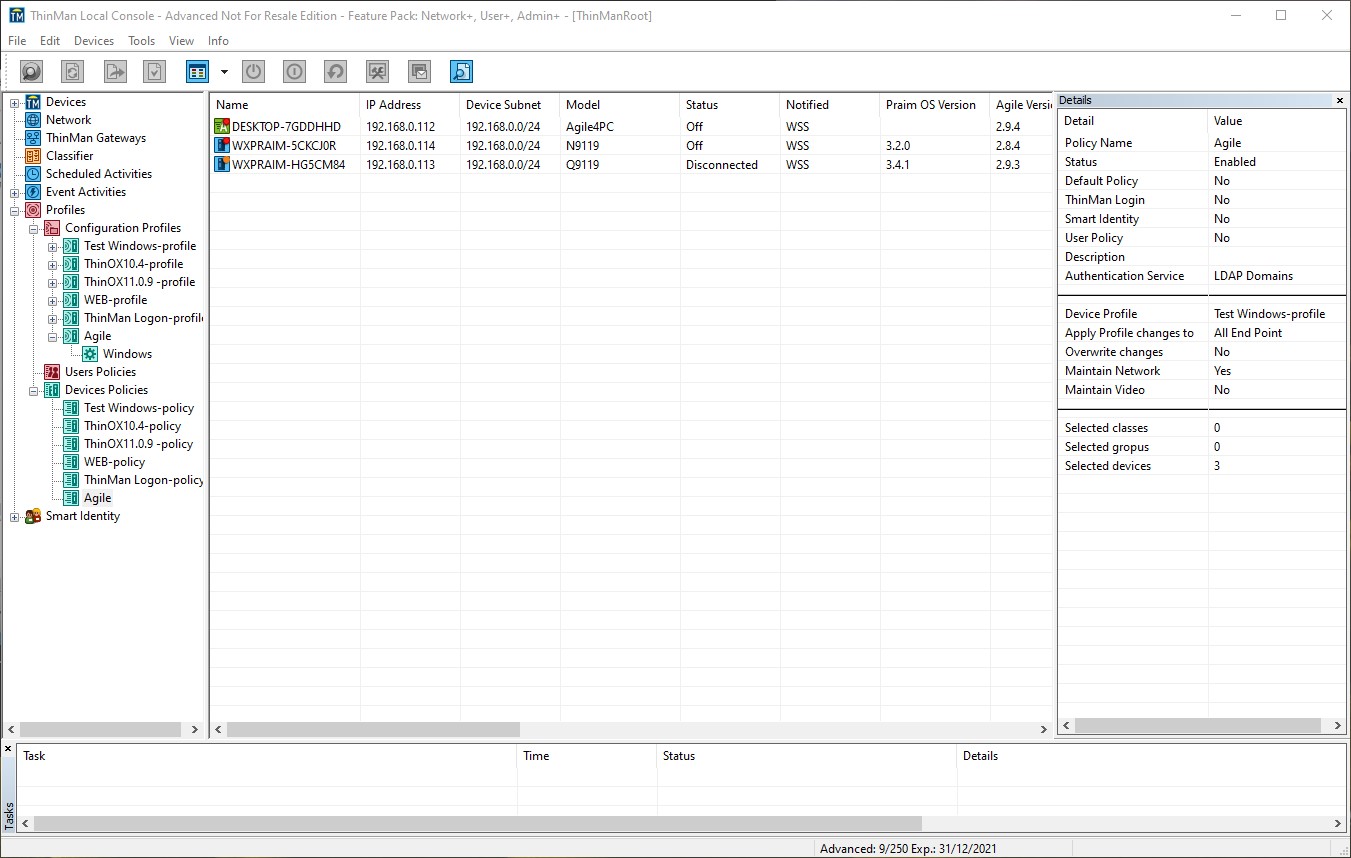
Selecting a Device and show that the Policy has yet to be applied to it.
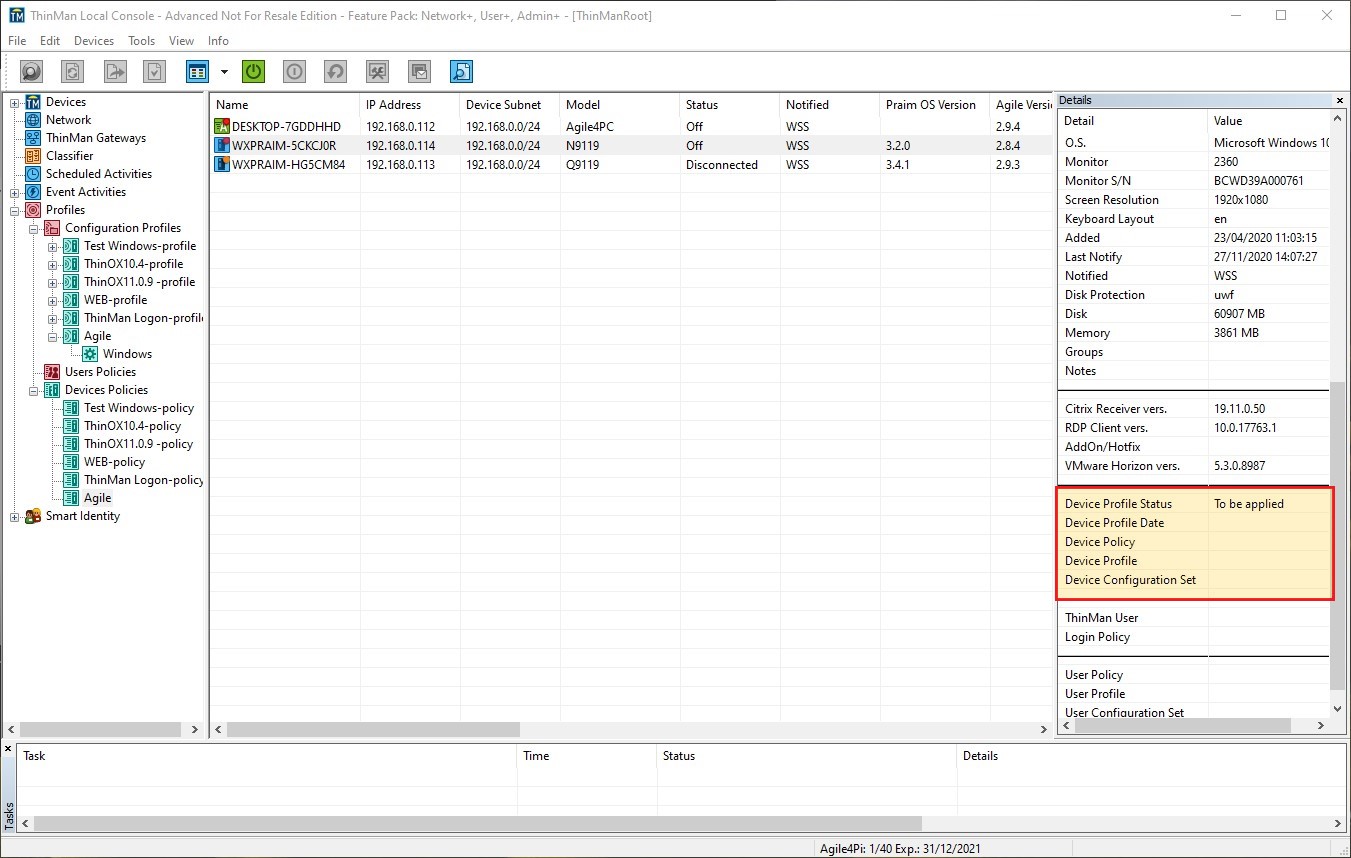
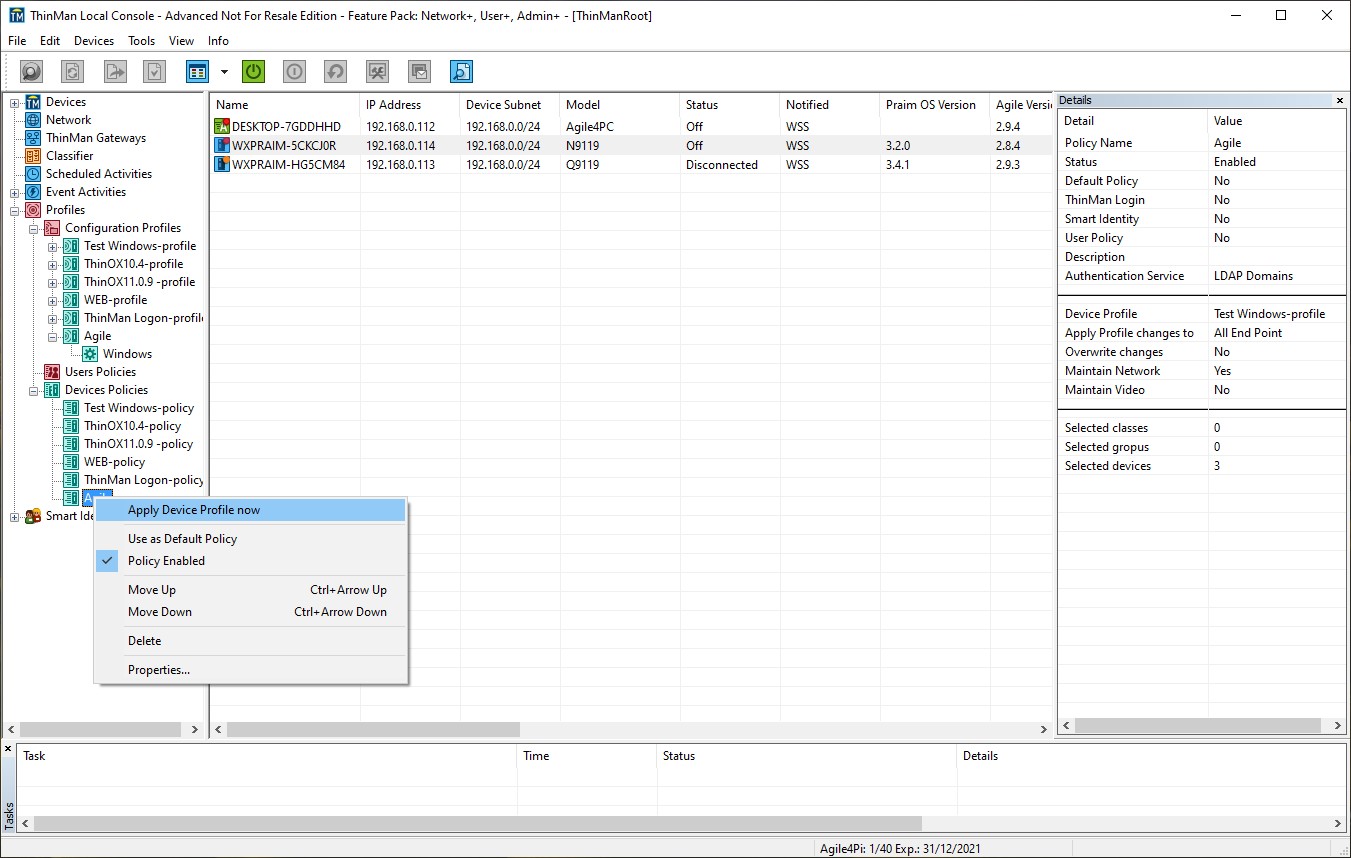
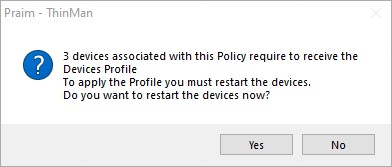
The Policy will apply when the device next reboots, however this can be immediately pushed to the devices within the group by right clicking the Policy and select Apply Policies Now. This will reboot all devices that are on in the Group.
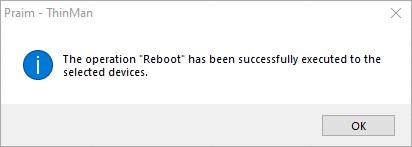
This will provide the following warning message.
Reboot message to show success will then open.