¶ Requirements
A microSD (16 GB) that will contain the Ubuntu Mate O.S. and the Agile Configurator. Remind: the data stored in the microSD are lost after the process.
A ThinMan Server with the appropriate licenses for Agile4Pi.
To flash the micro-SD, you must use a PC. Download on the PC, from the Etcher website (link: https://etcher.io/), the Etcher software that is needed to write the entire O.S. on the micro SD. For this specific tutorial the 64-bit portable software is used, you do not need to install anything on your Windows PC. Note: screenshots are taken using the version 1.4.4, so they could be a little bit different for other versions or other operating systems (e.g. for Mac).
¶ Download the Image File
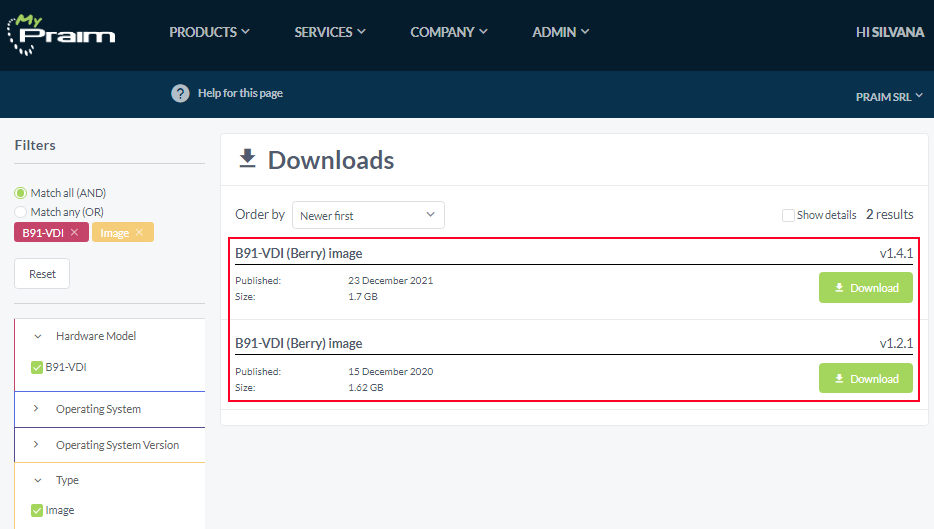
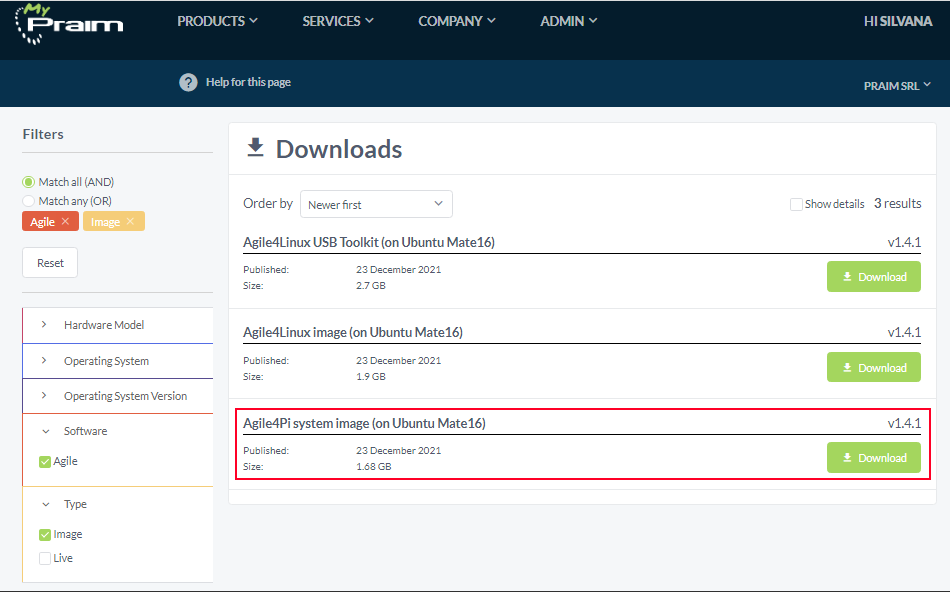
Download the image from MyPraim, according to the device model:
- A Praim Berry B91-VDI Image: available for Praim's Raspberry Pi 3 Model (B91-VDI)
- A Praim Agile4Pi Image (for RaspberryPi): available for other Raspberry Pi 3 vendor's models.
The image file contains both the Ubuntu Mate O.S. (not the whole standard Ubuntu Mate image but a tailored firmware with the appropriate clients) and the Agile Configurator software. While the first image contains also the license, the second image does not. On this second case, the license will be provided by ThinMan.
¶ Flash the microSD
This firmware image is used to flash the micro SD of the Raspberry hardware.
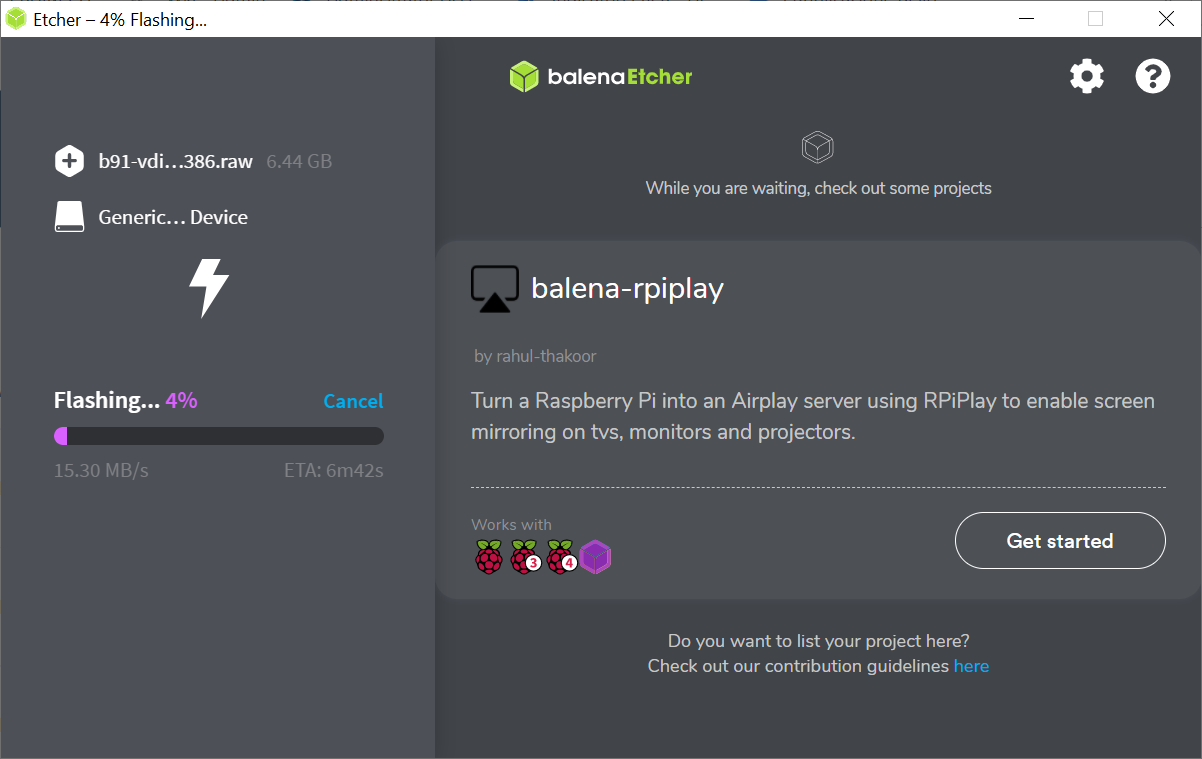
Execute the Etcher software on the PC.
Click on Flash from file button; browse to the directory where you previously saved the image file and select it.
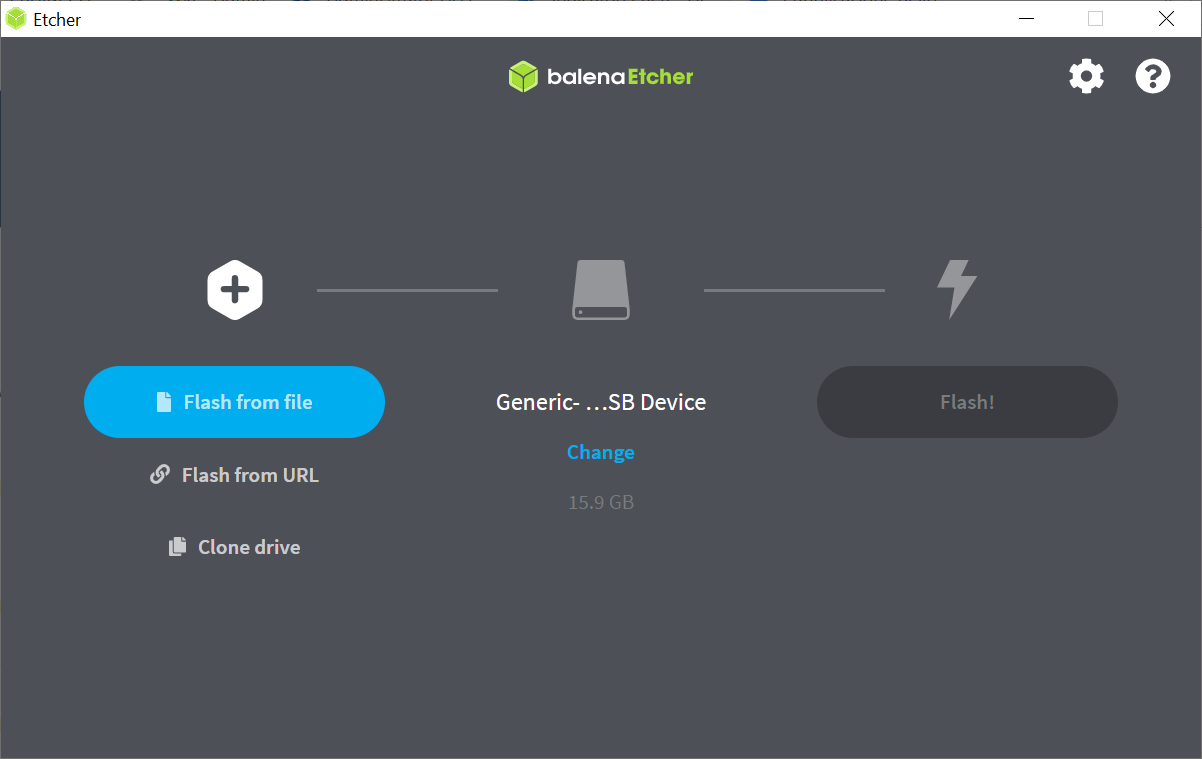
Insert the microSD (if needed use an adapter) in the PC. If your PC has only this single drive Etcher will select it automatically; if not click the Select drive button and select it manually.
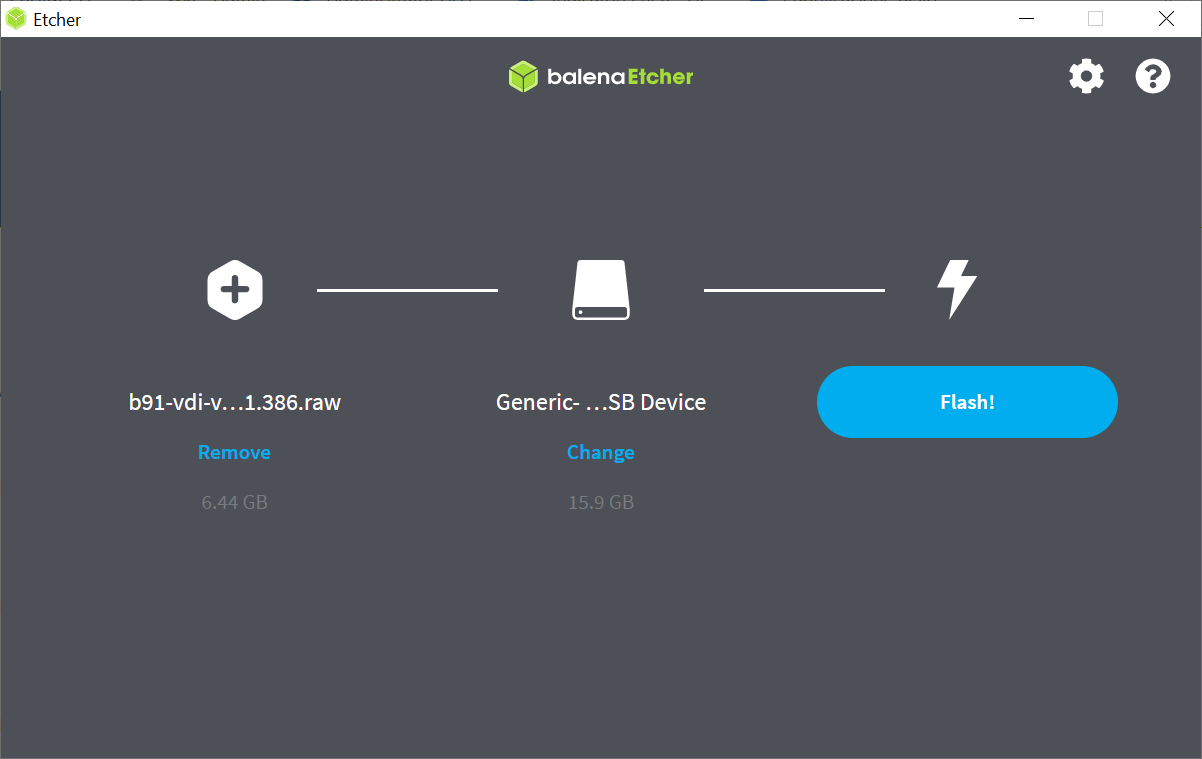
To start the flash of the image file onto the microSD click on Flash! button. The process begins and writes the microSD device.
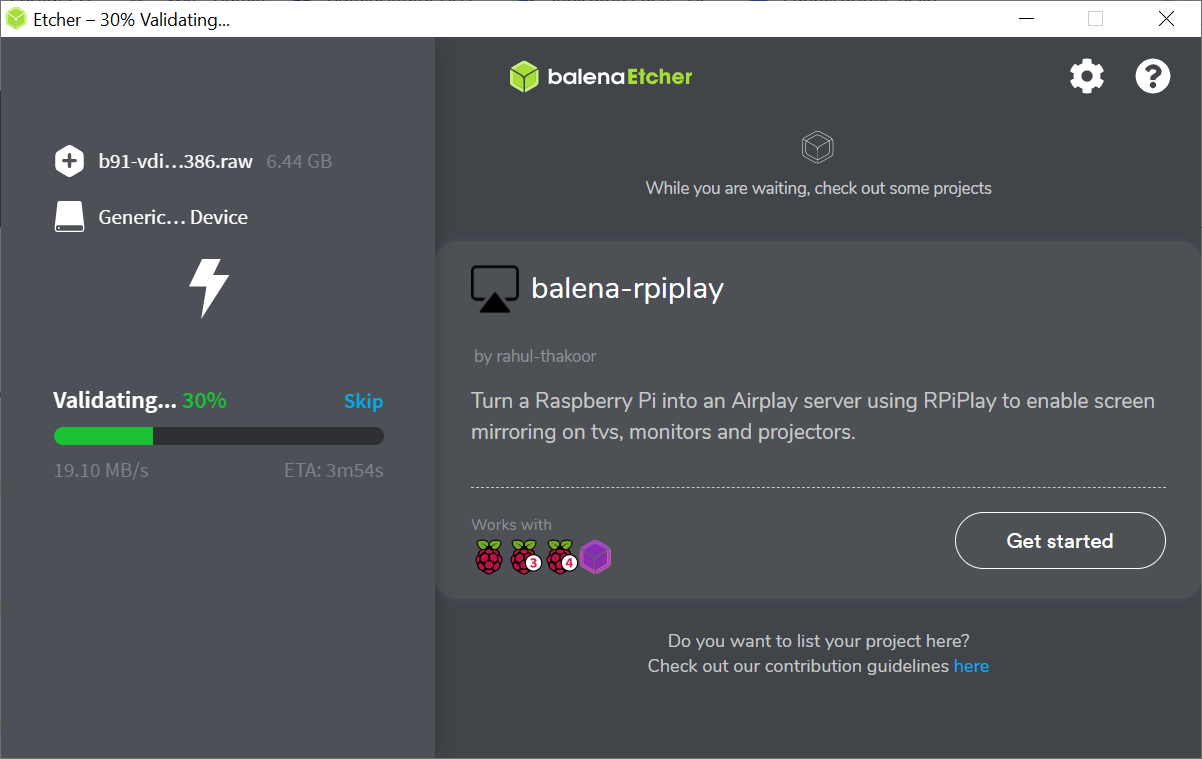
After some minutes the process finishes (it flash the microSD and then verify what was written on it).

You can now remove the microSD card from the PC. Insert the microSD into the Raspberry hardware and power it on.
¶ License the Agile4Pi client with ThinMan
Follow the steps provided at this link: Activate and license Praim Agile4Pi.