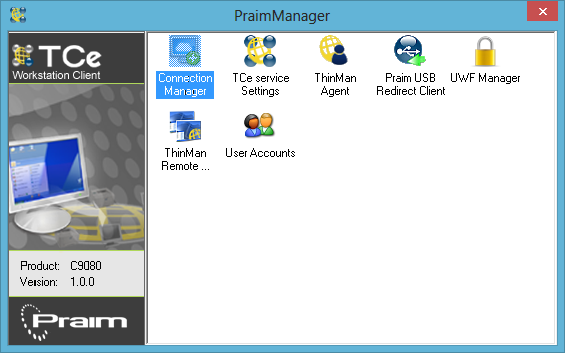
The Connection Manager allows you to create, delete, modify and execute connections on the thin client.
Manageable connections are:
- Microsoft RDP Client (version 6.2.9200)
- VMware Horizon View Client (version 3.0.0 build 1887158)
- Citrix Receiver Client (version 4.1.0.56461)
- URL or Pathname
Once the connections has been created it is possible to extract them, along with other configuration settings, using the ThinMan Console. This operation permits to create a new Device Profile into the ThinMan Server; this Device Profile can then be used, using the ThinMan Profile Manager, to push configuration parameters (connections plus configuration settings) to other WES8 thin client (for more information read the ThinMan User Guide at the section "ThinMan Profile Manager").
Warning
Be sure to have the correct version of the connection clients installed on the thin client (if it is not the case please install the specified client version in order to be sure that the use of Connection manager with the Profile Manager will produce correct results).
¶ Managing generic connection
A generic connection can be added, deleted, modified or started using the buttons in the lower part of the user interface. These commands can be applied to all of the connection types that can be defined on the thin client.
Please refer to next chapters for information (commands and parameters) available on specific connection types.
Once you have created the needed connections, clicking on "OK" will permanently save the connections on the thin client and will create links (to the connections) on the desktop. These links can be used to execute the connection without the need to access the connection manager (these links will be available to all users defined on the thin client, also on user that do not have Administrator privileges).
Best practice to distribute configuration to many thin client
Create the needed connections on a single thin client and save them on the thin client.Use ThinMan Server to read the configuration created on this thin client and save it as a template.
From the saved template create a Configuration Profile and associate it to a Policy.
The Policy allows to distribute the original configuration (based on connections for Windows Embedded devices) to many other device (you can associate the Policy to multiple devices, groups of devices, via the Classifier or define it as the Default Policy).
See ThinMan User Guide for more information (read in particular "Profile Manager" chapter).
¶ Add a connection
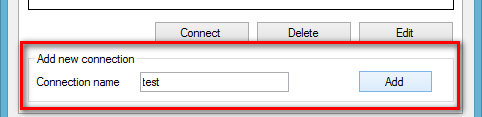
To add a connection enter its name in the field "Connection name" and click on "Add".
The configuration window for the specific connection will be opened so you can enter the parameters for that connection.
Closing the configuration window with the appropriate button will save the connection on the thin client (please refer to the documentation related to the specific connection type on next chapters).
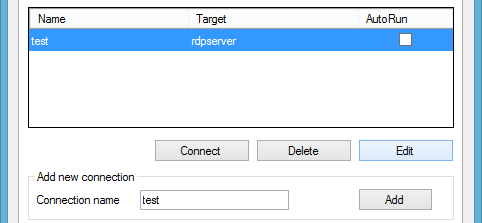
The connection is also shown (with most important configuration attributes) in the list.
Clicking on "OK" on the Connection Manager window will create, on the desktop, the icons that can be used to execute the connections on the thin client. These icons will be visible to (and can be executed from) all users defined on the thin client, regardless they have Administrator or Normal User rights.
¶ Delete a connection
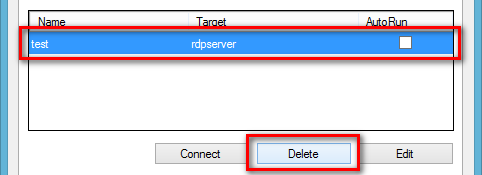
Select, from the list, the connection to be deleted and click on "Delete".
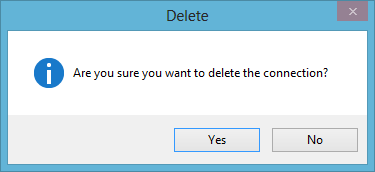
Confirm to remove the connection from the Connection Manager.
¶ Edit a connection
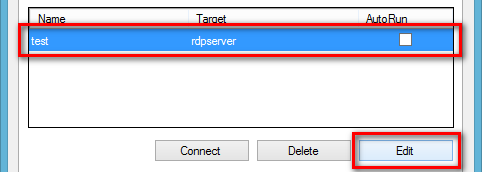
Select, from the list, the connection to be modified and click on "Edit".
The configuration window for the specific connection is opened so you can modify the parameters for that connection.
¶ Start a connection
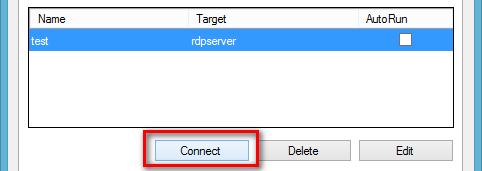
Select, from the list, the connection to be started and click on "Connect".
The connection is started executing the specific client with the configured parameters for that connection.
A connection can be also executed by double clicking its link icon on the desktop (remember that the connections icons on the desktop can be executed from all users defined on the thin client, regardless they have Administrator or Normal User rights).
It is also possible to define a connection in auto-start mode by placing a tick in the attribute "AutoRun". All the connections defined in this way will be automatically executed at the thin client start-up without any intervention of the user.
¶ Managing Microsoft RDP Connection
From the "Connection Manager" window select the "RDP" tab.
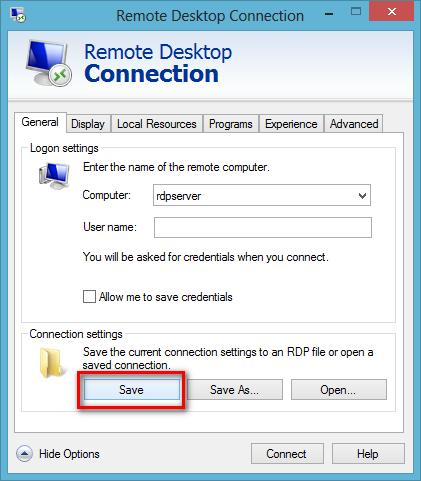
When a Microsoft RDP connection is created or edited, the standard software for Microsoft Terminal Server Client installed on the thin client is launched (mstsc.exe).
Through the tabs it allows to define all the parameters needed to connect via RDP protocol to a server or to a workstation (physical or virtual does not matter).
To save the configuration click on "Save" in the "General" tab, then to close the window click on the red "X" in the upper-right corner of the window.
Best Practice Tip
To avoid the annoying windows that warn on identity and certificates when the client starts (if the server does not owns appropriate certificates) select in the "Advanced" tab the "Connect and don't warn me" option (the default option is "Warn me") from the "Server authentication" drop-down menu.Execute the connection for the first time ticking the option to remember the choice from the successive windows.
Execute a "commit" on the thin client to save the environment (see Using the Write Filter chapter).
For more information refer to Microsoft documentation.
¶ Managing VMware Horizon View Connection
From the "Connection Manager" window select the "VMware" tab.
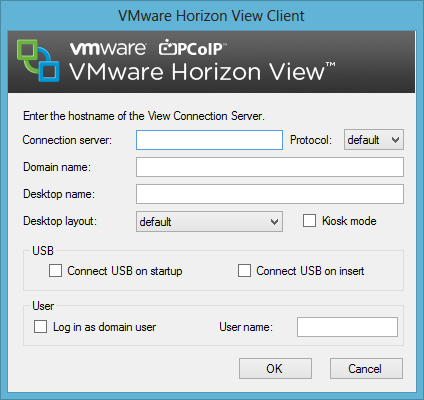
When a VMware Horizion View connection is created or edited, the window above is opened. Click on "OK" to save the parameters and to close the configuration window.
The configuration window allows to insert:
- Connection Server: the Horizon View connection server to which connect the client when launched (if it is specified cannot be changed afterwards by the user)
- Use RDP: set RDP as default protocol to connect to the virtual desktops otherwise PCoIP protocol is used (cannot be changed afterwards by the user)
- Domain Name: the domain of the server (used to check the user credential) (if it is specified cannot be changed afterwards by the user)
- Desktop Name: the desktop name to which to connect (if it is not present on the desktop pool, the connection will produce an error and then exit)
- Desktop Layout: set the screen size for the connection window (cannot be changed afterwards by the user)
- Kiosk Mode: allows the using of VMware Kiosk Mode that has to be defined on the server side (see VMware documentation for more information)
- Connect USB on startup: when flagged allows the virtual desktop to automatically mount USB device already inserted at the virtual desktop startup (if not flagged the mount has to be executed explicitly)
- Connect USB on insert: when flagged allows the virtual desktop to automatically mount USB device at the insertion time (if not flagged the mount has to be executed explicitly)
- Log in as domain user: in a thin client joined to a domain will use the domain credential to connect to Horizon View server
- User name: use the inserted user name to start the connection (if it is specified cannot be changed afterwards by the user)
From the "Connection Manager" under "VMware" tab it is possible to configure the behaviour when connecting using SSL protocol. Near the "Connect" button click on "Configure SSL" sting.
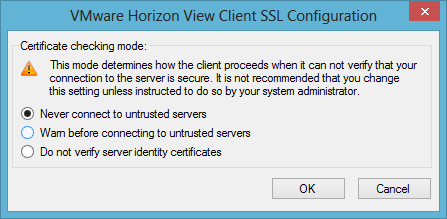
The certificate checking mode can be selected from:
- "Never connect to untrusted servers" and "Warn before connecting to untrusted servers" will not accept to connect to server not trusted by certificates,
- "Do not verify server identity certificates" will accept to connect to untrusted servers.
When the connection is executed it launch the VMware Horizon View client with the parameters specified in the configuration window.
¶ Managing URL/Link Connection
From the "Connection Manager" window select the "URL/Link" tab. An URL/Link connection allows to define an URL Address or a directory pathname that will be opened when the connection starts.
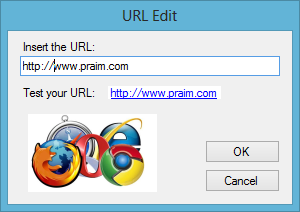
When a URL/Link connection is created or edited, the window above is opened. Click on "OK" to save the parameters and to close the configuration window.
In the field you can insert the URL (e.g. as above "http://www.praim.com") or also a pathname to a directory (e.g. "C:\data").
Clicking on "Test your URL" will open the default internet browser pointing to the URL or the Windows explorer pointing to the directory so it is possible to verify the URL/Link inserted in the connection.
When the connection is launched it will open the default internet browser or the Windows explorer pointing to the URL/Pathname specified. With the "Auto-Run" parameter flagged it can be useful to launch automatically an internet browser which link to a specific page when the thin client is powered on.
¶ Managing Citrix Receiver Connection
The Citrix connection is different from other connections. It need that you configure server and options using the Citrix Receiver user interface. Refer to Citrix documentation on how to configure Citrix Receiver.
After the Citrix Receiver is properly configured open the "Connection Manager" window and select the "Citrix" tab.
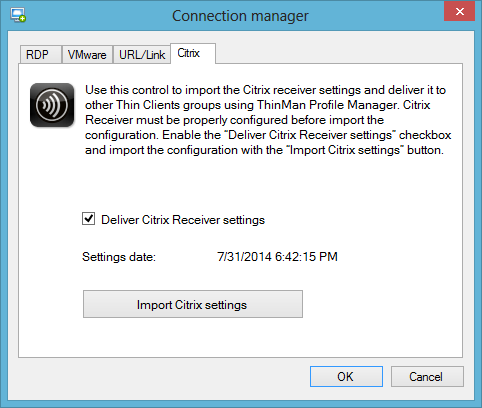
Flag the "Deliver Citrix Receiver settings" option to manage the current Citrix Receiver configuration inside the Praim Connection Manager. This operation copy the current Citrix Receiver configuration into the Connection Manager configuration. The time-stamp of the operation is shown on the "Settings date".
Whether the Citrix receiver configuration is changed you have to click on "Import Citrix settings" to reload the changed parameters into the Praim Connection Manager configuration. In this case remember to re-load the configuration from the ThinMan Server.