Note:
In the following guide it has been used the Google Chrome Enterprise V78 (64 bits).
¶ Install Google Chrome Enterprise
Follow the steps below to install Google Chrome on a Win10IoT device.
- Download the Chrome MSI from https://cloud.google.com/chrome-enterprise/browser/download
- Add the file to the Package Repository (see Package Repository Menu).
- Open the package repository (Tools -> Package Repository).
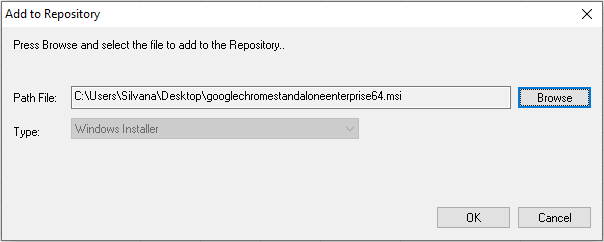
- Click on the Add button, it will open a window as the one shown below.
- Click on Browse and select the Chrome installer.
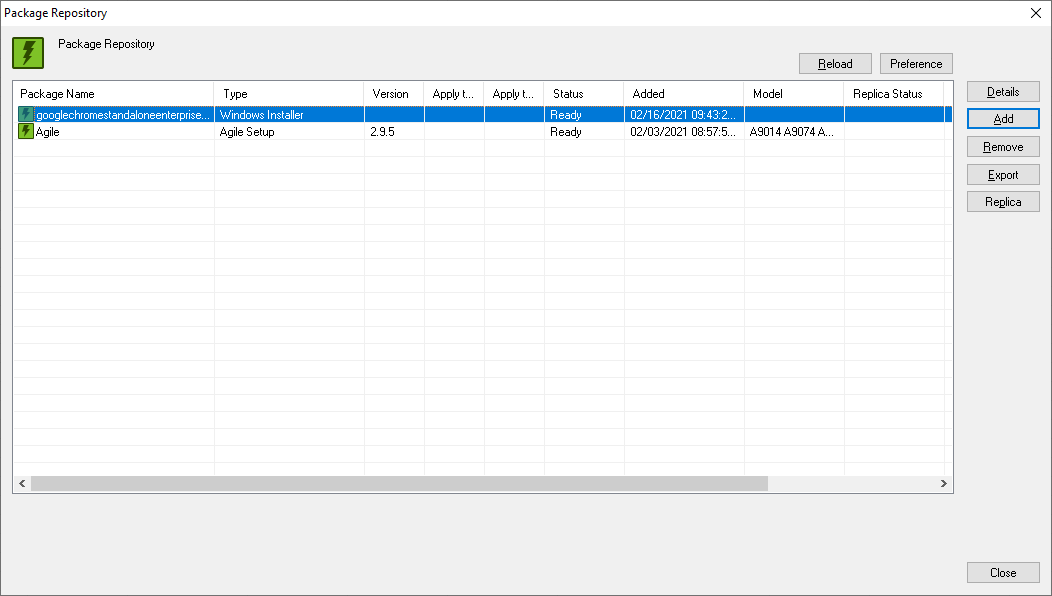
You will see the Google Chrome installer on the list of packages.
- Proceed with the Third Party Software Installation
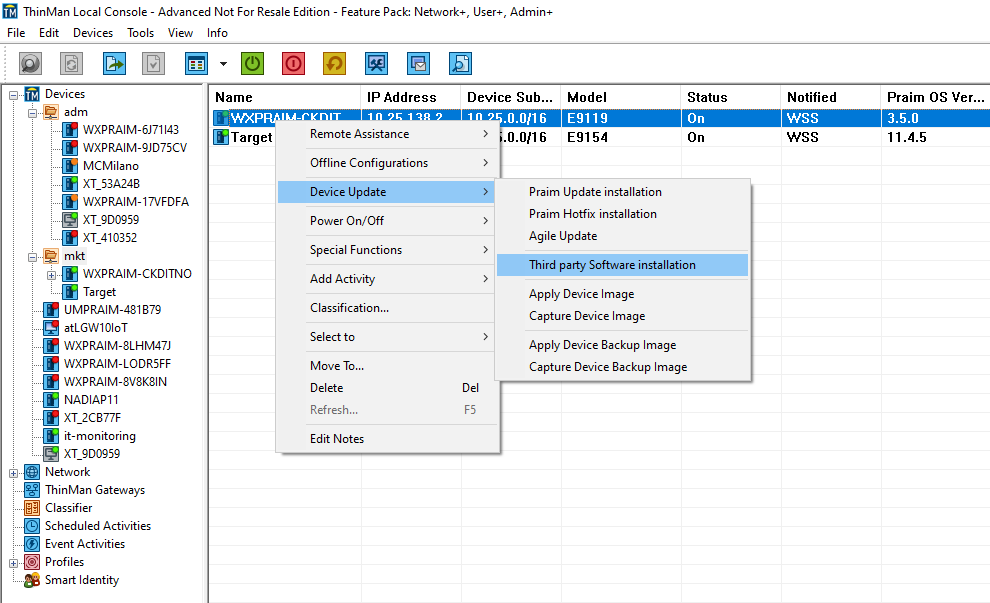
- Right click on the device where you want to install Chrome.
- Select "Third Party Software Installation"
Select the Google Chrome package.

Write the command line: /i "googlechromestandaloneenterprise64.msi" /qn as shown below.
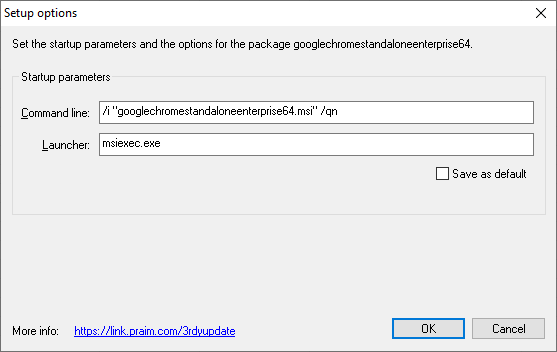
Click on OK.
Click on OK.
After a few minutes, you will see the Google Chrome Desktop Shortcut appear on the device. You will also find entries in the Start Menu, Installation Directory, and Programs and Features in the Control Panel.
¶ Disable Google Chrome Auto-Update
- Create a powershell file(.ps1) with the content:
REG ADD "HKLM\SOFTWARE\Policies\Google\Update" /v UpdateDefault /t REG_DWORD /d 0 /f
REG ADD "HKLM\SOFTWARE\Policies\Google\Update" /v DisableAutoUpdateChecksCheckboxValue /t REG_DWORD /d 1 /f
REG ADD "HKLM\SOFTWARE\Policies\Google\Update" /v AutoUpdateCheckPeriodMinutes /t REG_DWORD /d 0 /f
REG ADD "HKLM\SOFTWARE\Wow6432Node\Google\Update" /v UpdateDefault /t REG_DWORD /d 0 /f
REG ADD "HKLM\SOFTWARE\Wow6432Node\Google\Update" /v DisableAutoUpdateChecksCheckboxValue /t REG_DWORD /d 1 /f
REG ADD "HKLM\SOFTWARE\Wow6432Node\Google\Update" /v AutoUpdateCheckPeriodMinutes /t REG_DWORD /d 0 /f
-
Add the file to the Package Repository (see Package Repository Menu).
- Open the package repository (Tools -> Package Repository).
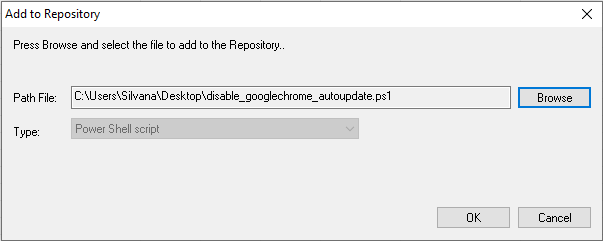
- Click on the Add button, it will open a window as the one shown below.
- Click on Browse and select the powershell file.
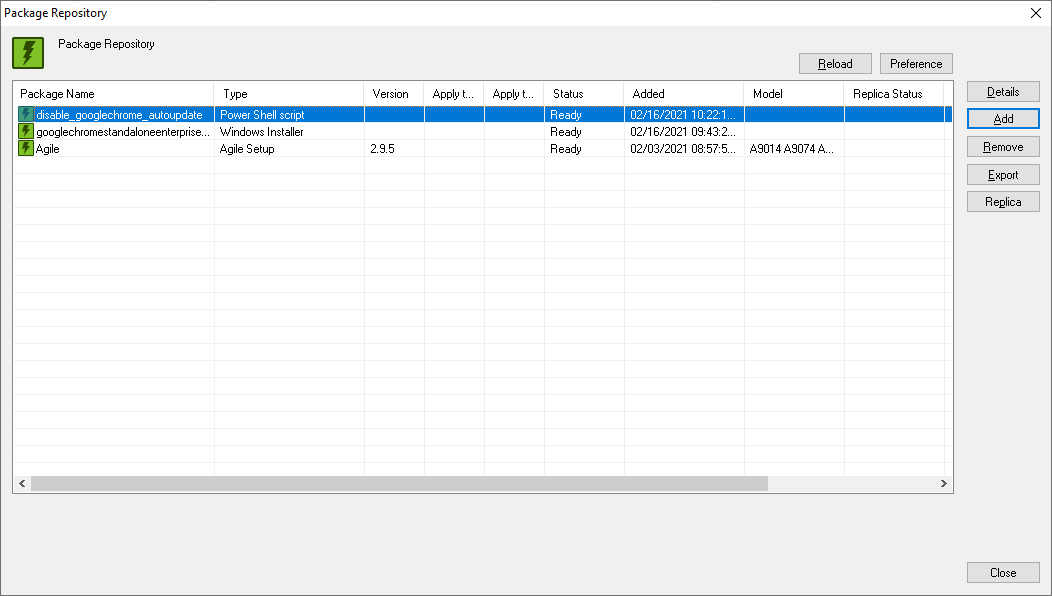
You will see the disable-googlechrome-autoupdate on the list of packages.
- Proceed with the Third Party Software Installation
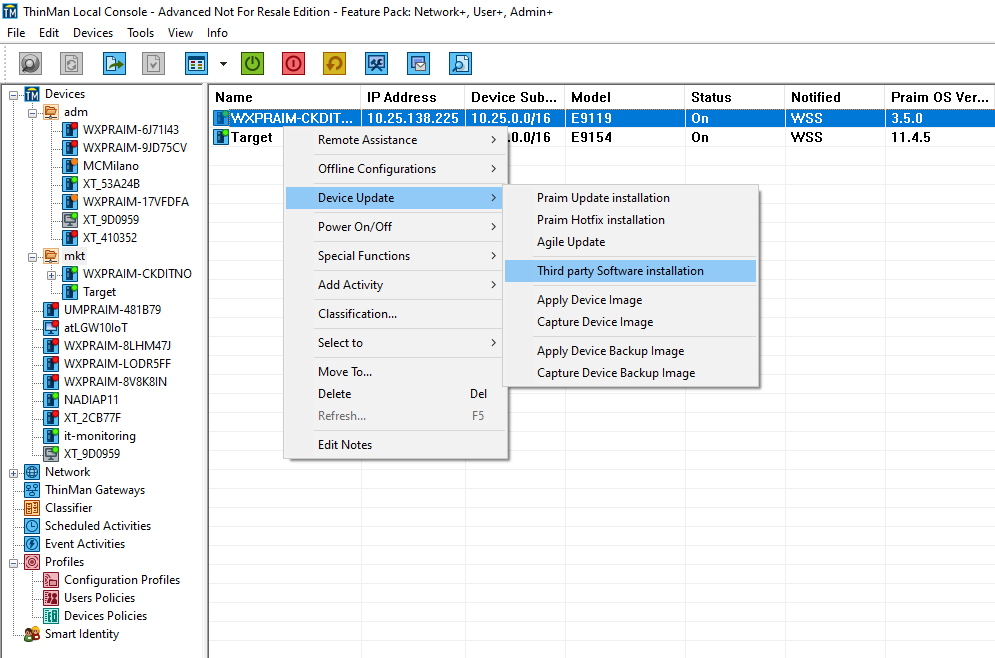
- Right click on the device where you want to disable the Google Chrome autoupdate.
- Select "Third Party Software Installation"
Select the disable-googlechrome-autoupdate package.

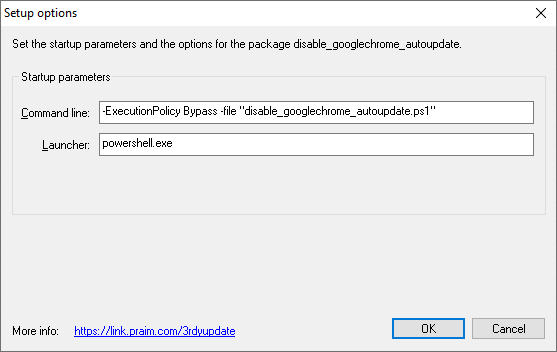
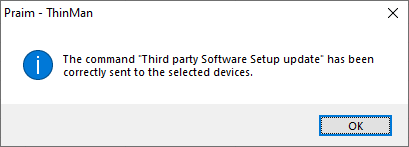
Click on OK.
Click on OK.