Exit from Multi-Apps Presentation Mode To exit Multi-Apps Presentation Mode, you need to sign out from the MultiAppsUser session. You can do this by pressing CTRL + ALT + DEL and selecting Sign Out. After signing out, you will be redirected to the login screen, displaying all available Windows user accounts. Remember that Praim thin clients come pre-configured with two user accounts: User and Admin.
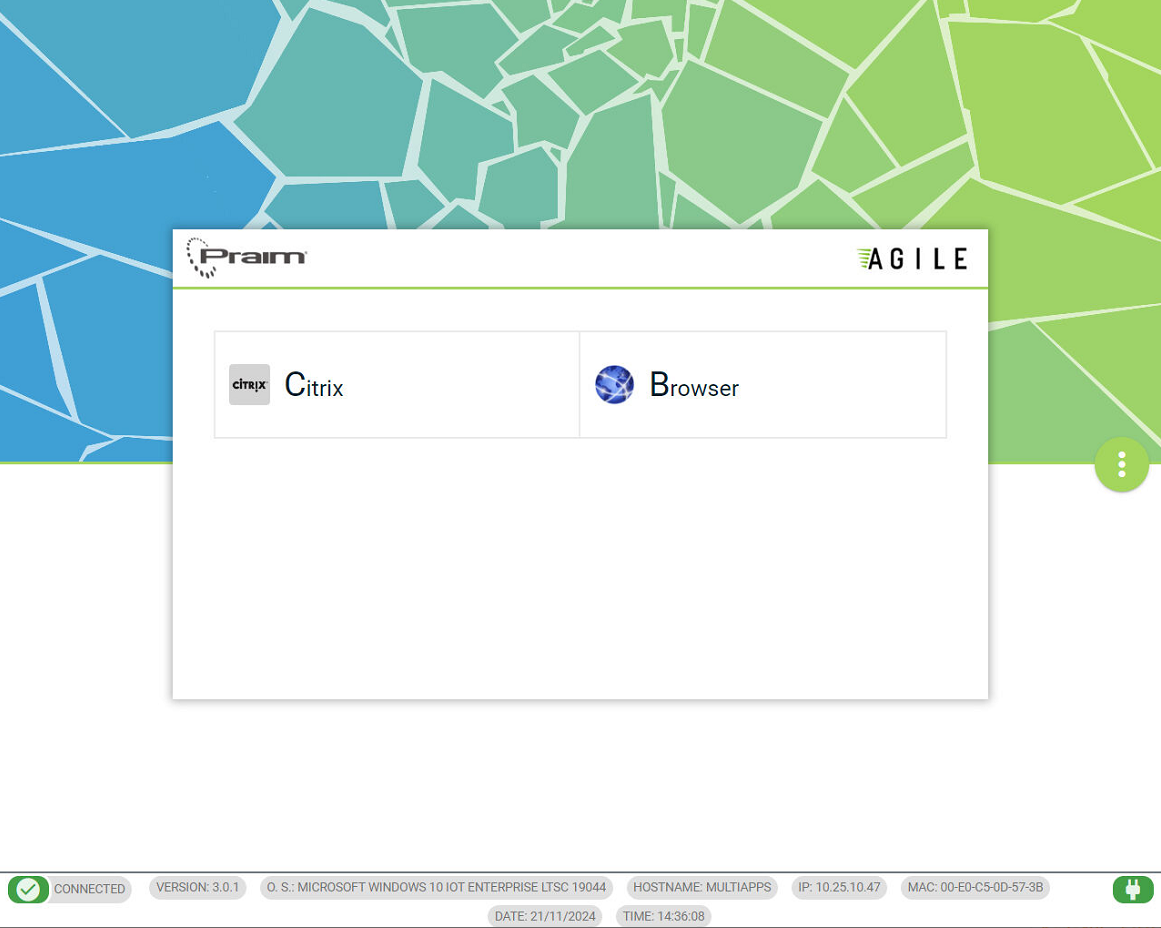
The Multi-Apps mode provides a kiosk-style user interface displaying all resources previously configured by the administrator. Microsoft Explorer is disabled, meaning there is no Desktop, TaskBar, or any Windows menus, and users have no direct access to the filesystem.
Additionally, you can configure whether to display the background in full size or not through the Specific Settings button.
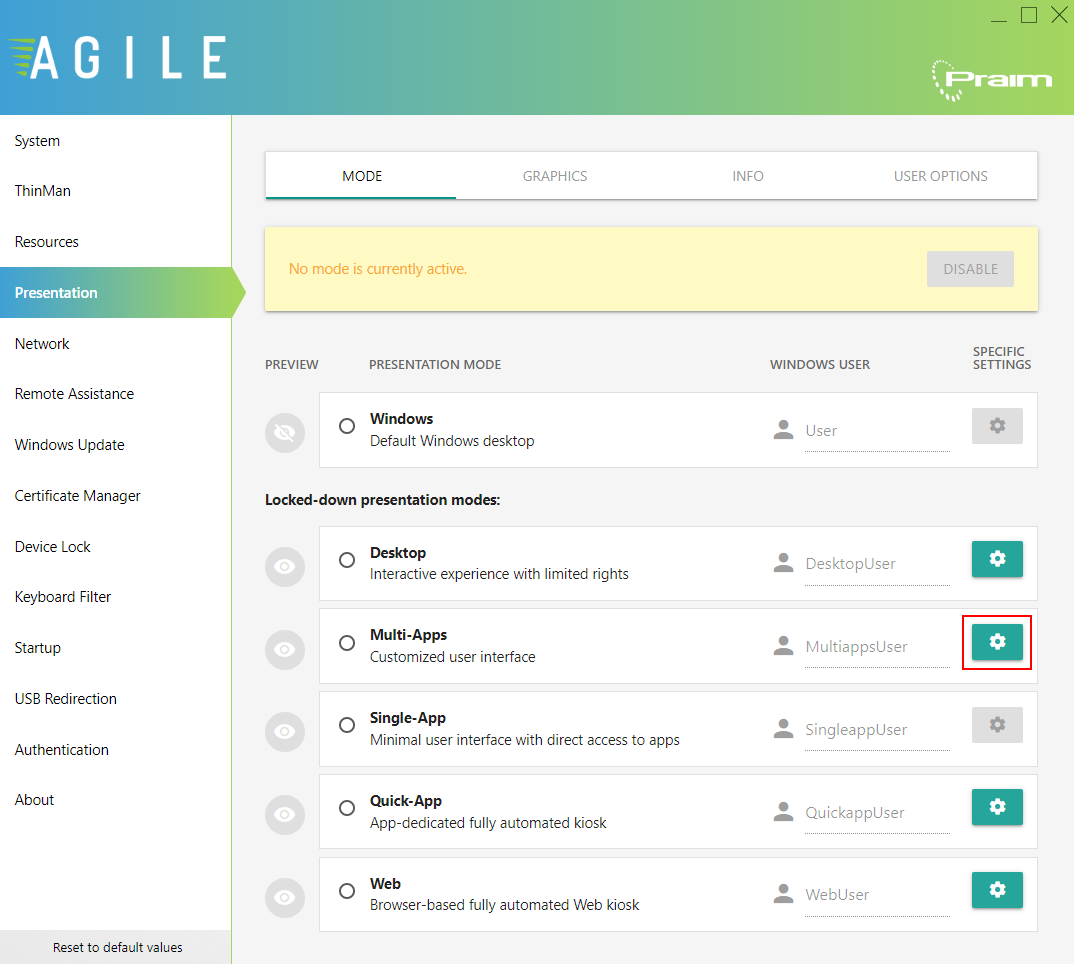
The Multi-Apps Options window will open.

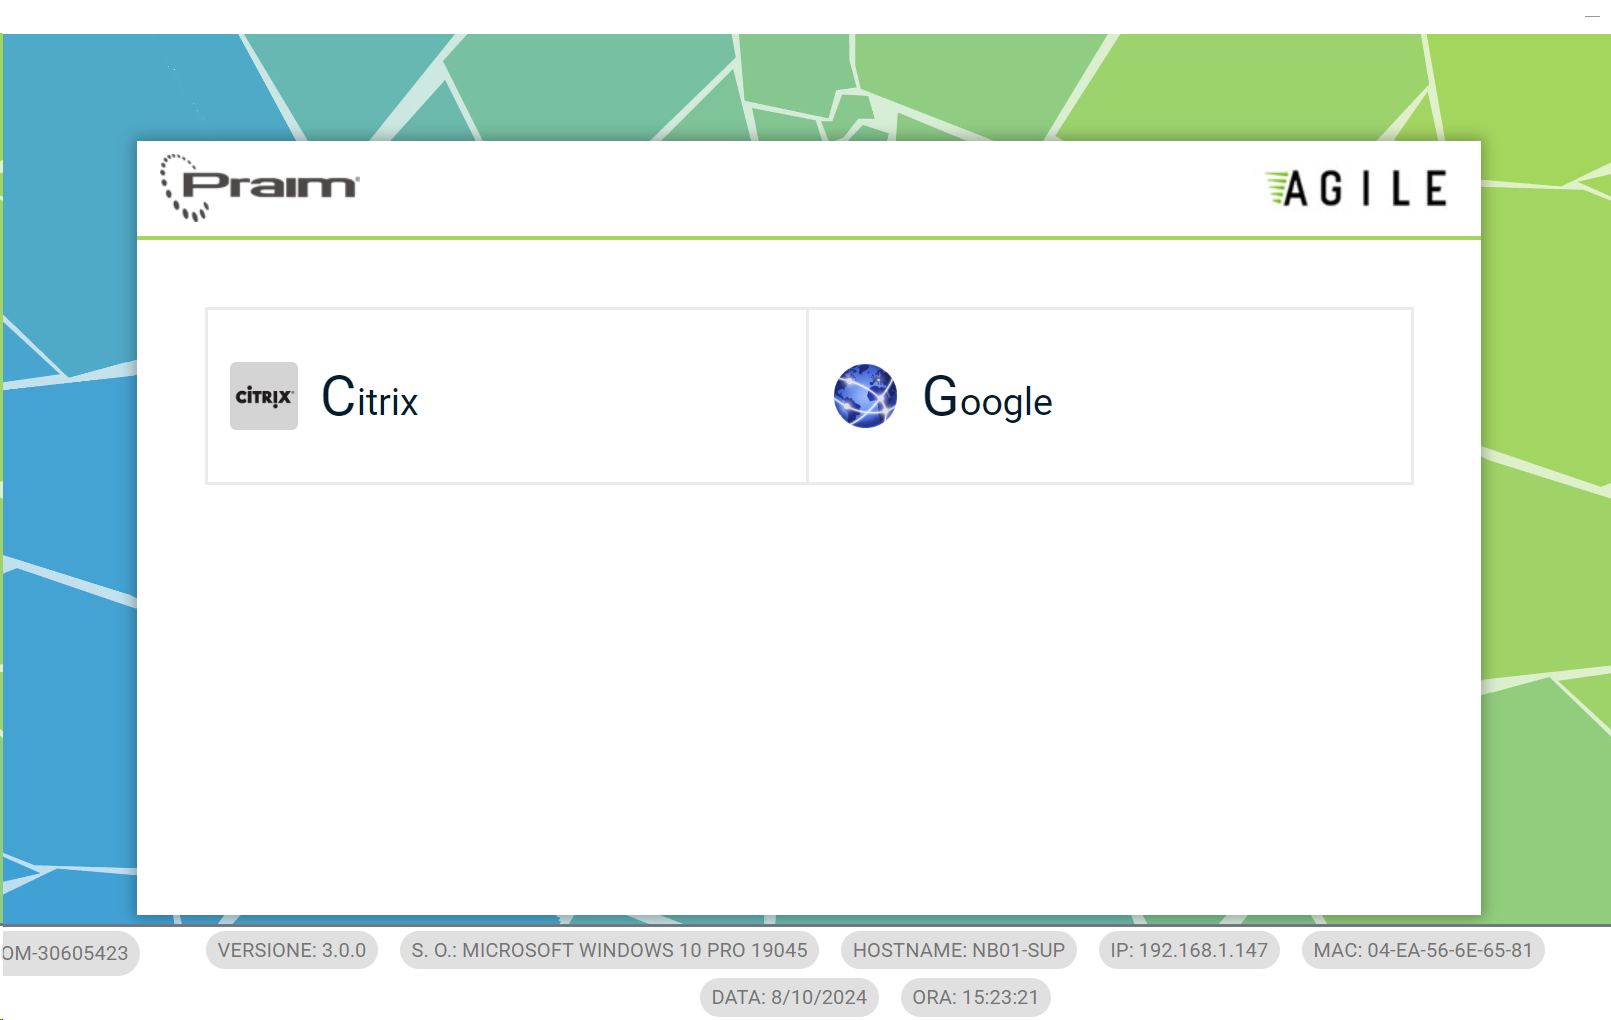
When the option is selected, the background is displayed in full size.
¶ User Interface Elements
- Graphics: the logo, background and colors of the UI can be changed to match your own customization preferences.
- Information bar: a bar at the bottom of the Window that shows several device details (Agile version, Operating System, Hostname, IP, MAC, date and time) according to configuration setup
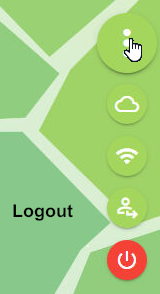
- Menu: a three-vertical-dot button at the right of the window that allows the access to the Menus. The available items will depend on configuration setup.
- Resource Window: the main central window showing all the available resources that have been configured by the administrator or provided through the ThinMan Profile Manager.
- Specific function Windows: other windows can be shown instead of the "Resource Window" (e.g. Login credentials, WiFi configuration, etc.)
- User Messages: eventual feedback messages could appear at the upper part of the window.
¶ Menu
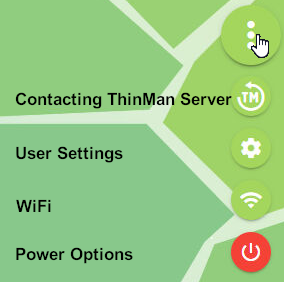
- Contact ThinMan Server: available when the device is under a User Authentication(ThinMan Login/Smart Identity) Policy. Read more about User Authentication.
- Access the User Settings panel
- Access the WiFi panel: available when the device uses the WiFi Network.
- Access the Power options
The available options will depend on configuration setup.
On the image below, the menu shows the user icon option, this icon closes all active resource connections and ends user authentication (ThinMan Login/Smart Identity). Also, the menu shows the cloud icon option that allows the user to return to the Resources Panel.
¶ User Authentication
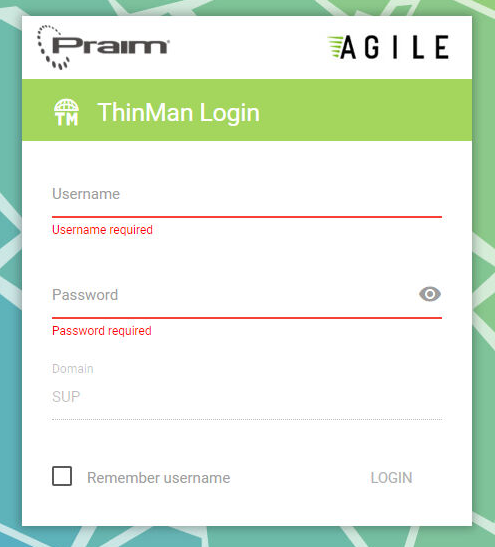
¶ ThinMan Login
When using the ThinMan Login feature, the interface will show the ThinMan Login window.
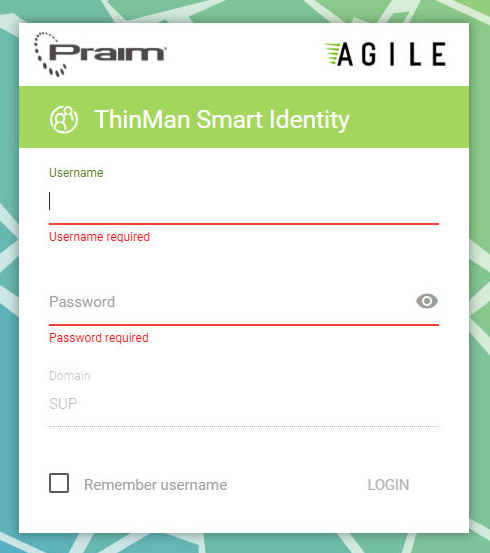
¶ ThinMan Smart Identity
When using the ThinMan Smart Identity feature, the interface will show the ThinMan Smart Identity window.
ThinMan Login/Smart Identity Pass-through:
The ThinMan Login/Smart Identity credentials will be used by the resources that have the ThinMan Smart Identity Pass-through option enabled. (See also How to configure Agile Resources).
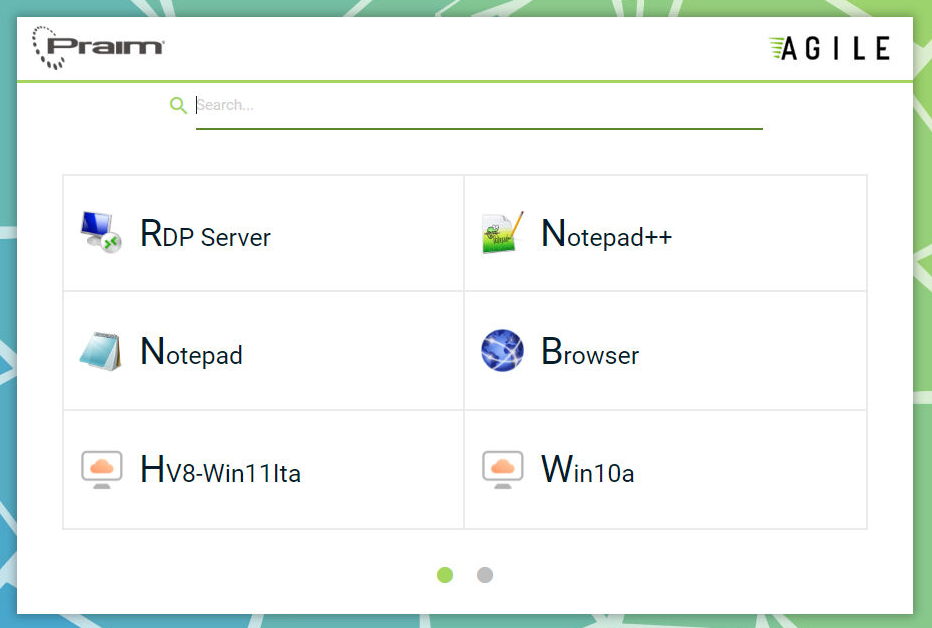
¶ Resources Panel
Unless you are using the ThinMan Login/Smart Identity authentication, the interface immediately displays the resources created by the administrator sequentially (one at a time). These can be navigated using the dots at the bottom of the window or by scrolling with the middle mouse button; also, it is possible to use the search bar. If ThinMan Login/Smart Identity authentication is used, the credentials window, as explained in the previous paragraph, will appear first.
¶ Opening a Resource
Click on a resource to open it. If the resource has been configured with the autostart (e.g. RDP Autostart), it will automatically start.
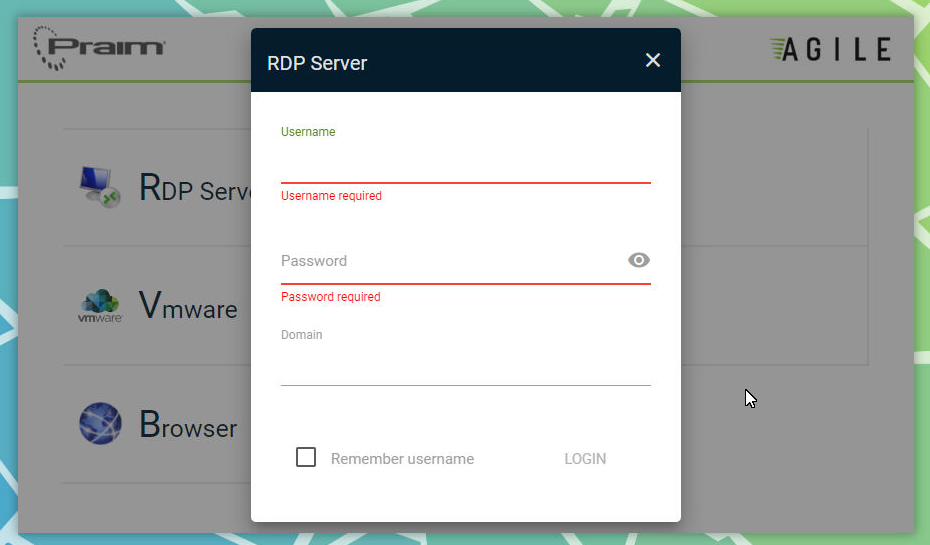
When trying to connect to a connection resource, it will be asked to enter the credentials, unless the resource has been configured with the ThinMan Smart Identity Pass-through option enabled. In this case, the resource will use the ThinMan Login/ThinMan Smart Identity credentials to open the connection. Optionally, you can select the "Remember username" option to use the credentials for the next time.

Once the connection resource is started, the user will be able to work on its virtual desktop.
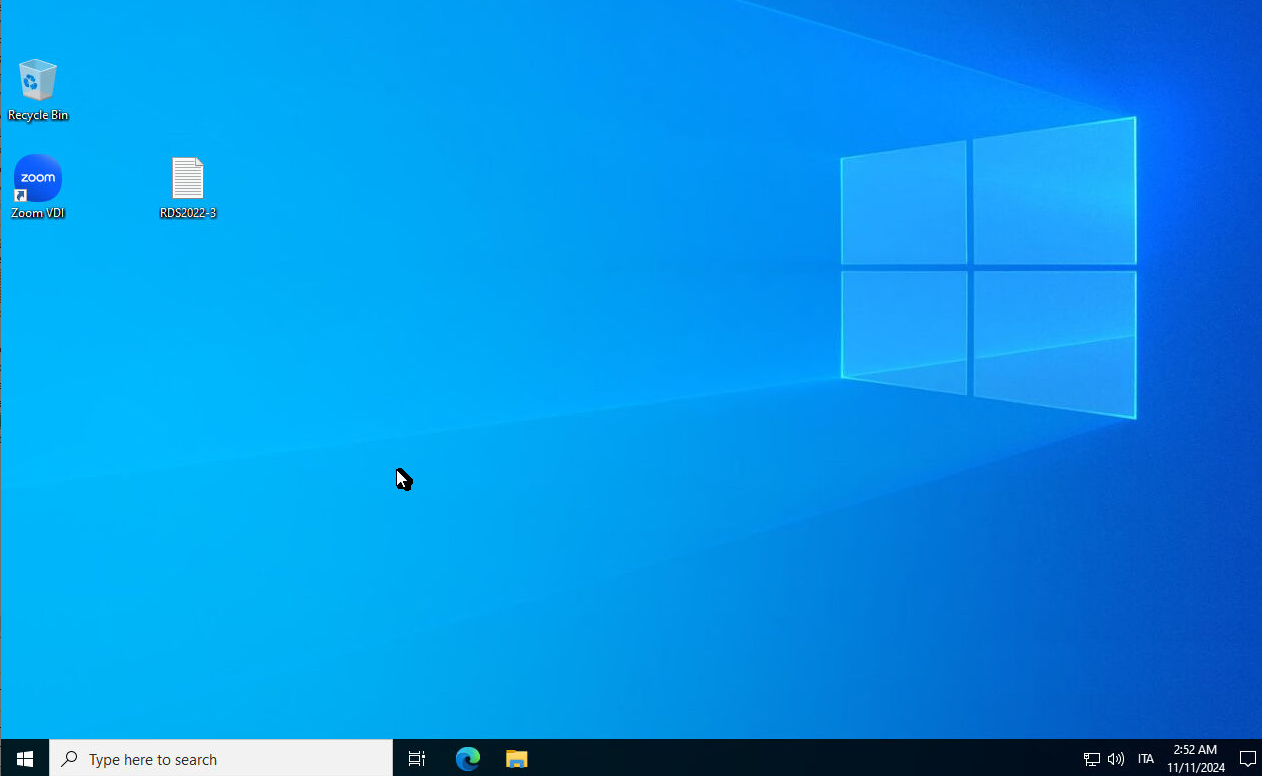
If the VD is minimized, the user can alternate the Home UI and the VD by simply using the ALT + TAB hotkey.
¶ User Settings Panel
Click on the gear wheel icon to access this panel.
The User Settings panel will display sections based on the specific configuration options selected during setup. Only the sections corresponding to enabled features will appear. This approach ensures a customized, clutter-free User Settings panel, displaying only the sections relevant to the user’s configuration.
For instance, if the following options were enabled by the administrator:
- Mouse: Access settings to adjust tracking and scrolling speed, double-click speed, and choose the primary button.
- Sound: Control audio settings, including output volume for speakers or headphones and input volume for microphones.
- Language: Change system language or modify the keyboard layout.
- Date & Time: Modify time zone settings as needed.
- Display: Configure screen settings, including resolution adjustments and multi-monitor setups.
¶ Mouse Settings Panel
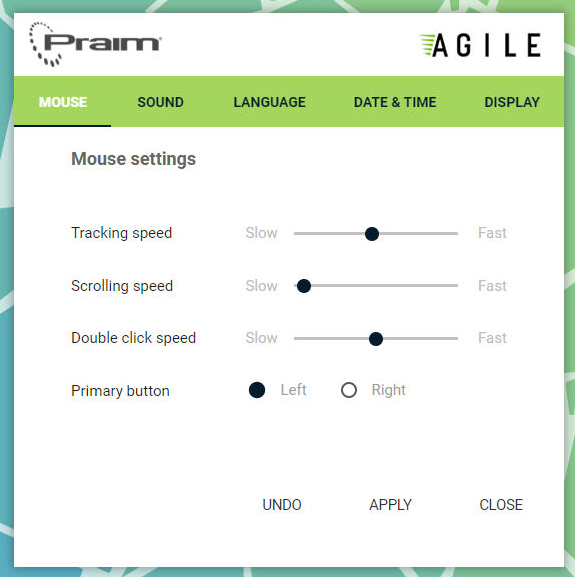
- Undo: click on it to undo the setting values.
- Apply: click on it to save the changes.
- Close: click on it to close the panel.
¶ Sound Settings Panel
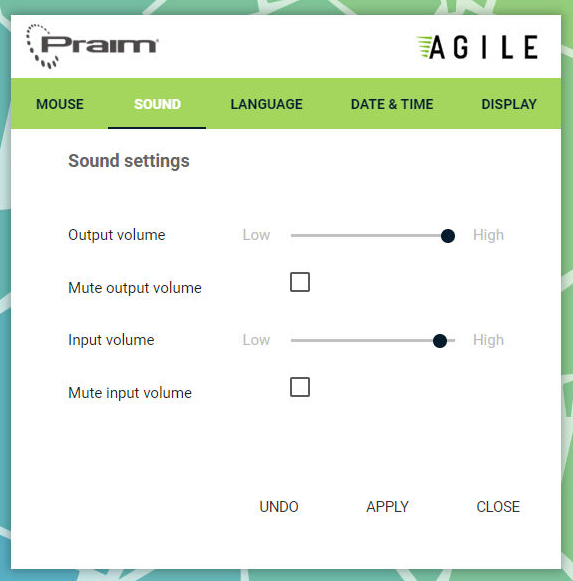
- Undo: click on it to undo the setting values.
- Apply: click on it to save the changes.
- Close: click on it to close the panel.
¶ Language Settings Panel
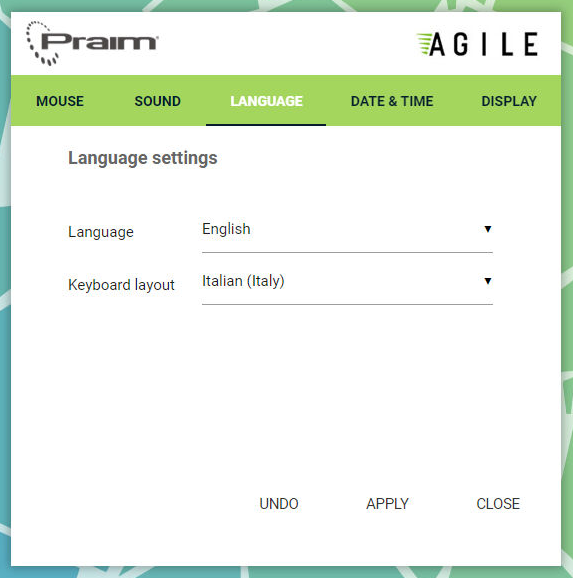
- Undo: click on it to undo the setting values.
- Apply: click on it to save the changes.
- Close: click on it to close the panel.
¶ Date & Time Settings
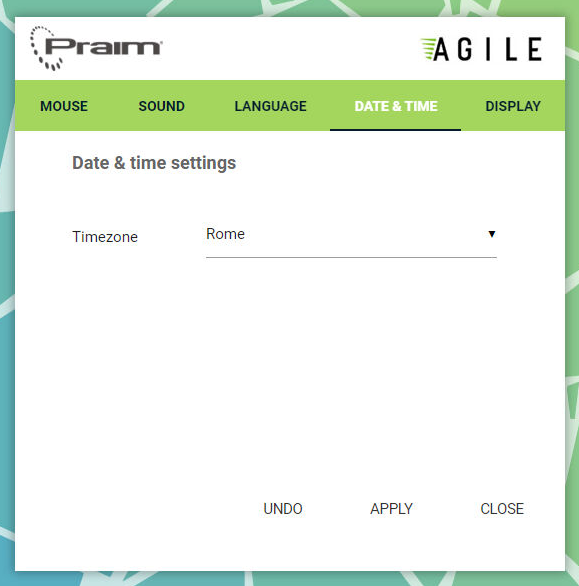
- Undo: click on it to undo the setting values.
- Apply: click on it to save the changes.
- Close: click on it to close the panel.
¶ Display Settings
Multimonitor configuration is available when two monitors are connected to the device.
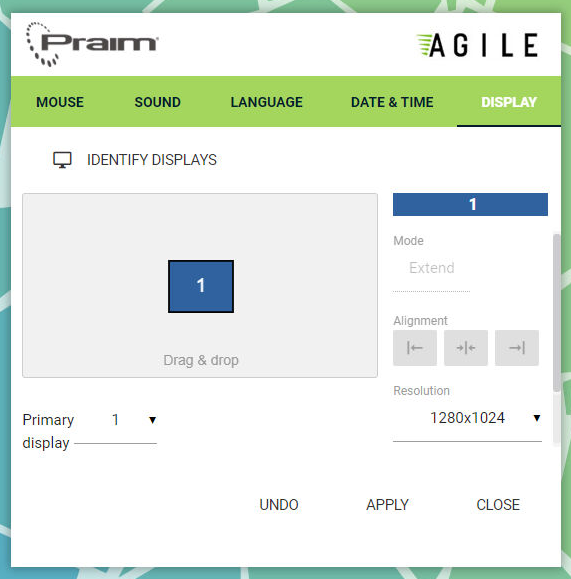
The multimonitor configuration is available when two monitors are connected to the device. In this section, it is possible to:
- Identify the connected monitors
- Drag and drop to change their positions
- Set the primary monitor
- Choose whether the second monitor is an extension or a clone of the primary monitor
- Adjust alignment and resolution settings
¶ WiFi Panel
In order the end user be able to configure and choose a Local WiFi Network, it is necessary to enable the corresponding option when configuring the available user settings.
On the WiFi panel, the end user will be able to configure WiFi networks.
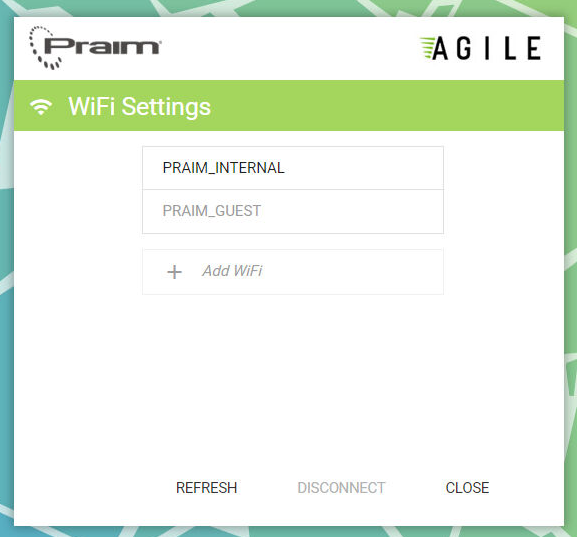
¶ Refresh
Click on it to display all the available local WiFi networks. The networks that have already been configured will appear in black, while those that are available but not yet configured will appear in grey.
¶ Add WiFi Network
Click on it to add a new WiFi connection.

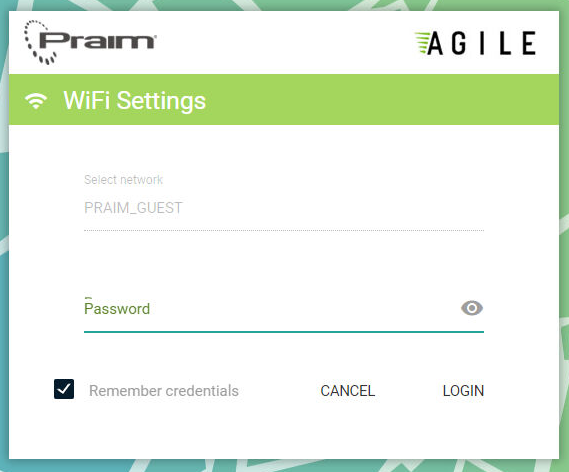
On the Select Network field a list of WiFi networks will be shown, select one of them.
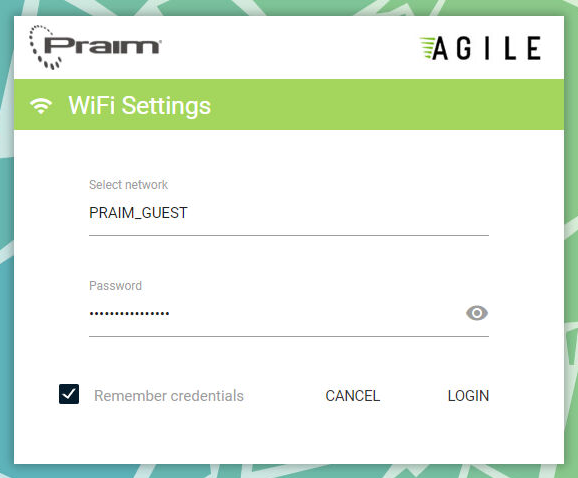
Add the credential information and click on Login to connect.
¶ Modify WiFi Network settings
Select the WiFi Network to be modified.
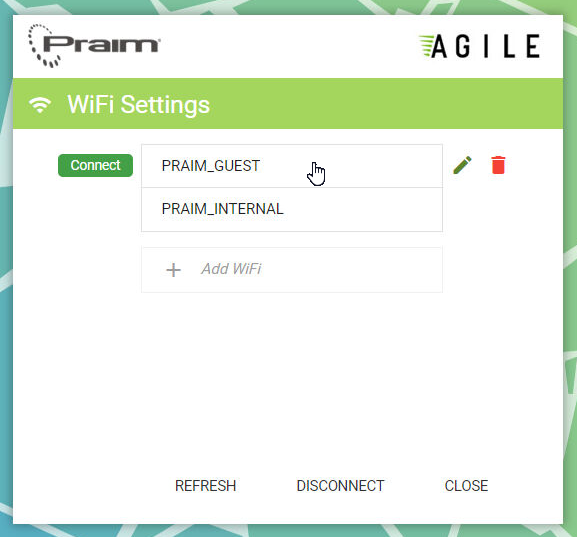
Click on the pencil icon.
¶ Delete WiFi Network
Select the WiFi Network to be deleted.
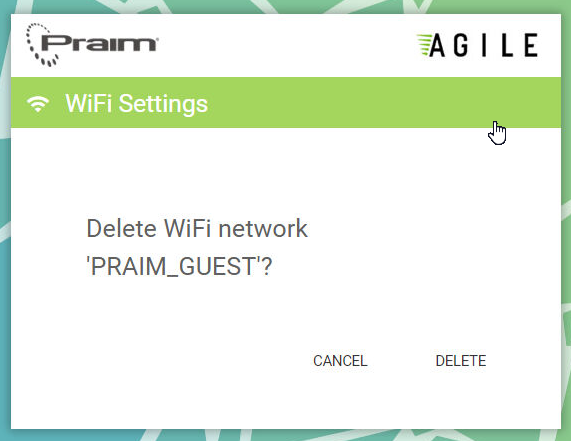
Click on the trash icon.
¶ Power Settings Panel
Click on the power icon to access this Panel.
The Power Settings panel will display the power options choosen during the setup. Only the enabled options will appear.
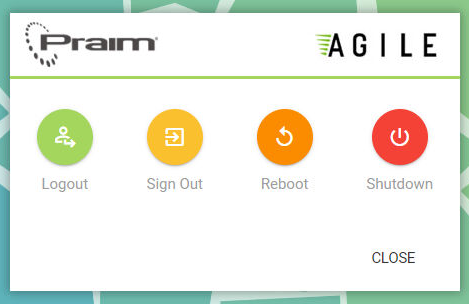
-
Logout: Closes all active resource connections and ends user authentication (ThinMan Login/Smart Identity).
-
Sign Out: As explained in the Presentation Mode, each Presentation Mode is linked to a Windows local user. When the device is powered on, Windows will automatically log into the user account corresponding to the configured Presentation Mode. This button allows you to sign out of the Presentation Mode User, thereby closing the Presentation Mode user interface.
-
Reboot: Restarts the device..
-
Shutdown: Powers off the device.